In a nutshell
- ❄️ Science: A chilled spoon triggers brief vasoconstriction then a mild reactive flush, while Vaseline’s occlusion locks in moisture; shine boosts optical fullness without irritants.
- 🧭 Steps: Chill two teaspoons in the fridge (10–15 min), press each lip section for 10–15s, blot, then apply a thin, pea-sized layer of Vaseline; optional neutral liner and a touch of gloss for definition.
- ⏱️ Results: Expect smoother lines, a healthier tint, and a believable plump that lasts about 20–45 minutes (up to ~1 hour if undisturbed); reapply to refresh shine and texture.
- ⚠️ Safety: Avoid broken skin, cold sores, or sensitivity; use the fridge, not the freezer; clean spoons; stop if persistent redness. Vaseline prevents TEWL—it doesn’t dry lips.
- 🎯 Pro tips: Sip water first, keep layers light, anchor with a waxy liner, and place a pinpoint highlight at the lower lip centre; treat it as a finishing technique, not a filler substitute.
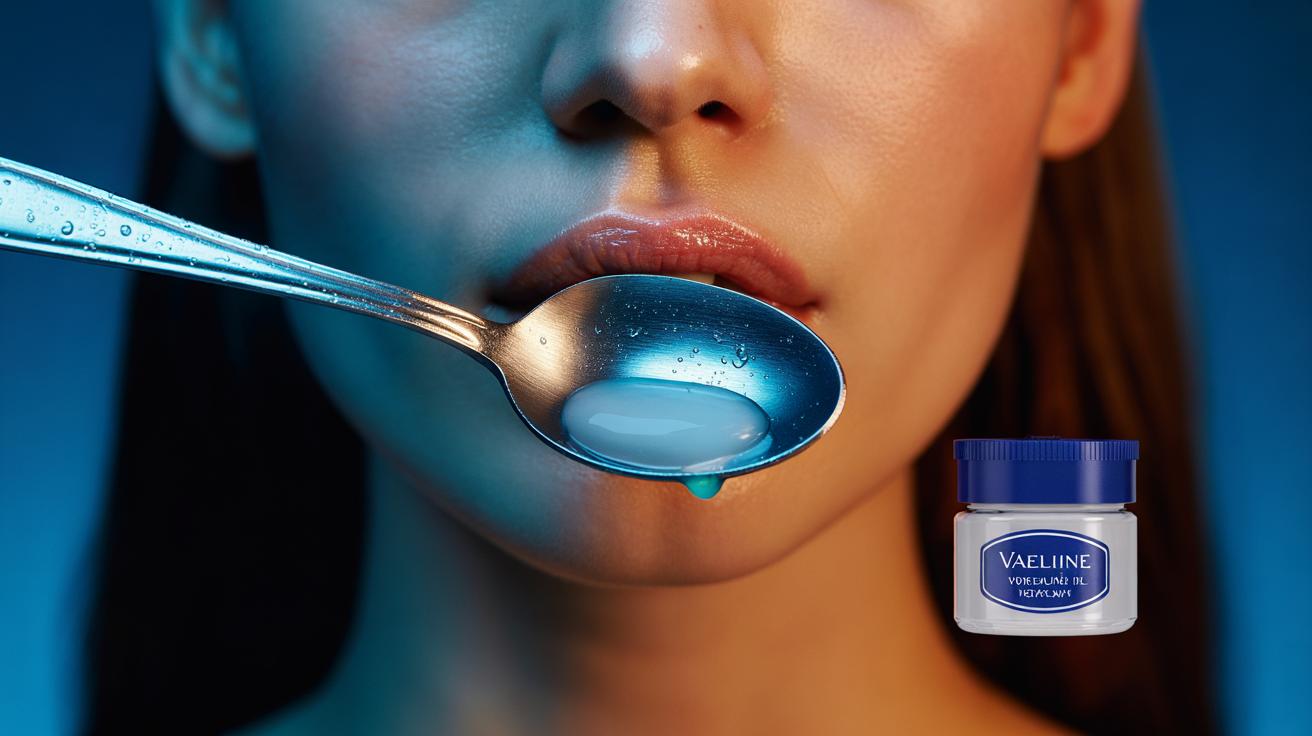
Beauty trends move fast, but one budget hack keeps resurfacing in backstage kits and bathroom cabinets alike: the cold spoon + Vaseline trick. The promise is simple—apply chill, seal with moisture, and watch lips look fuller in seconds. The effect isn’t magic; it’s a neat blend of physiology and optics that boosts smoothness, shine, and transient circulation for a believable plump. Done correctly, it’s gentle, cheap, and quick, lending that post-facial freshness without stings or pigments. Think of it as a camera-ready polish that enhances your lip line while feeling soothing rather than spicy. Below, the science, the exact steps, and how to keep results safe, realistic, and repeatable.
The Science Behind Chill and Moisture
Cold changes the way tissues and vessels behave. A chilled spoon prompts brief vasoconstriction, making capillaries tighten and swelling recede. When the cold lifts, a mild reactive flush often follows, bringing colour and a whisper of micro‑swelling to the vermilion border. Pair that with Vaseline’s occlusive barrier—petrolatum that locks in water—and you get a tangible uptick in surface hydration. Hydrated corneocytes swell subtly, softening vertical lines and evening texture. The eye reads smooth, glossy surfaces as fuller, so shine and uniformity amplify the perceived volume without any irritant tingle.
There’s also an optical assist: a high-shine layer increases light reflection on the lip mound, boosting the “3D” look. Unlike capsicum or menthol plumpers, which rely on irritation, chill plus occlusion is largely non‑sensitising. The result is a quick, gentle enhancement that plays beautifully with lip liner, preventing feathering by smoothing micro-cracks. It’s a temporary, cosmetic lift—not a structural change.
Step-By-Step: Cold Spoon + Vaseline Technique
Start with clean lips. Place two teaspoons in the fridge for 10–15 minutes (not the freezer). Press the back of one spoon onto each lip quadrant for 10–15 seconds, moving methodically to cover the cupid’s bow and corners. You want cool, not numb; stop if you feel discomfort. Gently blot any condensation. Immediately apply a pea-sized amount of Vaseline, tapping from the centre outward to form a thin, continuous film. For extra definition, trace just outside your natural edge with a neutral liner, then add a second whisper-thin layer of petrolatum to set.
Consistency beats pressure. A brief chill followed by prompt occlusion preserves water content and encourages that post-cold flush. Keep layers light so you get gloss without gloop. If wearing colour, dab a satin lipstick first, then lock it in with Vaseline to maintain the reflective finish that makes lips appear fuller.
| Step | Time | Purpose |
|---|---|---|
| Chill spoons (fridge) | 10–15 min | Safe cooling without frostbite risk |
| Press spoon in sections | 40–60 sec total | Even vasoconstriction for smooth base |
| Apply Vaseline | 10–20 sec | Occlude moisture; boost shine and slip |
What Results to Expect (and How Long They Last)
Expect an instant soft-focus plump that peaks within minutes. Most people see improved line diffusion, a healthier tint from mild post-chill circulation, and a convincing fullness along the cupid’s bow. On camera, the effect reads as “juicy” because gloss maximises reflectivity over a smoother surface. Think optical enlargement and hydration-driven swelling, not a filler-like leap. Realistically, the boost lasts 20–45 minutes, stretching to an hour if you’re well hydrated and not eating or drinking.
Reapplication restores the finish, though the circulatory bump diminishes with repeated cooling. You might notice a slight numbing coolness and transient pinkness—both normal. It won’t fix structural asymmetry or volume loss, but it can finesse lip contour before events. For longer wear, layer a waxy liner under the Vaseline to anchor edges, then add a pinpoint of clear gloss at the centre of the lower lip to exaggerate the “dome” highlight.
Safety, Myths, and Who Should Avoid It
Do not apply cold spoons to broken skin or active cold sores. Those with eczema, rosacea flares around the mouth, or cold sensitivity should skip the chill step. Use the fridge, not the freezer; extreme cold risks ice burn. Clean spoons before and after use to prevent bacteria transfer, and avoid sharing. If you experience persistent redness or tingling, stop and allow the skin barrier to recover with bland moisturisers and SPF.
Myth-busting: Vaseline doesn’t “add” water, nor does it dry lips—it prevents transepidermal water loss by sealing in what’s already there. For best results, sip water, then apply. Skip irritant “plumpers” with capsicum or cinnamon if you’re sensitive; chill + occlusion offers a calmer route. This is a temporary cosmetic effect, not a medical treatment. If you’re on isotretinoin or have frequent cheilitis, consult a pharmacist or GP before experimenting with temperature-based hacks.
Done with a light touch, the cold spoon + Vaseline trick is a smart, skin-friendly way to cheat a fuller pout for photos, dates, or daily polish. It costs pennies, travels well, and layers seamlessly with liner and lipstick to accentuate natural shape without sting. The key is precision: brief chill, quick seal, and strategic shine placement for maximum optical lift. Treat it as a finishing technique, not a miracle. Will you keep it minimalist with clear balm, or build it into a liner-and-highlight routine to customise your signature, plumped-up lip look?
Did you like it?4.4/5 (25)