In a nutshell
- 🌡️ A simple jar creates a mini greenhouse that traps heat, stabilises humidity, reduces wind stress, and accelerates early seedling growth.
- 🧪 The enclosed microclimate forms a protective boundary layer, cuts transpiration, and uses thermal mass to shave frost risk while softening harsh light.
- 🧴 Choosing the right container—glass jars, PET bottles, or vented mason jars—balances clarity, safety, and adjustable ventilation; always clean to curb disease.
- 🛠️ Setup matters: place over well-watered soil, avoid leaf contact, secure lightly, and vent on sunny days; gradually remove covers to harden off seedlings.
- 🌍 Safety and sustainability: prevent damping-off with airflow, deter slugs, add fleece in frosts, and reuse materials to reduce waste and costs.
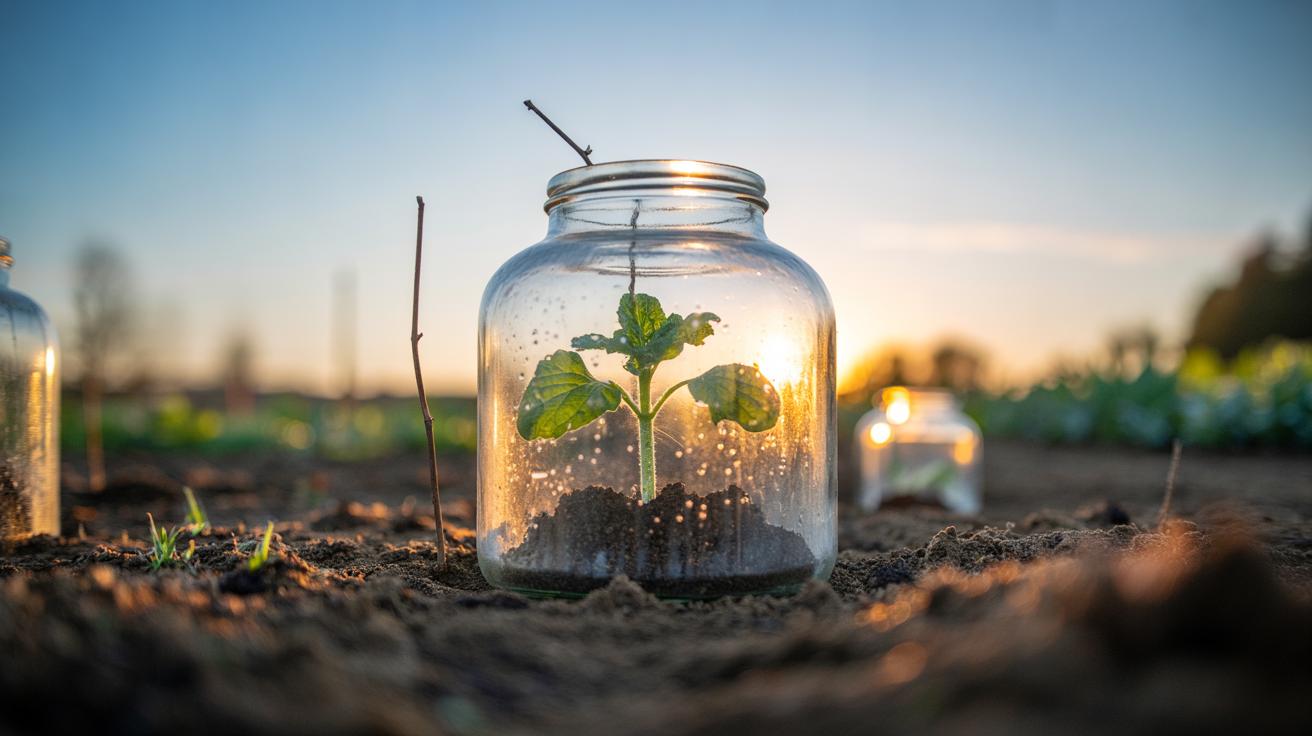
Cold snaps, drying winds, and unpredictable spring showers can undo weeks of careful sowing. The simple jar-over-plant trick converts household containers into a mini greenhouse, giving delicate seedlings the warm, still, humid air they crave. By trapping solar heat and reducing evaporation, a jar or cut bottle creates a microclimate that helps roots establish quickly and leaves expand without stress. Gardeners across the UK use this budget cloche method to gain an early start on salads, herbs, and half-hardy annuals. Even a single clear jar can lift nighttime temperatures by several degrees around tender seedlings, buying resilience during fickle spring weather. With careful placement and simple venting, these micro-domes can tip the balance from struggling starts to robust early growth.
Why a Jar Acts Like a Mini Greenhouse
A clear jar or bottle captures sunlight and slows heat loss, producing a modest greenhouse effect. Inside, air warms, moisture from soil and leaves condenses and cycles back, and a protective boundary layer forms around foliage. This microclimate reduces transpiration, stabilises temperature swings, and limits wind buffeting. The result is steadier growth, thicker leaves, and less transplant shock. In cool springs or exposed plots, a cloche can turn marginal conditions into a nurturing pocket, especially for basil, courgette, lettuce, and young brassicas. Reduced draughts and higher humidity are often the difference between stalled and thriving seedlings.
Light is filtered slightly by glass or plastic, softening harsh peaks that would otherwise scorch tiny cotyledons. Overnight, residual warmth in soil and the jar’s thermal mass shaves the edge off frost risk. While not a guarantee in severe cold, the cover slows radiative heat loss to the sky, acting like a duvet for the bed beneath. The enclosure also deters nibbling pests and splashing rain that can spread disease.
Choosing the Right Jar or Bottle
Different containers deliver different results. Clarity, weight, and ventilation options matter. Aim for clear, clean, food-grade materials that let in plenty of light without concentrating it into hot spots. Avoid coloured plastics that block useful wavelengths or very narrow necks that restrict airflow entirely. Where children play or footballs fly, plastics are safer than glass.
| Container | Pros | Risks/Notes | Best For |
|---|---|---|---|
| Glass jam jar | Excellent clarity; decent thermal mass; durable | Breakage hazard; can concentrate heat; heavy on tender stems | Exposed beds needing extra overnight warmth |
| Clear PET bottle (top cut off) | Lightweight; easy to vent; safe; repurposed waste | Scratches reduce clarity; can collapse in strong heat | Seed trays, small patches, family gardens |
| Mason jar with vented lid | Adjustable airflow; sturdy; reusable | Needs drilled holes or lid ajar to prevent overheating | Changeable days requiring precise ventilation |
Clean containers with warm soapy water to limit disease, then rinse well. For plastics, choose UV-stable if possible; for glass, look for smooth rims to avoid stem damage. Never clamp an unvented, sunlit cover over seedlings; prop the side or pierce holes to let heat escape. Wide-mouth containers are ideal because they admit airflow and are easier to place without bruising leaves.
How to Set Up and Vent Your Mini Cloche
Start with a well-watered, mulched surface to maintain steady moisture. Place a clear jar or bottle over the seedling, ensuring leaves do not touch the sides, which can cause wet scorch. For stability, press the rim a centimetre into soil or peg it with a wire hoop. Angle the jar slightly south to catch early light while limiting midday intensity. In windy sites, add a small stone on top of a plastic cloche, not glass, to avoid breakage. Leave space around the plant so air can circulate inside the dome.
Venting is critical. On bright days, crack the lid or lift one edge with a twig. A few 5–8 mm holes around the upper shoulder of a bottle allow warm air to escape without dumping all the humidity. Close vents in late afternoon to bank warmth for the night. As growth accelerates, raise the jar gradually or remove it for a few hours daily to harden plants. Always vent on sunny days to prevent cooking your plants.
Safety, Pests, and Sustainability Considerations
Cloche covers suppress wind-borne spores and splash-back, yet lingering condensation can favour damping-off. Reduce risk by disinfecting containers at the start of the season and avoiding overwatering. If leaves stay wet for hours, increase ventilation or tilt the jar to encourage air exchange. Slugs are deterred by the barrier, but they may still sneak under; a ring of sharp grit or copper tape around the rim helps. In severe frost, add horticultural fleece over jars at dusk for a double layer of security.
Think practical and green. Reuse bottles destined for recycling, or share a pool of jars on a community plot. Keep glass away from play areas and secure containers in exposed gardens to avoid shards. On hot spells, remove covers entirely to prevent soft growth. Once night temperatures stabilise above 8–10°C, phase out cloches to build resilience. Done thoughtfully, this simple trick saves money, cuts plastic waste, and delivers sturdier, earlier crops.
The humble jar turns household clutter into a precise tool for nurturing early growth. By trapping heat, reducing wind stress, and stabilising humidity, a mini greenhouse pushes seedlings past their vulnerable phase and into confident, steady development. With the right container, smart venting, and a watchful eye on weather, you can harvest weeks earlier while avoiding costly kit. As your plants size up, ease off the cover to build strength for the open garden. Which crops in your patch would benefit most from a repurposed cloche, and how will you adapt venting to your local microclimate?
Did you like it?4.5/5 (27)