In a nutshell
- ❄️ The freezer method makes sticker residue brittle by cooling pressure-sensitive adhesives, reducing tack and creating micro-gaps through thermal contraction.
- 🧭 Step-by-step: prep by removing the label, seal the item in an airtight bag, freeze 30–90 minutes, then peel with a plastic scraper and finish with tape or isopropyl alcohol.
- 🧱 Materials: works excellently on glass and metal, is good on rigid plastics, but is poor on porous wood/ceramics and ineffective on epoxy or cyanoacrylate glues.
- 🔁 Alternatives and aftercare: try gentle heat, oils, or a vinyl eraser; wash with warm soapy water and give a light alcohol wipe; prevent future hassle by labeling over masking tape.
- ⚠️ Safety tips: keep items dry, don’t freeze electronics or delicate coatings for long, and always spot-test painted or lacquered surfaces.
Sticker residue clings long after labels are gone, smearing under fingernails and resisting soap. A surprisingly simple fix sits in your kitchen: the freezer method. By exposing sticky patches to cold, you can encourage the adhesive to lose its tack and lift off cleanly, saving time and preserving delicate finishes. This approach works on many jars, lunch boxes, and even metal tools without harsh chemicals. Seal the item first and keep moisture away from sensitive surfaces. Below, we explain how cold undermines stickiness, the safest step-by-step routine, materials that respond best, and smart alternatives when the freeze isn’t enough.
Why Cold Works on Sticky Residue
Most labels rely on pressure-sensitive adhesives (PSAs), which behave like tiny shock absorbers. At room temperature, these polymer chains are soft and viscoelastic, spreading into microscopic pores to create strong contact. Cooling stiffens the polymer network, increasing its modulus so it can’t flow into surface texture. The tack plummets, edges lift, and residue that once smeared begins to flake or snap away. In simple terms: cold turns a gummy problem brittle. That shift is why a spell in the freezer often beats hot water or scraping, which can smear glue into a wider mess.
Cold also causes thermal contraction of both the adhesive and the container. Because adhesives and substrates shrink at different rates, micro-gaps open. Those gaps weaken the bond and give your fingernail, a plastic scraper, or low-lint cloth the leverage needed to peel cleanly. The trick is to chill enough to firm the adhesive without creating condensation that re-wets paper labels. Always keep the item dry inside the freezer to avoid moisture rings and paper pulp residue.
Step-by-Step: The Freezer Method
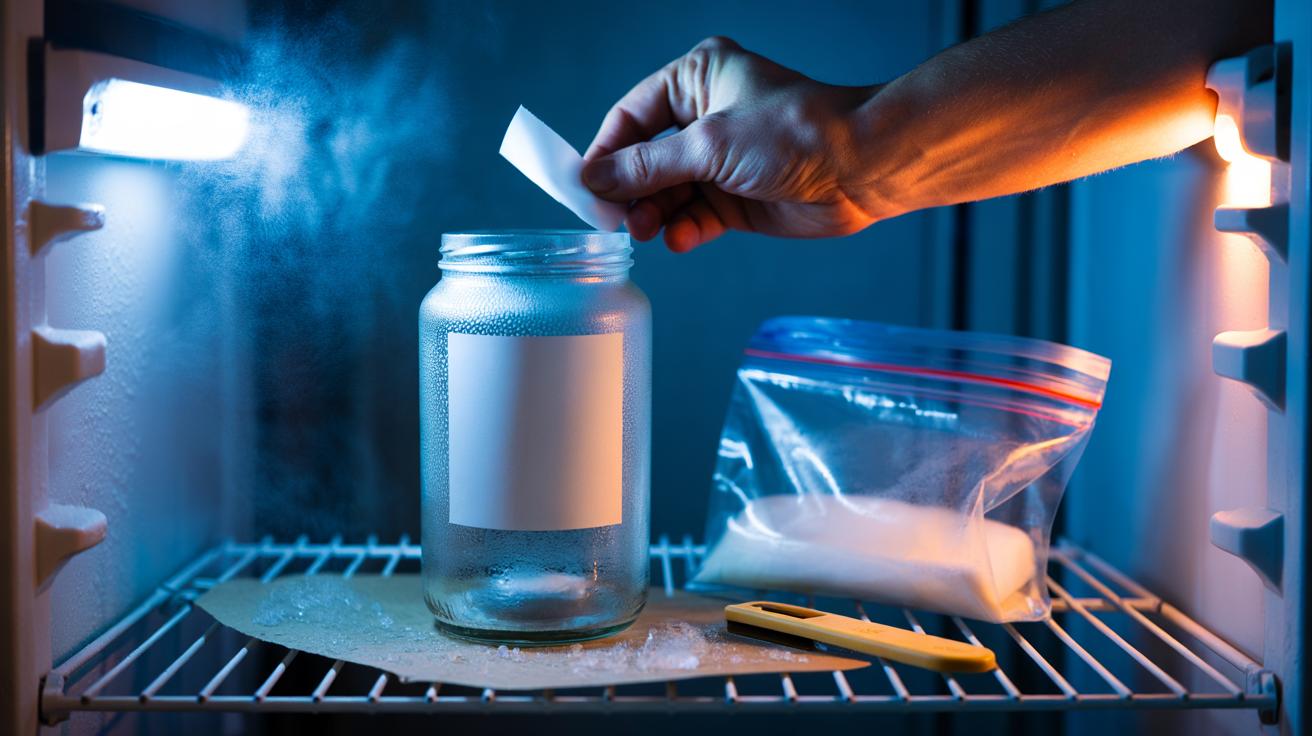
1) Prep the item. Remove as much of the label as possible by hand. Wipe off oil or soap; residues can insulate the adhesive against cold. Place the object in a clean, airtight bag or wrap it tightly with plastic film. Sealing prevents condensation and protects food-safe surfaces from freezer odors.
2) Chill. Place the wrapped item in the freezer for 30–90 minutes. Small glass jars and metal lids usually need the lower end; thicker plastics may need longer. Avoid ultra-long freezes for painted or lacquered objects. Do not freeze electronics, battery-powered items, or anything with trapped moisture.
3) Peel and clean. Remove the item and work quickly while it’s cold. Use a plastic scraper or an old credit card to lift an edge. For remaining residue, rub with a creased piece of tape, a vinyl eraser, or a cloth lightly dampened with isopropyl alcohol. Rinse and dry. If tack persists, repeat in shorter bursts rather than forcing it; brittle stages often come in waves as temperatures stabilize.
Materials and Adhesives: What Works, What Doesn’t
Cold excels on smooth, non-porous surfaces and many commodity PSAs. It’s less effective on structural glues and deeply porous materials. Use the quick-reference guide below to plan your approach and reduce risk to finishes.
| Surface/Item | Typical Freeze Time | Response to Cold | Notes/Risks |
|---|---|---|---|
| Glass jars, bottles | 30–45 min | Excellent: residue turns brittle | Keep dry; paper labels peel in one sheet |
| Metal lids, tools | 20–40 min | Excellent | Watch sharp edges when scraping |
| Rigid plastics (PP, PET) | 45–90 min | Good | Some plastics become brittle when very cold |
| Wood, unsealed ceramics | Not advised | Poor | Porous; moisture and fiber lift risk |
| Epoxy/cyanoacrylate glues | N/A | Unaffected | Use mechanical removal or solvents |
Adhesives formulated for removability respond especially well, as do rubber-based PSAs found on common retail labels. Acrylic PSAs also loosen, though they may need slightly longer. If you suspect a high-performance industrial adhesive, the freezer alone may not suffice. In such cases, pair a short chill with targeted alcohol or citrus solvent to exploit both brittleness and chemical softening. Always spot-test on painted or coated surfaces to avoid whitening or dulling.
Alternatives and Aftercare for a Clean Finish
Heat is the classic counterpart. A gentle blast from a hairdryer softens many adhesives, allowing slow, even peel. Where heat risks warping plastic, cold offers a safer path. Oils (olive, mineral) or peanut butter can soften residue on glass and metal; follow with dish soap to remove any film. Avoid aggressive scraping on delicate coatings—use plastic cards, not blades. For stubborn corners, a vinyl eraser rolls up tack without solvents.
After removal, wash with warm water and mild detergent, then dry thoroughly. A final wipe with diluted isopropyl alcohol clears invisible residue that attracts dust. On food containers, ensure there’s no lingering odor from the freezer bag. Recycle labels and backing responsibly; adhesive-contaminated paper can be binned if local recycling rejects it. If you upcycle jars, consider placing new labels on a small strip of masking tape for easy future removal. Prevention turns the next clean-up into a two-second peel.
Used sparingly and thoughtfully, the freezer method is a quick, low-cost route to spotless jars, lunch boxes, and metal lids, with less scraping and fewer harsh chemicals. Understanding how cold alters adhesive behavior helps you choose between chill, heat, or solvent—and in many kitchens, the freezer wins. Remember to seal items before chilling and skip electronics or porous surfaces. With a little timing and the right tools, clean peels become routine. What tricky label or residue will you put to the cold test first, and how will you adapt the steps to your specific surface?
Did you like it?4.5/5 (26)