In a nutshell
- 🧪 The hot water + white vinegar soak softens hairspray polymers in minutes; heat boosts diffusion while mild acidity breaks bonds, lifting sticky films without harsh chemicals.
- 🧼 Follow a simple routine: remove hair, soak in 1:2 vinegar:water (hot, not boiling) for 10–15 minutes, gently agitate, scrub with a toothbrush, rinse thoroughly, and dry bristles-down; keep wooden handles out of the solution.
- 🧯 Tailor to materials: plastic paddles (1:2, 10–15 min), metal barrels (1:3, 8–12 min), boar bristle (1:4, 5–8 min), wooden handles = spot clean; adjust for hard water and avoid mixing vinegar directly with bicarbonate.
- 🧴 Hygiene gains: removes oils, dust, and product residue, reduces odour, and keeps bristles gliding; clean weekly for heavy hairspray users, monthly for others, and store brushes in a dry place.
- 🔁 Know when to replace: split cushions, bent pins, splayed bristles, peeling barrels, or lingering musty smells signal it’s time for a new brush.
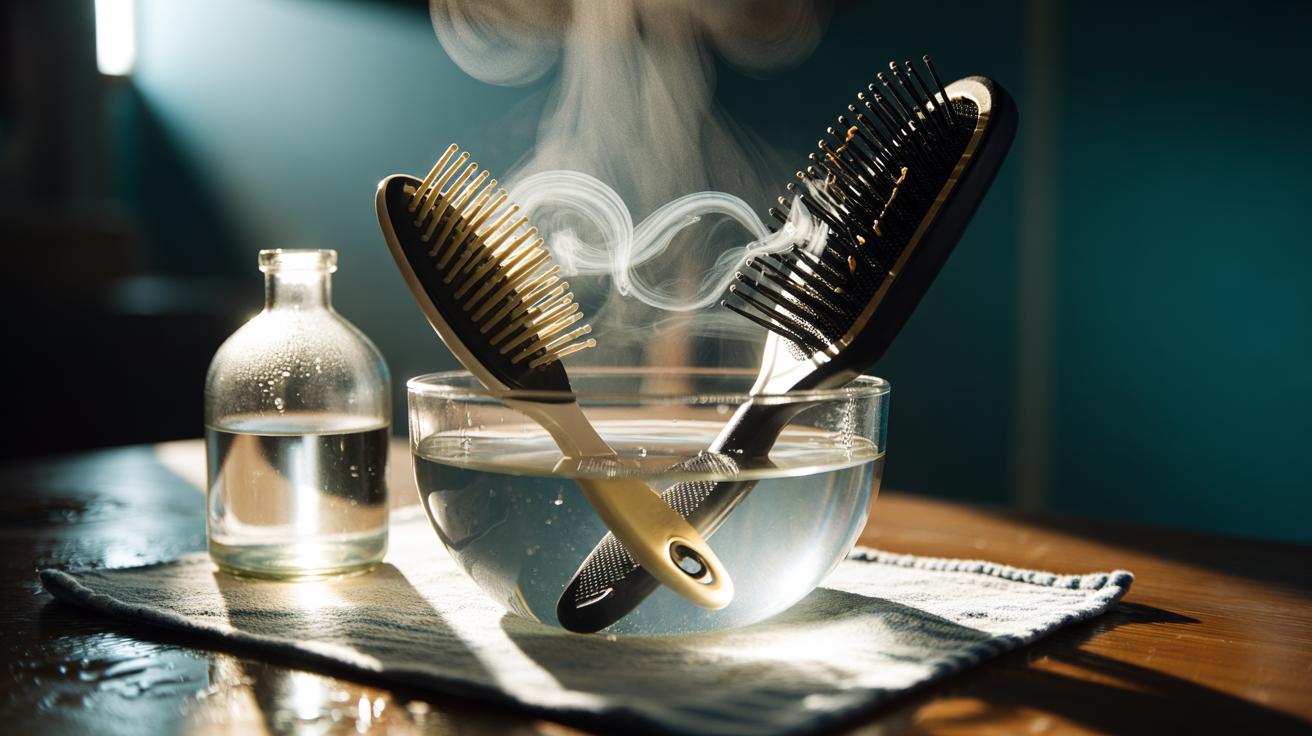
There is a fast, frugal way to rescue gunked-up hair brushes from the grip of sticky hairspray, scalp oil, and dust. A simple soak using hot water and white vinegar loosens residue and lifts odour without harsh chemicals, leaving bristles fresh and springy. The method relies on gentle chemistry, not elbow grease, and it works on most modern brushes and combs. In minutes, the tacky film that clings to bristles softens and slides away, making maintenance less of a chore. Below, you’ll find the science behind the soak, a step-by-step routine, and material-specific tips that protect your kit while restoring a just-bought clean.
Why Hot Water and Vinegar Break Down Hairspray
Hairspray is built from film-forming polymers such as PVP or acrylates. They’re designed to dry into a flexible net that clings to hair, which is why they can cement themselves to brush bristles. Acetic acid in vinegar lowers the pH around these polymers, helping disrupt weak ionic attractions and softening the film. Heat then speeds diffusion, allowing water to penetrate the matrix and detach the grime-and-dust cocktail that builds between bristles. The partnership of heat and mild acidity is what turns a stubborn lacquer into a liftable residue without stripping or scratching.
The soak also tackles plasticiser sheen and sebum. Warmth liquefies oils, while vinegar cuts through mineral deposits left by hard water. Although vinegar isn’t a hospital-grade disinfectant, it can reduce microbial load on contact surfaces. That makes it ideal for regular brush upkeep at home. Test delicate finishes before a full soak, especially on wooden handles or vintage pieces where adhesives and varnish may be sensitive to moisture and acidity.
Step-by-Step Soak Method
Start by removing trapped hair with a tail comb or the pointed end of a bobby pin. Mix the bath: use 1 part white distilled vinegar to 2 parts hot water (around kettle-hot plus a splash of cold; not boiling). A bowl or washing-up basin is perfect. For especially tacky buildup, add a pea-sized blob of mild shampoo to introduce a little surfactant lift. Do not immerse wooden handles if you can avoid it—keep the bristles in the solution while the handle stays clear.
Soak for 10–15 minutes. During the soak, agitate the brushes gently to nudge residue away. Use an old toothbrush to work between rows of bristles, flicking softened film off the base. For round brushes, rotate the barrel under the water to flush the vents. You’ll see the solution cloud as the hairspray film dissolves. When the bristles feel squeak-clean between your fingers, you’re ready to rinse.
Rinse thoroughly under warm running water, then shake off excess. Lay brushes bristles-down on a towel so water can drain from the base, protecting glue points. Allow to dry fully before use. As a rule of thumb, clean styling brushes weekly if you use hairspray daily, and at least monthly for lighter users.
Timing, Ratios, and Material-Specific Advice
Not all brushes are built alike. Plastic paddles and silicone pins tolerate longer soaks; wooden or natural-bristle tools need a gentler touch. The table below outlines sensible starting points. Adjust to suit your tools and your local water hardness. When in doubt, shorter soaks with a second round are safer than one long immersion.
| Material/Type | Vinegar:Water | Soak Time | Notes |
|---|---|---|---|
| Plastic paddle/vented brush | 1:2 | 10–15 minutes | Safe for full soak; agitate mid-way. |
| Round brush with metal barrel | 1:3 | 8–12 minutes | Dry thoroughly to avoid rust at vents. |
| Silicone-tipped pins | 1:2 | 10 minutes | Soft bristles; use soft toothbrush, not scraping. |
| Boar bristle (natural) | 1:4 | 5–8 minutes | Keep handle out; condition bristles with mild shampoo rinse. |
| Wooden handle brush | Spot clean | N/A | Do not immerse handle; wipe with damp cloth and dry fast. |
Hard water areas may leave limescale on the brush base, which vinegar helps dissolve. If you notice persistent white deposits, extend the soak by a few minutes at a weaker ratio. Always rinse until the vinegar smell fades, then dry facing down to protect the cushion bed and adhesive plugs. Avoid mixing vinegar directly with bicarbonate of soda in the soak—while it looks lively, the neutralisation blunts cleaning power. Use bicarb separately, as a pre-scrub on the base if needed.
Hygiene Benefits and When To Replace a Brush
A clean brush is kinder to your scalp and your style. Oils and product residue redistribute onto clean hair, dulling shine and reducing hold. Dust and skin flakes lodge in sticky bristles, providing a feast for microbes. Regular hot water and vinegar soaks reduce odour and help keep bristles gliding smoothly. For those with sensitive scalps or flaky conditions, routine cleaning can make styling more comfortable, because the brush no longer drags through a film of old spray and sebum.
There are limits. Replace a brush when the cushion splits, pins bend out of alignment, bristles splay permanently, or the barrel coating peels. If a brush smells musty after thorough drying, the core may be waterlogged. As a maintenance rhythm, remove hair after every use, deep-clean weekly for heavy hairspray users, and monthly for occasional spritzers. Store brushes bristles-up in a dry spot, not in steamy bathrooms, to preserve adhesives and avoid mildew.
The hot water and vinegar soak proves that smart cleaning beats force. By softening polymer films and lifting oils, it frees bristles quickly and restores that crisp “first stroke” feel. The method is inexpensive, planet-friendly, and adaptable to almost every brush in your kit. Respect materials, keep handles out of the bath when needed, and let gravity help you dry. Once you’ve seen the rinse water turn cloudy, you’ll never go back to scraping. How will you tailor the ratio, timing, and tools to create your own perfect brush-care routine at home?
Did you like it?4.4/5 (27)