In a nutshell
- 🔥 Warm air + airflow accelerate solvent evaporation; gentle convection lowers local humidity and speeds drying—avoid scorching blasts to prevent bubbles and dullness.
- 💡 Follow the safe method: apply thin coats, set the dryer to low heat/low speed, keep a 20–30 cm distance, move in soft arcs for 45–60 seconds per hand, then finish with a cool shot.
- ⏱️ Smart settings and timings: base coat 30–45s; each colour coat 45–60s; top coat 45s + 20s cool; final set 30–45s cool—consistency matters more than power.
- ❌ Avoid common mistakes: thick layers trap solvent, high heat causes ripples, a close nozzle drives dust; hairdryers do not cure gel polish; combat humidity with cross‑ventilation.
- ✅ Pro finish: add a quick-dry top coat, do the glide test (nails slide, not stick), wait five minutes post-dry, and keep the nozzle moving—small tweaks in distance, time, and temperature protect shine.
Pressed for time after a home manicure? The internet-famous hairdryer trick promises to dry nail polish in minutes, and the science backs it up. By boosting air movement and adding a touch of warm air, you can help solvents escape faster, allowing your colour to set into a smoother, longer‑lasting film. The key is gentle heat and steady airflow, not a scorching blast. Used correctly, this method pairs neatly with thin coats and a decent top coat, saving you from smudges, sheet marks, and patience-testing waits. Here’s how warm air really works on polish—and the safest way to get speedy, salon‑tidy results at home.
Why Warm Air Speeds Up Drying
Traditional nail polish dries as its solvents evaporate and the resin system forms a continuous film. A hairdryer helps by increasing convection, sweeping away saturated air at the nail surface so fresh, drier air can draw out more solvent. Mild warmth also reduces viscosity in the wet film, encouraging a level finish while supporting solvent evaporation. Because warmer air holds more moisture, the local relative humidity around your nails drops, which speeds the escape of volatile ingredients. That combination—airflow plus modest heat—does the heavy lifting, turning tacky layers into touch-dry colour far more quickly than waiting in still air.
There is a limit. Too much heat softens the film prematurely and can trap solvents, causing bubbling, ripples, or dull patches as vapours push through the surface. Think gentle rather than fierce: low speed and low heat, with the nozzle kept at a safe distance. In humid rooms, airflow matters more than temperature; a dryer’s cool shot can be surprisingly effective. Avoid high heat on fresh polish—slow and steady wins the race.
The Safe Hairdryer Method, Step by Step
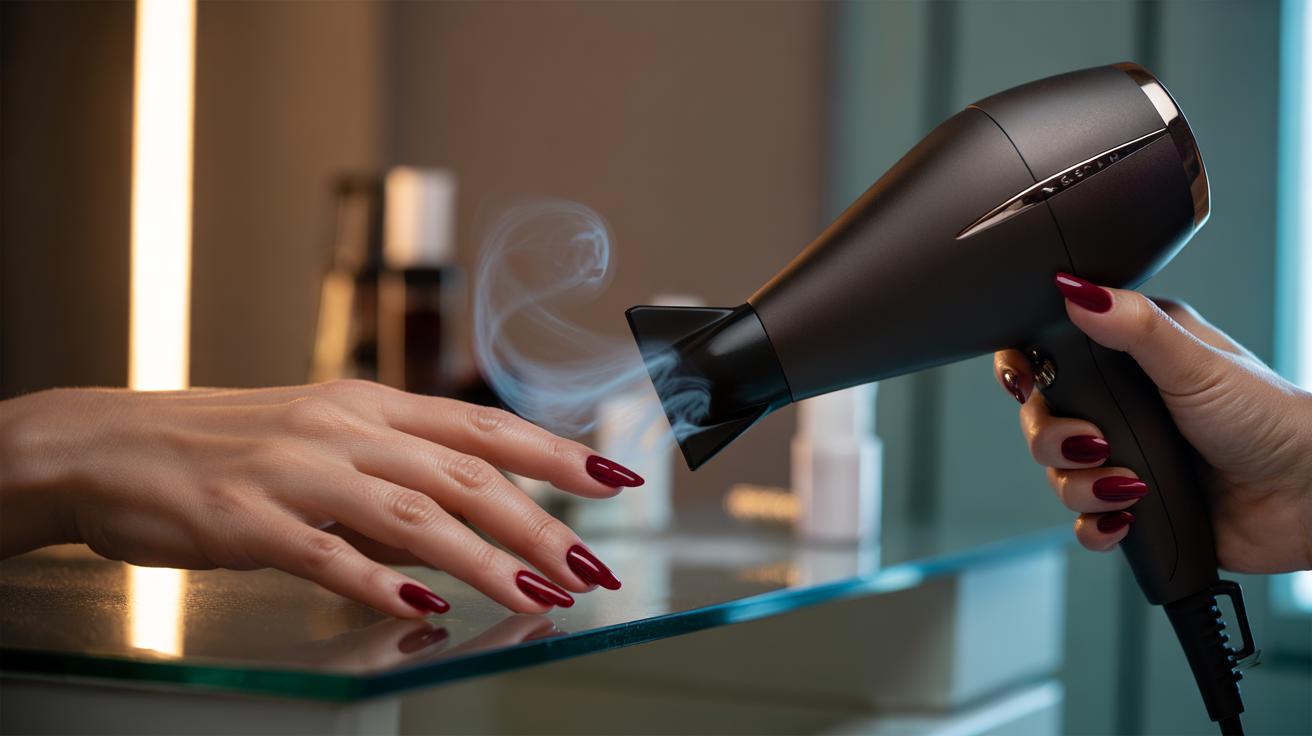
Start with clean nails and a thin base coat. Apply your first colour coat in thin layers; thick paint slows evaporation and invites dents. Wait about 60 seconds so the surface stops swimming. Set the dryer to low heat and low speed, then hold it 20–30 cm from your hands. Keep the nozzle moving in soft arcs. Stay at least 20–30 cm away to prevent ripples and heat spikes. After 45–60 seconds per hand, the layer should be touch-dry, not just skin-warm. Repeat for the second thin coat.
Finish with a quick-dry top coat and give another short pass of warm, gentle airflow. If your dryer has a cool shot, use it for 20–30 seconds to firm the surface and add shine. Never blast nails with high heat or turbo speed; you’ll force bubbles and dust into the finish. Sit still for five minutes after the final pass to allow deeper solvents to diffuse out. The result: glossy, even colour that resists accidental bumps while continuing to harden underneath.
Settings, Timings, and Distances at a Glance
Consistency matters more than power. Aim for a balanced mix of airflow and mild warmth that supports evaporation without disturbing the wet film. The guide below summarises the sweet spot for most at‑home dryers. Adjust slightly for very humid rooms by prioritising airflow or using a dehumidified space. If you feel heat on your nail bed, you’re too close or too hot.
| Stage | Dryer Setting | Distance | Time per Hand | Effect |
|---|---|---|---|---|
| Base coat | Low heat, low speed | 20–30 cm | 30–45 sec | Speeds tack-off, helps level film |
| Colour coat (each) | Low heat or cool shot | 20–30 cm | 45–60 sec | Enhances evaporation, reduces smudging |
| Top coat | Low heat, then cool shot | 25–30 cm | 45 sec + 20 sec cool | Locks shine, firms surface |
| Final set | Cool shot only | 30 cm | 30–45 sec | Stabilises finish without softening |
For quick checks, lightly tap nails together—if they glide without sticking, they’re surface‑safe. Then keep hands still while deeper layers cure. Patience in the last five minutes preserves the glossy film you’ve just perfected.
Common Mistakes and How to Avoid Them
Most mishaps come from excess: too much heat, too much polish, or too little distance. Thick coats trap solvent and buckle under airflow. Apply thin layers and cap the free edge to reduce shrinkage lines. A blasting nozzle too close to the nail creates ripples and pushes dust into the surface, so keep a comfortable 20–30 cm gap and keep the dryer moving. If your nails look hazy or pebbled, you’ve overheated—switch to cool shot and let the film relax for a minute.
Watch your environment. High humidity slows evaporation; open a window or use a fan for cross‑ventilation. Avoid oily hand creams before painting—they repel polish and encourage fisheyes. Do not expect a hairdryer to cure gel products; hairdryers do not cure gel polish and can actually warp it. Choose a quick-dry top coat or drying drops for extra insurance and remember: steady technique beats speed-chasing gadgets.
The hairdryer trick works because it respects the chemistry: airflow and gentle warmth help solvents leave cleanly, allowing colour to lock into a smooth, resilient film. Keep the settings low, the coats thin, and the nozzle moving, and you’ll sidestep bubbles, ripples, and dull spots. Add a top coat and a short cool blast to bank that high-gloss finish. Small adjustments—distance, time, and temperature—make a big difference. Ready to test your own setup: what combination of heat, airflow, and timing gives you the fastest dry without sacrificing shine?
Did you like it?4.6/5 (20)