In a nutshell
- 🧊 Salt turns ice into a flowing brine that hugs the can, boosting surface contact and speeding heat transfer for rapid chilling.
- ⚗️ The science: freezing point depression drops the slurry to sub-zero, while the latent heat of fusion from melting ice absorbs large amounts of heat.
- ⏱️ How-to: Pack ice, add a splash of water, then ~1:4–1:5 salt-to-ice; fully submerge and agitate every 20–30 seconds for a two-minute chill.
- 🧪 Ratios matter: from 1:10 to 1:2, colder slurries yield faster times; 1:3 is a common sweet spot balancing speed and control.
- ⚠️ Safety and care: Avoid over-salting thin glass to prevent thermal shock; wear gloves and rinse bottles and gear to minimise corrosion.
When the heat’s on and the drinks are warm, a bag of ice can feel painfully slow. The shortcut many bartenders swear by is simple: add salt to the ice, make a slurry, and watch bottles plunge from tepid to crisp in roughly two minutes. It sounds like pub lore, yet the physics are sound. Salted ice doesn’t just make things colder; it makes them cold faster. By engineering a sub-zero bath that hugs every curve of a can, the method accelerates heat transfer and unlocks a sharper chill than ice alone.
Why Salt Supercharges Ice
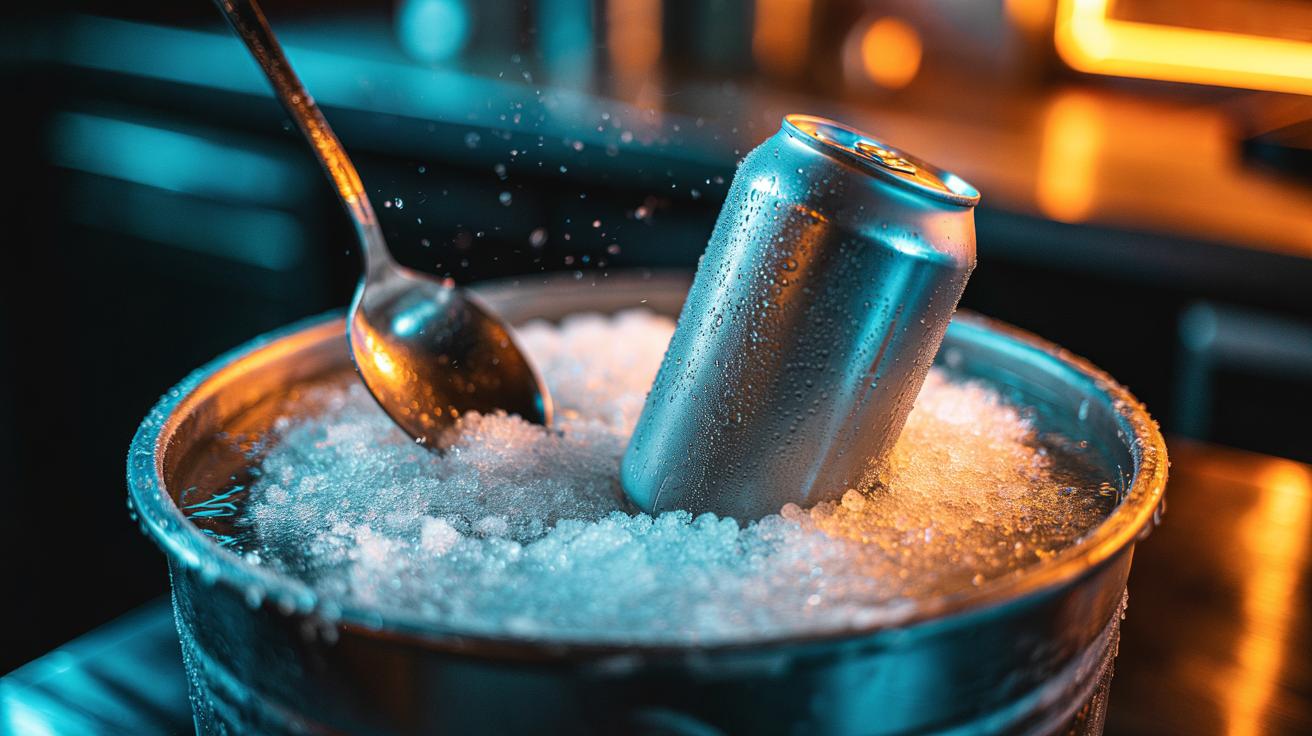
Sprinkling salt onto ice forces some of that ice to melt, forming a cold brine that bathes the can or bottle. This liquid layer dramatically increases contact compared with jagged ice cubes touching only at points. The brine flows, it creeps into seams, and it strips away the insulating film of warmer liquid around the container. The result is faster heat transfer because you combine solid ice for chilling power with mobile liquid for efficient convection. That mix is why gelato makers and fishmongers trust salted ice to deliver rapid, even cold.
There’s a second boost: as the brine forms, it stays below 0°C, so the drink faces a colder target than plain ice. Add a brief swirl every 20–30 seconds and the boundary layer never gets a chance to warm up. Coarse rock salt dissolves steadily and is easy to handle, though ordinary table salt works in a pinch. If the bath feels slushy rather than blocky, you’re on the right track.
The Science: Freezing Point Depression and Latent Heat
Salt lowers water’s freezing point — the classic freezing point depression. With enough salt, the ice–water mix can stabilise at −10 to −15°C, well below ordinary ice at 0°C. That colder environment is only half the story. Each gram of ice that melts soaks up about 334 J of energy, known as the latent heat of fusion. Every crystal you melt is a tiny heat sink, silently hauling energy out of your drink. The salt coaxes ice to melt while simultaneously keeping the mix colder than fresh water could manage.
Consider a 330 ml can at 22°C. Cooling it to around 4°C means shedding roughly 25 kJ of heat. Melting about 75 g of ice at 0°C already accounts for that, and a sub-zero brine does even better by pulling heat faster through improved contact. This is why a salted ice bath can deliver a two-minute chill, while a bucket of cubes leaves you waiting.
How To Build a Two-Minute Ice Bath
Grab a sturdy bucket, a sink, or a cool box. Fill with ice to cover your cans or bottles, then pour in a small splash of water to start the slurry. Sprinkle salt over the ice — aim for roughly 1 part salt to 4–5 parts ice by mass (about two heaped tablespoons per 1 kg of ice if you’re eyeballing). Push the drinks deep into the mix so they’re fully surrounded. Agitate the bath and rotate each can every 20–30 seconds for a rapid, even chill.
Expect your brine to settle between −5 and −12°C depending on the ratio and ambient conditions. Table salt or rock salt both work; rock salt is cheaper and easier to scatter with gloves. If you need repeat batches, top up the ice and salt rather than starting over. Do not overdo the salt if you’re chilling glass: very sub-zero slurries can shock thin bottles. Cold and contact are your allies; patience isn’t required.
| Salt-to-Ice (by mass) | Approx Slurry Temp | 330 ml Can Chill Time | Notes |
|---|---|---|---|
| 1:10 | −2 to −3°C | 6–8 min | Gentle boost over plain ice |
| 1:5 | −5 to −7°C | 3–4 min | Good balance of speed and control |
| 1:3 | −8 to −10°C | 2–3 min | Sweet spot for most home setups |
| 1:2 | −12 to −15°C | ~2 min | Fastest, higher risk for thin glass |
Practical Ratios, Materials, and Safety
For everyday chilling, a 1:4 to 1:5 salt-to-ice ratio keeps control without wasting salt. Use coarse rock salt for easy grip and slower dissolution; it’s cheaper and less messy. Add just enough water to create a free-flowing slurry — too much water dilutes the cold, too little leaves air gaps. Rotation matters: moving liquid sweeps away warmed brine and refreshes the cold interface against the can. For bigger bottles, submerge the shoulders and keep the bath moving; expect 5–8 minutes for 750 ml wine.
Mind the risks. Extremely cold slurries can induce thermal shock in thin glass, especially if the bottle is warm from a car boot. Wear gloves to avoid numb fingers; salty slush can feel much colder than it looks. Keep salt away from lawns and metal fittings; rinse the bucket and the bottle necks to prevent corrosion and off-flavours. If in doubt, go gentler on salt and add agitation — speed without drama.
Salted ice works because it recruits chemistry and physics to do the hard yards, turning a slow melt into a precision cold bath that hugs the container and drinks in heat. For hosts, campers, and last-minute party planners, it’s a reliable fix that costs pennies and takes seconds to set up. The method scales from one can to a whole cool box; just maintain the ratio and keep the slurry moving. What will you chill first — a craft beer, a bottle of rosé, or tomorrow’s picnic fizz — and which ratio gives you your fastest safe cool-down?
Did you like it?4.4/5 (30)