In a nutshell
- 🌱 Used coffee grounds boost soil health by feeding microbial activity, adding organic matter, and improving structure; they’re near-neutral after brewing and act as a slow, gentle nitrogen source.
- ☕ Safe use hinges on dry first and light dosing: top-dress 1–2 tsp per 12–15 cm pot monthly, make an extract (1 tbsp/L, steep 12–24 h, dilute 1:1), or mix into repotting media at ≤10%.
- 🧰 Choose from three methods—Top-Dress Blend, Coffee Extract, or Compost First—with worm-casting top-ups for a richer boost; each balances benefits against risks like crusting or souring.
- 🚫 Troubleshoot smartly: surface mould means too wet—scrape, aerate, and pause; uniform yellowing needs a balanced feed; avoid for arid plants such as succulents, cacti, and orchids.
- 📈 Aim for a steady routine: blend, don’t blanket; track subtle wins over weeks—firmer leaves, steadier moisture, deeper colour—because with coffee grounds, less is more.
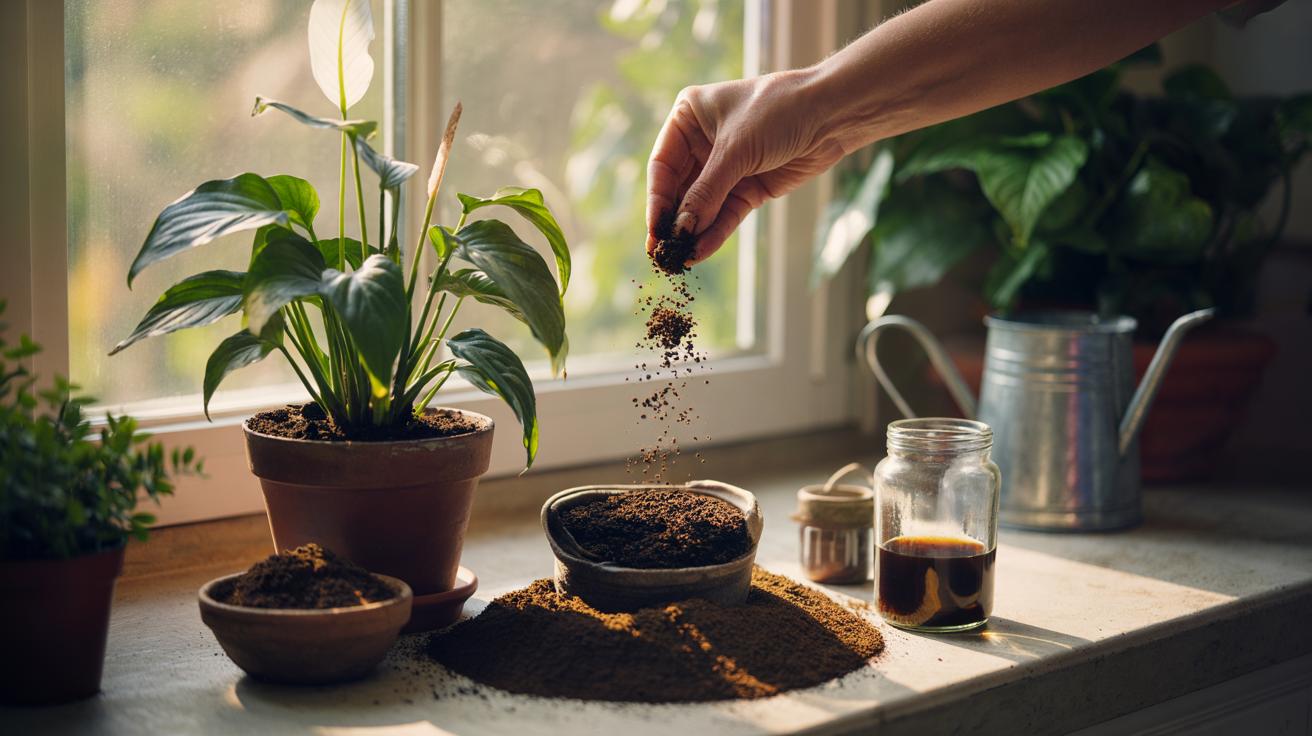
British kitchens produce mountains of used coffee grounds. Most go straight into the bin. That’s a shame, because those gritty leftovers can be a gentle tonic for tired houseplants when handled with care. Think of them as a slow, earthy boost rather than a miracle cure. They add organic matter, a whisper of nitrogen, and food for helpful microbes. Yet there’s a catch. Coffee grounds are fine-textured, can clump, and invite mould if layered on thick. The trick is simple: light touch, smart timing, and the right plants. Less is more with coffee grounds, and with a few small adjustments you’ll see fresher foliage and better moisture balance without buying another bottle of feed.
The Science Behind Coffee Grounds and Soil Health
Used grounds are rich in organic carbon, with modest nutrients, particularly nitrogen. They don’t replace a balanced fertiliser, yet they nourish the microbial life that turns potting mixes from sterile dust into living soil. As microbes digest the particles, they create sticky by-products that improve soil structure. Water moves more evenly. Roots breathe. That’s what tired plants crave.
What about acidity? Fresh coffee is acidic, but used grounds typically settle close to neutral (often around pH 6.5), which aligns with the preferences of many foliage houseplants. Still, pH effects depend on your water, potting mix, and the amount you use. Overdo it and you can change drainage or encourage fungus. Another talking point is caffeine. Spent grounds contain far less than a brew, but traces remain and can stress seedlings or very tender roots. Avoid sprinkling around newly potted cuttings, and never bury seedlings in the stuff.
Decomposition is a slow burn. Coffee won’t “green up” a plant overnight; it works cumulatively. That suits regular, light applications. In short: feed the soil, and the soil feeds the plant.
Preparing and Applying Coffee Grounds Safely
Start with the basics. Spread your used grounds on a tray to dry for a day, or freeze them between uses. Drying prevents the slimy mats that suffocate roots and attract gnats. Scented pods and flavoured coffees are a no. Oils and additives can harm soil life. Aim for plain, used grounds only.
Application is about restraint. Mix a scant teaspoon or two into the top layer of a 12–15 cm pot once a month, blending with existing compost to avoid a tight crust. Alternatively, make a gentle “coffee extract”: steep one tablespoon of dried grounds in 1 litre of water for 12–24 hours, then strain and dilute 1:1. Water the soil, not the leaves. This light brew gives microbes something to chew on without tipping the balance.
For repotting, fold grounds into fresh mix at no more than 10% by volume. Keep them away from stems and crowns, which prefer air and dryness. Watch drainage. If the potting mix looks smeary or water pools, reduce or stop coffee inputs. Remember: consistency beats quantity with organic amendments.
Three Practical Methods You Can Try Today
Choose a method based on your plant’s condition and your routine. If fungus gnats are a problem, avoid wet layers and switch to the extract. If your plant looks pale but is otherwise healthy, a light top-dress blended into the surface may suffice. Composting grounds with other kitchen scraps can deliver safer, more balanced nutrition over time.
| Method | How to Apply | Frequency | Best For | Key Risk |
|---|---|---|---|---|
| Top-Dress Blend | Mix 1 part dried grounds with 4–10 parts potting mix; work lightly into top 2 cm. | Monthly, light touch | Established foliage plants needing soil structure support | Compaction if layered thick |
| Coffee Extract | Steep 1 tbsp grounds/L for 12–24 h, strain, dilute 1:1; water soil. | Every 3–4 weeks | Sensitive plants; avoiding crusting | Overuse can sour media |
| Compost First | Add grounds to a countertop compost at <20% of mix; use finished compost to top-dress. | Each repot/top-up | Broadest safety, microbial richness | Needs time and space |
Tip: If you own a worm bin, worms devour small amounts of coffee happily. Their castings are a gold-standard tonic. Use that to top-dress, not raw grounds, when reviving badly stressed plants.
Troubleshooting, Risks, and Smart Adjustments
Seeing mould on the surface? That’s usually benign fungi digesting organics. Scrape it off, improve air flow, and let the mix dry slightly between waterings. Persistent mould or a sour smell signals too much coffee or too little light. Pause applications for a month. Healthy soil should smell earthy, never acrid.
If leaves yellow uniformly, the plant may need a balanced feed rather than more coffee. Grounds offer little phosphorus and potassium. Combine your routine with a gentle, complete fertiliser during active growth. For drooping or waterlogged pots, fluff the top layer with perlite or bark and reduce grounds to trace amounts, or switch to the extract only.
Match plant to practice. Succulents, cacti, orchids and other air-loving species dislike fine particles that hold moisture. Avoid grounds entirely for them. For most tropical foliage—peace lily, pothos, philodendron, ferns—small doses are welcome. Always test on one plant first. If growth perks up in 3–6 weeks, roll it out. If nothing changes or problems appear, stop. The greenest hack is knowing when to hold back.
Used with intent, coffee grounds revive lacklustre houseplants by feeding microbes, enhancing structure, and nudging foliage back to vitality. There’s no magic wand here, just a light, steady hand and attention to what the pot is telling you. Dry the grounds. Blend, don’t blanket. Consider an extract for sensitive roots or compost first for safety. Then watch for subtle wins—firmer leaves, steadier moisture, richer colour over a month or two. Ready to trial a teaspoon on one plant this week and track the change—what will you choose as your first test subject?
Did you like it?4.4/5 (30)