In a nutshell
- 🌱 Choose a ventilated bin with drainage, add moist bedding (cardboard/coir), and site it in shade at 10–25°C; a lid and worm blanket stabilize conditions and deter pests.
- 💧 Keep moisture at “wrung-out sponge” (60–80%) to fuel microbial decomposition; avoid soggy, airless layers, and treat leachate cautiously if odours arise.
- 🍽️ Feed small, chopped veg scraps, coffee, and tea under a cover layer; balance greens with extra carbon-rich bedding (about 1:2) and avoid meat, dairy, and oils to prevent smells and flies.
- ⚖️ Maintain airflow and steady temperatures; fluff the surface for oxygen, keep pH near 6.5–7.5, and use lime or powdered eggshell if acidity builds; adjust for ants (dry) or flies (overfeeding/cover).
- 🪱 Harvest castings via tray migration or the light method; use vermicompost as a top-dress or 10–20% in potting mixes, and pause feeding to correct wet, smelly, or ammonia-prone conditions.
Britain’s kitchens and gardens produce a steady stream of peelings, tea bags, and cardboard sleeves—perfect fodder for a thriving wormery. A well-designed bin turns these everyday leftovers into vermicompost, a dark, friable soil booster that helps crops and ornamentals flourish. Success hinges on two magnets for life: moisture and the right scraps. Balanced correctly, they spark a microorganism boom that feeds worms such as Eisenia fetida and Dendrobaena veneta. This guide walks you through choosing a bin, setting the ideal conditions, and feeding it intelligently so your worms stay vigorous, odour stays minimal, and your garden reaps the benefits.
Choosing the Right Bin and Location
A dedicated worm bin can be a tiered commercial system, a lidded plastic tote, or a ventilated wooden box. Whatever the design, ensure generous aeration and drainage: drill 6–8 mm holes on sides and base, then raise the bin on bricks over a tray to catch runoff. Fit a tight lid to deter rodents and foxes. Line the floor with moist bedding (shredded cardboard, coir) 10–15 cm deep before introducing 500–1,000 composting worms. Place the bin where temperatures stay between 10–25°C and out of direct sun to keep the colony active year-round.
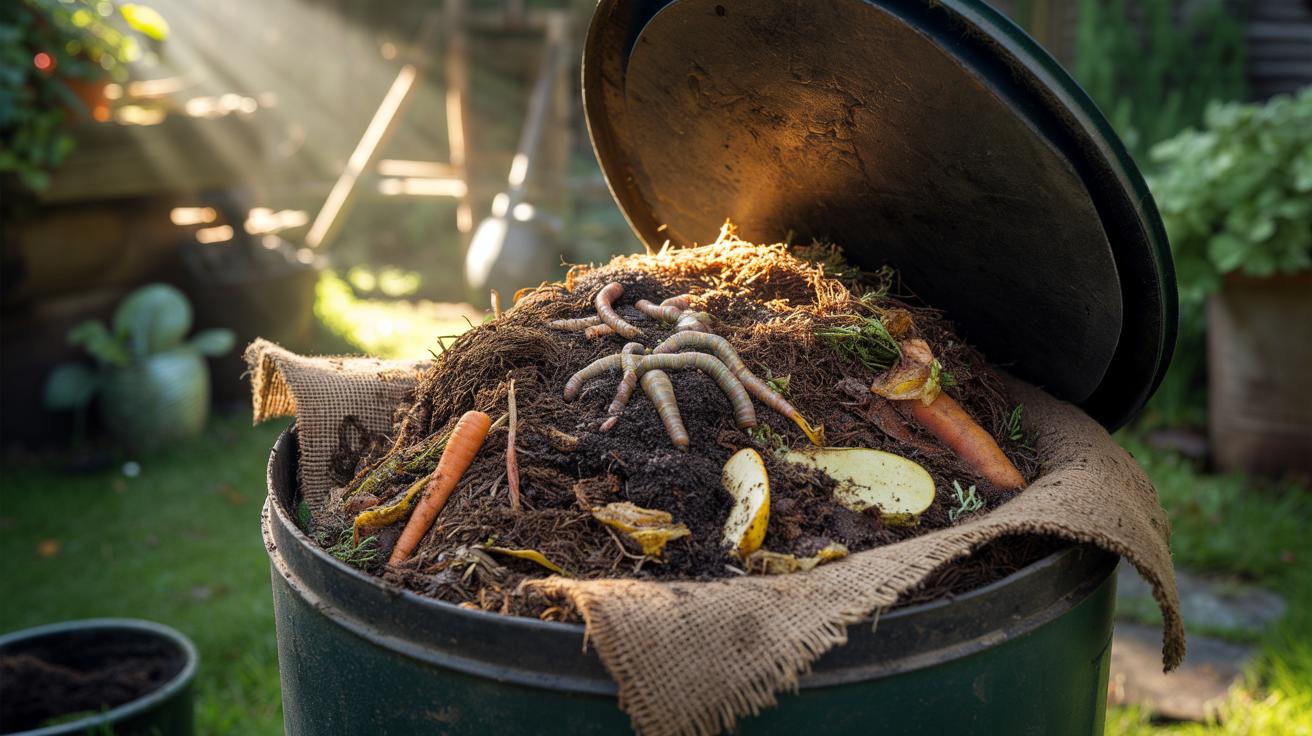
In the UK, a north or east-facing, sheltered spot is ideal—under a bench, lean-to, or shed overhang. Summer heat can bake bins; winter cold can stall worms. Add insulation in cold snaps (old duvets, bubble wrap) and shade cloth in heatwaves. Keep rain out to prevent waterlogging while maintaining steady humidity. A breathable worm blanket or damp hessian sack over the surface stabilises conditions and discourages flies.
Moisture: The Magnet for Worms
Worms breathe through their skin, which must stay damp. Target a moisture level like a wrung-out sponge—roughly 60–80%. That environment accelerates microbial decomposition, softening scraps and releasing compounds that draw worms into the feed zone. Mist with rainwater if bedding feels crisp; blend water into fresh bedding rather than pouring directly. Never let the bin become soggy and airless—anaerobic conditions repel worms and create sour odours. Positioning the bin under cover and lifting it off the ground prevents puddling.
If excess liquid collects, drain it promptly. This runoff—often called leachate—is not the same as properly brewed “worm tea.” Use with caution only when it smells earthy and is diluted, or better, add it back to a hot compost heap. When the bin skews wet, stir in dry carbon-rich bedding (shredded paper, egg boxes). If it’s too dry, reduce ventilation temporarily and lightly mist. The steady sweet spot rewards you with faster processing and happy, active worms.
Food Scraps and Bedding: What to Add and Why
Feed the bin small, frequent portions of chopped vegetable trimmings, coffee grounds, and tea bags without plastic mesh. Balance each handful of “greens” with two handfuls of “browns” (bedding) to manage moisture and carbon–nitrogen ratio. Pre-soak and squeeze bedding before adding; layer food beneath it to reduce fruit flies. Small feeds buried under bedding keep the surface clean and prevent pest build-ups. Avoid spicy, salty, or oily leftovers that disrupt the microbial community. Certified compostable liners (EN 13432) can be shredded and used as bedding.
| Add to Bin | Avoid or Limit | Reason |
|---|---|---|
| Veg peels, coffee, tea, apple cores | Meat, fish, dairy, oils | Smells, pests, anaerobic risk |
| Shredded cardboard, paper, coir | Glossy or plastic-coated paper | Coatings don’t break down |
| Crushed eggshells | Large citrus loads, onions | Acidity and odour spikes |
Chop tougher materials (brassica stems, corn cobs) to speed breakdown. Freeze-thawing scraps softens fibres and reduces odour. Maintain a generous bedding layer on top; it’s your moisture buffer, fly screen, and odour filter. As worms multiply, you can increase feed gradually—if it ever smells, pause feeding and add more bedding.
Managing Balance: Airflow, Temperature, and pH
Oxygen keeps the system aerobic and sweet-smelling. Loosen the top 5–8 cm weekly with a hand fork, add ribbed cardboard for extra air channels, and avoid compressing the surface. UK conditions generally suit composting worms, but sudden cold snaps slow digestion. Insulate winter bins and ventilate gently in summer. If the bin smells unpleasant, something is wrong—too wet, too much food, or too little air. Correct by fluffing, adding bedding, and waiting two to three days before the next feed.
Worms prefer a near-neutral pH (about 6.5–7.5). If acidity creeps up—often after heavy citrus or coffee—sprinkle a light dusting of garden lime or powdered eggshell. Introduce a handful of mature compost to seed beneficial microbes when starting or after disturbance. Keep the lid closed, the blanket in place, and foods covered. Watch for ants (a dryness sign) and tiny black flies (a feeding or cover issue) and adjust conditions accordingly.
Harvesting and Troubleshooting
When the lower layers look uniformly dark and crumbly, it’s time to harvest castings. With stacked systems, move fresh food to the top tray and let worms migrate up for a week. For single bins, push finished compost to one side, add fresh bedding and food to the other, and wait for a mass migration. Alternatively, use the light method: heap castings on a tarp under bright light; worms dive, and you skim the top. Patience protects your worm workforce and yields cleaner compost.
Use vermicompost as a top-dress for pots, veg beds, and around fruit bushes; mix 10–20% into potting blends rather than using it neat. If fruit flies appear, bury food deeper and add extra bedding. Mites often signal wet conditions—stir and add dry carbon. Ammonia smells suggest overfeeding or protein-heavy scraps; pause feeding and ventilate. Distinguish leachate from aerated worm tea to avoid plant damage. With steady routines, the bin becomes low-maintenance and predictably productive.
Set up right, a worm-friendly bin quietly transforms kitchen detritus into nutrient-rich vermicompost while cutting household waste. The secret is simple: steady moisture, modest feeds, and breathable bedding powering a microbial engine that worms love. Keep the lid secure, the top layer covered, and your senses tuned—sight, touch, and smell are reliable guides. As the seasons shift, small adjustments to insulation, airflow, and diet keep the colony humming. Ready to give your peelings a second life and your soil a natural boost—what will be the first spot in your garden to receive your home-made worm castings?
Did you like it?4.6/5 (20)