In a nutshell
- 🫙 Choose sturdy glass jars (250–750 ml), clear or amber; use lids as saucers; drainage via drilled holes or a pebble + activated charcoal layer is essential.
- 🎨 Elevate style with twine, frosted bands, removable sleeves, and tidy labels; group jars at varying heights or on gravel trays; keep a soil view—design should serve plant health.
- 🌱 Plant smart: pre-dampen mix, set seedlings below the rim, add a cotton wick for even moisture, rotate weekly, and pair herbs by similar needs; water along the glass to curb algae.
- 🛠️ Care and fixes: finger-test or bottom-water, light feeding every 4–6 weeks, frequent trims, manage fungus gnats with drying intervals and sand, boost winter light, avoid radiator heat.
- 📊 Quick guide: Basil thrives in bright sun with even moisture (500–750 ml); Mint likes indirect light and solo jars; Rosemary needs full sun and a gritty mix; Parsley takes partial sun—match light and jar size.
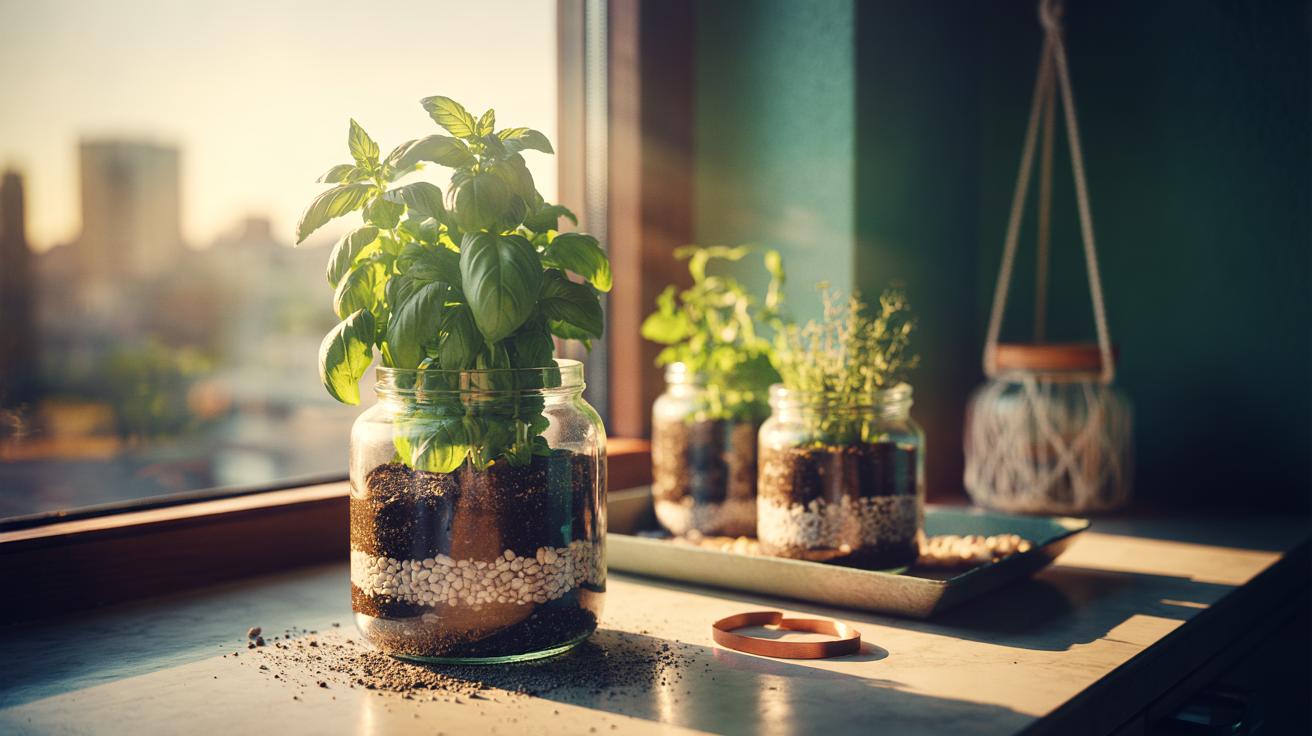
Old jars have a second life waiting on your windowsill. Not as dusty vessels, but as stylish herb planters that punch above their weight in charm and practicality. The glass shows off roots, the shape fits snug ledges, and the price is unbeatable. With a few tweaks, even jam jars become miniature kitchen gardens. What you reuse today becomes dinner’s garnish tomorrow. This guide shows you how to choose the right container, decorate it with flair, and plant herbs so they thrive. Expect tricks that solve drainage, manage light, and keep water right where it should be.
Choosing the Right Jars and Tools
Begin with sturdy glass. Jam, salsa, and coffee jars are perfect; taller pickle jars suit deep-rooted herbs. Avoid cracked containers. Clear glass lets you spot moisture and root health, while amber jars subtly protect roots from harsh light. Aim for 250–500 ml for compact herbs; 750 ml for vigorous growers like basil. Match jar volume to the plant’s growth habit. When in doubt, go larger. Lids are useful as saucers. Keep a couple spare for experiments.
Gather the basics: a fine potting mix for edibles, small pebbles or clay balls, and activated charcoal to keep odours and bacteria in check. You’ll want twine or elastic bands for labels, a small funnel or folded card for clean filling, and a chopstick to ease seedlings into place. For drainage, either drill a hole through the base (use a glass bit and steady water flow) or build a no-drill layer with pebbles and charcoal. Drainage is non-negotiable.
Design Ideas That Elevate Your Windowsill
Style is half the joy. Wrap jars with natural twine, paint a frosted band, or apply peel-and-stick contact paper for a stone or terrazzo look. Keeping labels clean matters: chalkboard stickers, grease pencil on glass, or metal tags tied to the rim. Label everything the moment you plant. Group three jars at varying heights for a mini “herb trio.” Reuse jar rings as stands. A quick rub of copper tape around the base adds a smart hardware accent and deters slugs outdoors.
Try a hanging set using macramé cord, or use magnetic strips to mount small spice jars to a steel splashback. For renters, a shallow tray with pea gravel holds multiple jars and catches drips, creating a unified vignette. Choose a palette—clear glass with white stones and green herbs looks crisp, while smoked jars with dark soil feel moody and modern. Consistency in materials reads intentional. A single dramatic detail, like a painted lid-turned-saucer, anchors the look.
Design should serve plant health. Leave a view to the soil so you can spot dryness. Avoid opaque wraps that trap heat in strong sun. If you crave colour, paint only the lower third, or use a removable sleeve. Decorative pebbles on top suppress algae and finish the composition. Simple. Effective. Chic.
Planting and Drainage Techniques for Healthy Herbs
Drilled jars behave like mini pots. If you can’t drill, build layers: 2 cm of pebbles, a teaspoon of activated charcoal, then soil. Insert a cotton wick so one tail sits in the pebble layer; the other runs up through the soil to distribute moisture evenly. Never let roots sit in stale water. Moisten your mix before planting—slightly damp, not soggy. Ease seedlings from nursery pots by pressing the sides, tease apart circling roots, and set them just below the rim to leave watering space. Tap the jar to settle soil rather than compacting it hard.
Choose a light, peat-free herb blend or mix your own: two parts compost, one part perlite, one part fine bark. Add a slow-release organic feed if you plan to harvest often. Water slowly along the jar’s inner wall to avoid splashy algae. Rotate jars weekly so herbs grow upright. For shared jars, pair herbs with similar needs. Good pairing prevents overwatering or drought stress.
| Herb | Light | Watering | Jar Size | Tip |
|---|---|---|---|---|
| Basil | Bright, 6+ hours | Keep evenly moist | 500–750 ml | Pinch tops for bushiness |
| Mint | Bright, indirect | Moist; not waterlogged | 500 ml | Grow alone; spreads fast |
| Rosemary | Full sun | Let dry slightly | 750 ml+ | Use gritty mix for roots |
| Parsley | Bright, partial sun | Even moisture | 500 ml | Harvest from outer stems |
Care, Troubleshooting, and Seasonal Tips
Water with intent. Slide a finger into the top 2 cm of soil; if dry, water. Or bottom-water by standing the jar in a shallow dish for ten minutes, then drain. Small, regular sips beat occasional soaks. Feed lightly every 4–6 weeks with a balanced liquid fertiliser at half strength. Snip often to encourage growth—little and often is the herb grower’s rule. Basil thrives on frequent harvests; rosemary prefers restraint. Keep leaves off the glass to reduce condensation and mildew.
Spot trouble early. Yellowing leaves often mean too much water; crispy tips suggest not enough. Algae on glass? Increase airflow, scrape gently, and top with decorative gravel. Fungus gnats dislike drying intervals and a thin layer of sand on top. Rotate jars to even out light and prevent lopsided growth. In winter, move planters closer to south-facing windows, wipe panes to maximise daylight, and consider a small LED grow light. Heat from radiators can desiccate herbs quickly—watch the soil. Spring invites repotting or fresh cuttings to restart leggy plants.
With a handful of cast-off jars and a few smart tweaks, your kitchen can double as a fragrant, living pantry. You’ll save money, cut plastic, and garnish meals with seconds-fresh flavour. Upcycling turns clutter into utility, and it looks sharp. The key is balance: good drainage, right light, and consistent trims. Let style and plant health share the stage. Ready to raid the recycling bin, pick your palette, and grow something you’ll actually eat—today, this week, all season? Which herbs will you plant first, and how will you style their glass homes?
Did you like it?4.6/5 (27)