In a nutshell
- 🏡 Choose the right system for your home—Compost Bin, Wormery, or Bokashi—by matching space, waste types, and maintenance habits.
- ⚖️ Classic composting: layer browns:greens ≈ 2:1, keep moisture like a wrung sponge, aerate fortnightly, and avoid meat/dairy/oils to maintain a healthy C:N ratio.
- 🧪 Bokashi essentials: run an anaerobic ferment with Bokashi bran, drain and dilute leachate (~1:100), then bury or add to a compost bin to finish safely.
- 🪱 Wormery wins: use Eisenia fetida/andrei, feed little and often, buffer pH with lime or eggshells, harvest worm castings and dilute worm tea (~1:10) for liquid feed.
- 🌱 Apply outputs smartly: mulch beds, mix up to 25% into potting media, use liquid feeds for quick boosts, and build long-term soil biology for resilient, lower-cost gardening.
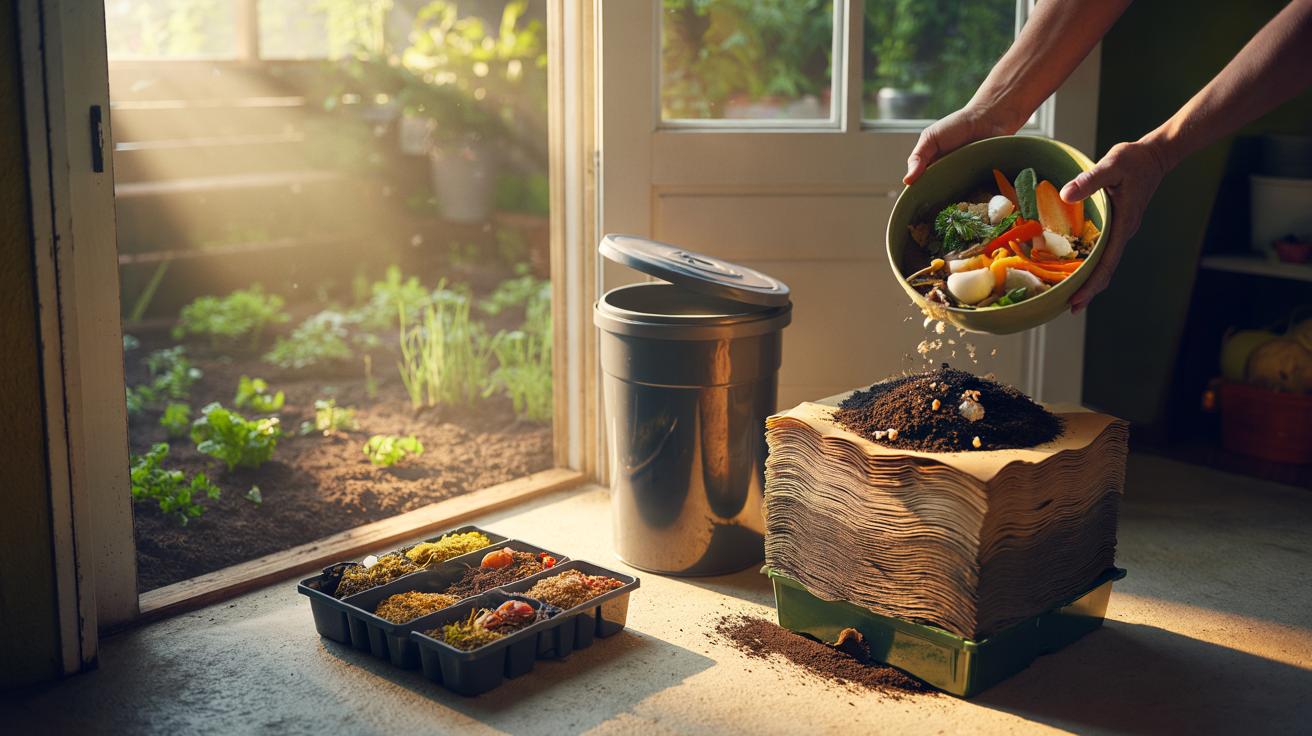
Every day, British households throw away peelings, coffee grounds, and stale crusts that could be quietly nourishing the soil. Turning kitchen scraps into a powerful organic fertiliser isn’t arcane science; it’s habit, plus a few reliable methods. The payoff is immediate. Lower bin bags, fewer collections, richer borders. And it’s cheaper than shop-bought feeds. This guide walks through the best systems for different homes, from flats to family gardens, and shows you how to tune moisture, air, and carbon to nitrogen so your scraps transform, not smell. With a little structure, waste becomes life. That’s the magic of compost.
Choosing the Right Method for Your Home
Start by matching your space, tolerance for odour, and the type of leftovers you generate. Traditional compost bins love raw veg trimmings and garden waste. Wormeries excel in small spaces and make nutrient-dense worm castings. Bokashi systems ferment cooked food and small amounts of meat or dairy, a rarity. Think of it as a toolkit, not a single fix. Flats often run wormeries or Bokashi on a balcony; semi-detached homes juggle a cold bin plus a Bokashi bucket. Pick a method you’ll actually maintain. A perfect system unused is just a bucket with aspirations.
| Method | Best For | Limitations |
|---|---|---|
| Compost Bin | Veg scraps, garden waste, paper/card | Avoid meat/dairy; needs outdoor space |
| Wormery | Small flats, coffee grounds, peelings | Low citrus/onion; stable temperatures |
| Bokashi | Cooked leftovers, small meat/dairy | Requires bran; needs burial or compost finish |
Consider your inputs. Lots of tea bags and greens? A compost bin with regular “browns” (shredded cardboard) will hum. Mostly cooked meals and no garden? Bokashi first, then bury or feed to a compost bin or community heap. The right match reduces smells, speeds breakdown, and keeps pests away. Finally, decide where the finished material will go: pots, beds, or a lawn. That dictates how fine you want the output and how you’ll cure it.
Step-by-Step: Classic Composting in a Small Bin
Place your bin on soil or a breathable base to encourage aeration and worms. Start with a 10 cm layer of coarse twigs or ripped cardboard to keep air channels open. Then alternate “greens” and “browns”. Greens are nitrogen-rich: fresh peelings, coffee, tea leaves. Browns are carbon-rich: leaves, shredded paper, corrugated card. Aim for roughly two parts browns to one part greens by volume; this nudges the classic C:N ratio toward balance. Keep contents as moist as a wrung sponge. Too wet? Add dry card. Too dry? Sprinkle water or add juicy greens.
Chop scraps small. Size is speed. Every two weeks, plunge in a compost aerator or fork to introduce oxygen and prevent compaction. Cover fresh layers with browns to deter flies. Never add meat, fish, large dairy, or oils to a standard heap. A working pile warms, then cools, in cycles; that’s normal. If it smells sour, you’ve tipped too wet or too green—correct with cardboard and turning. In 3–6 months during warm seasons, you’ll have dark, crumbly compost with an earthy aroma. Sieve if you want a finer texture for pots.
Bokashi Fermentation for Cooked Leftovers
Bokashi is a sealed, anaerobic ferment that handles cooked food, bread, and small amounts of meat or cheese. Line your bucket with a drain plate, then add food in thin layers, pressing down to expel air. Sprinkle Bokashi bran—inoculated with effective micro-organisms—over every layer. The lid must seal tightly. Air is the enemy in Bokashi. Every few days, tap off the leachate, diluting roughly 1:100 to feed established plants or to freshen drains. It’s potent; a little goes far. When the bucket is full, leave it to ferment for two weeks somewhere temperate.
You’re not done. Bokashi isn’t finished compost; it’s pre-digested. The contents will smell sweet-sour, look pickled, and still show food shapes. Bury the material 20–30 cm deep in a bed, add to a traditional compost bin as a turbo “green”, or feed it to a wormery in small amounts. Soil microbes and worms complete the job in 2–4 weeks. This is the safest route for cooked food if foxes and rats are a concern. Keep bones out; they simply take too long. For flats, use community gardens or planters as final destinations.
Wormeries That Thrive Indoors
A wormery is compact, odour-light, and fast. Use Eisenia fetida or Eisenia andrei (tiger worms), not garden earthworms. Start with damp bedding: coir, shredded paper, a handful of finished compost to inoculate microbes. Add small amounts of food, chopped fine: peelings, coffee grounds, tea leaves (plastic-free bags only). Cover with a breathable mat or damp newspaper. Little and often is the rule. Keep temperatures roughly 10–25°C. In cold sheds, insulate; in heatwaves, move to shade and keep bedding moist with a spray bottle.
What not to feed? Avoid meat, fish, dairy, cooking oil, and large doses of citrus or onion; they acidify and can stress the herd. Sprinkle a pinch of garden lime or crushed eggshells monthly to buffer pH. Drain worm tea from the sump and dilute 1:10 for a quick liquid feed. The gold is the worm castings—silky, dark, microbially rich. Harvest by moving food to one side and scooping the finished side after a week. If it smells, you’re overfeeding—pause and add dry bedding.
Whether you choose a classic heap, a sealed Bokashi bucket, or a wriggling worm farm, the principle is the same: balance, patience, and a few checks. Use finished compost to mulch beds, mingle into potting mixes at up to 25%, or brew a gentle compost tea for foliar feeds. Bokashi leachate and worm tea supply quick, soluble nutrients; the solids build structure and soil biology that lasts. Healthy soil cuts fertiliser bills and buffers drought. That’s resilience grown at the kitchen sink. What scraps will you save this week, and which method will you try first to turn them into living, home-made fertiliser?
Did you like it?4.6/5 (28)