In a nutshell
- 🌿 Choose a fresh supermarket bunch of mint: pick firm, green stems, strip lower leaves, and expose nodes for rooting; use clean, sharp tools to prevent rot.
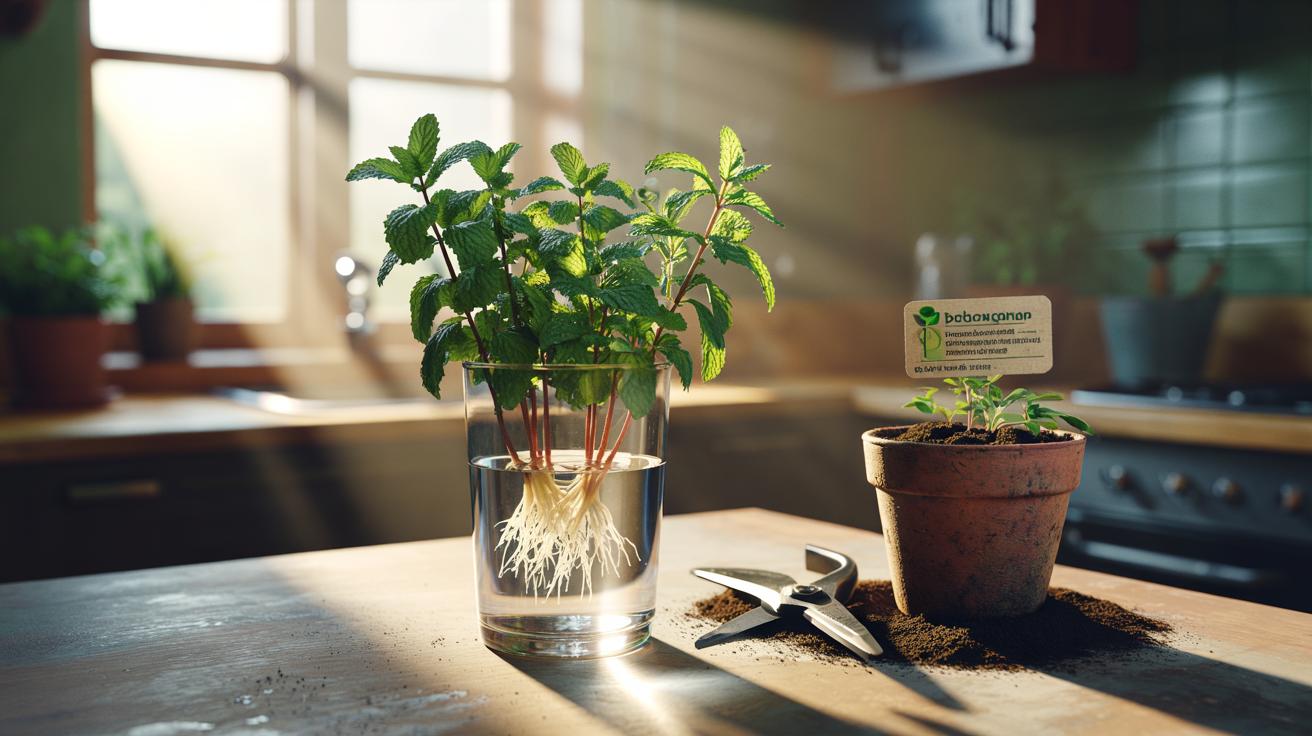
- 💧 Root in water: place stems in a clear glass on a bright, indirect windowsill, keep at least two nodes submerged, change water every two days, and wait for 2–4 cm roots before potting.
- 🪴 Pot and care: use a 2–3 L container with peat-free compost plus perlite, keep moist not soggy, give morning sun or bright light, trim tips for bushiness, and feed lightly in season.
- ✂️ Harvest and refresh: prune above leaf pairs to double shoots, remove flower buds, divide congested root balls, and top up compost annually to maintain vigorous growth.
- 🔁 Keep it endless: run a rolling cycle—always have new cuttings rooting while mature plants are harvested—for a low-cost, year-round supply of flavour-packed mint.
Mint is the herb that forgives, forgets, and keeps on giving. The secret to a never-ending supply isn’t a fancy greenhouse or an expensive kit, but a supermarket bunch and some patient, simple steps. You can convert a £1.50 packet into a forest of fragrant leaves, season after season. Start with clean cuttings, root them well, and manage the plant’s energy. From that point, you’re in control. You’ll learn how to coax robust roots in water, pot them into the right compost, then multiply again when stems get leggy. It’s budget gardening at its freshest. And yes, it works in a flat.
Choosing and Preparing the Supermarket Bunch
Begin with a fresh bunch of mint, ideally one with firm, upright stems and deeply green leaves. Avoid anything yellowing or slimy. Stems should snap, not bend like rubber. Rinse gently to remove grit, then strip leaves from the lower 5–7 cm of each stem so they don’t rot underwater. Nodes—the little bumps where leaves emerge—are your rooting engines. Roots almost always appear from these nodes, so leave at least two submerged. If your bunch includes varieties (spearmint, peppermint), separate and label them to keep flavours distinct.
Trim the cut base beneath a node with a sharp, clean blade. Sterility matters. Use a wiped-down kitchen knife or shears to reduce the risk of fungal issues. Some gardeners dip the base in homemade willow water or commercial rooting gel; with mint, it’s optional. The plant is exuberant by nature. Choose 6–10 of the best stems. You’re building redundancy, ensuring at least a few stars root fast.
Rooting Cuttings in Water: Step-by-Step
Slide the prepared stems into a clear glass of room-temperature tap water and place on a bright, indirect-light windowsill. East-facing is perfect. Direct midday sun can cook tender tissue. Change the water every two days. Keep it oxygenated and clear. Cloudy water is your warning: change it immediately to prevent rot. Within a week, you’ll see white nubs; by two weeks, proper roots 2–4 cm long. Be patient. Don’t pot too early. Stronger roots mean faster establishment and fewer losses later.
If a stem blackens, discard it. One failure doesn’t doom the batch. Top up the glass so at least two nodes remain submerged, but never let leaves sit in water. For speed, keep water at 18–22°C. A warm kitchen works. A pinch of diluted liquid seaweed can help, though it’s not essential. When most cuttings show a beard of roots, you’re ready for soil. This is the moment your supermarket impulse buy becomes a perennial asset.
Potting up: Soil, Containers, and Ongoing Care
Choose a 2–3 litre pot with generous drainage holes. Fill with peat-free multipurpose compost loosened with 20–30% perlite or grit for airflow. Make holes with a pencil, ease in the rooted cuttings, and firm gently. Water thoroughly to settle the compost, then let excess drain. Mint likes moisture, not waterlogging. Keep in bright light without harsh afternoon sun for the first week. After that, it’s tough. Snip growing tips to encourage bushy growth. Feed lightly in spring and summer; too much nitrogen gives lush leaves but washes out flavour.
Outdoors, sink pots into beds to stop mint’s notorious spread. Indoors, rotate the pot weekly for even growth. Trim flower buds as they appear; flowering diverts energy from leaves. Harvest little and often. Clean cuts just above a node signal the plant to branch. Below is a quick reference for care:
| Factor | Ideal Range / Tip |
|---|---|
| Light | Bright, indirect; morning sun is best |
| Water | Keep evenly moist; never soggy |
| Temperature | 10–24°C; protect from frost in pots |
| Soil | Peat-free compost with added perlite |
| Feeding | Light liquid feed monthly in season |
| Harvest | Regular tip-pruning for bushiness |
Keeping It Endless: Harvesting, Dividing, and Refreshing
The “endless” part begins after your first flush. Cut often, and cut smart. Always prune above a leaf pair to stimulate two new shoots. Little-and-often harvesting keeps the plant young and productive. Every few months, take new cuttings from your healthiest stems and restart the water-rooting cycle. This creates a rolling succession of plants at different ages, insurance against tired growth or a pot that’s dried out on a hot weekend.
When roots coil at the base or stems crowd, divide. Slide the root ball out, tear or slice into halves or quarters, and repot each division into fresh compost. It’s messy, effective, and fast. Replace the top 2–3 cm of compost yearly to refresh nutrients. In winter, growth slows; harvest lightly and keep soil just damp. If flavour dips after flowering, hard-prune and feed modestly. The plant rebounds. Mint is resilient. Use that trait to your advantage, and you’ll never run out.
From a single supermarket bunch to a self-renewing herb factory, the method is simple: root well, pot right, prune often, repeat. Costs stay low, flavour stays high. You’ll taste the difference in tea, salads, syrups, and cocktails. The true trick is building a habit—always have new cuttings rooting while mature plants are being harvested. Once that rhythm clicks, abundance follows. Ready to turn today’s checkout sprigs into next month’s endless harvest, and what will you make first with your homegrown mint?
Did you like it?4.4/5 (28)