In a nutshell
- 🌿 The pebble-base method adds dense weight low in a pot to lower the centre of gravity, widen the base of support, reduce torque, and prevent accidental tipping.
- 🛠️ How-to: use 6–20 mm pebbles/gravel, place mesh over drainage holes, form a donut-shaped ring (not a plug), and consider a weighted cachepot or wider pebble tray with non-slip pads.
- ⚖️ Materials and sizing: choose dense, inert media and add about 15–30% of total pot-and-plant mass at the base; check shelves can bear the load, especially after watering.
- 🚫 Common mistakes: avoid “drainage layers” that trap water—pebbles do not improve drainage; keep the pot above standing water and rinse stones and trays to deter algae and gnats.
- ✅ Benefits and extras: improved stability, reduced wobble, optional gentle humidity, and added safety for homes with children or pets; pair with pot feet, top dressing, or a heavier ceramic cachepot.
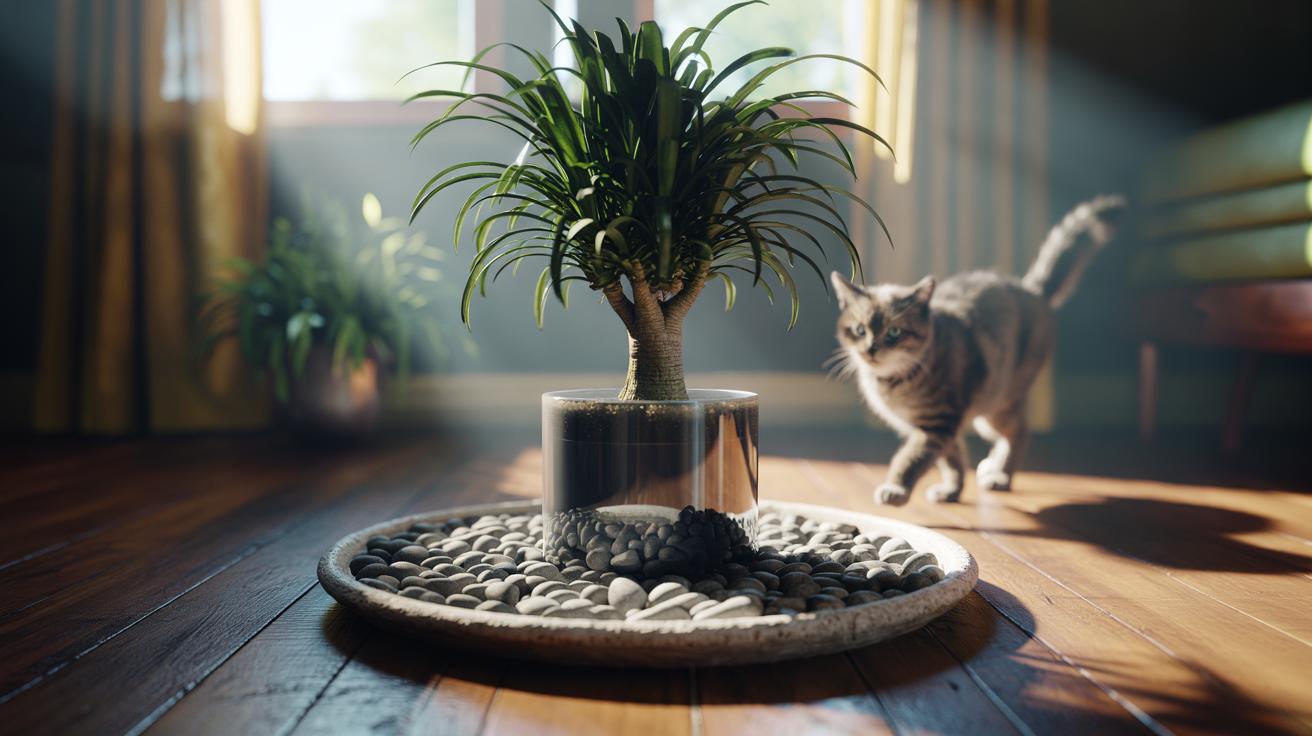
Indoor jungles and balcony oases share a common hazard: graceful foliage perched on top-heavy containers that tip at the slightest knock. The pebble-base method offers a practical, attractive fix by adding dense material low in the pot or in a decorative cachepot. By increasing mass at the base, you lower the centre of gravity and widen the effective base of support. This simple adjustment slashes the leverage that wind, pets, or a trailing sleeve can exert on a tall plant. It also brings side benefits—reduced vibration, firmer footing on smooth floors, and, when used as a tray, gentle humidity. The trick is to add weight without compromising drainage or root health.
Why Added Weight Stops Pots From Toppling
Most tipping incidents are physics in miniature. A tall plant with a narrow pot has a high centre of gravity. When disturbed, that centre moves beyond the pot’s support polygon—the area within the points of contact—and gravity does the rest. Adding a stable layer of stones or gravel low down increases mass where it matters and resists rotation. The result is less torque when a gust or bump tries to lever the plant over, especially with top-heavy species like dracaenas, palms, or tomatoes under lights.
Lowering the centre of gravity is more effective than simply making the pot heavier at the top. Weight positioned at the base increases stability disproportionately, because it widens the balance margin before tipping. That’s why a pebble-filled cachepot or tray outperforms a decorative top dressing. The method also dampens wobble, protecting new roots. For homes with children or pets, a heavier base provides an unobtrusive safety upgrade without resorting to visible straps or brackets.
How to Build a Stable Pebble Base
Choose hard, inert pebbles or washed gravel 6–20 mm in size. If adding weight inside a pot, place a circle of mesh or landscape fabric over the drainage holes first, then add the pebbles so they sit below the root zone. Keep a clear channel to the holes using a donut-shaped ring of stones, not a solid plug. Never block drainage holes; water must exit freely. Backfill with your usual potting mix, ensuring the root ball rests above the weighted layer.
For maximum stability without touching the roots, set the plastic grower’s pot into a heavier cachepot lined with a 2–5 cm bed of pebbles. Add non-slip pads beneath the cachepot and, on balconies, consider a rubberised mat to increase friction. Alternatively, build a pebble tray that extends wider than the pot: a shallow, watertight saucer filled with stones that keep the pot’s base above any standing water. Top up the tray sparingly for humidity and wipe it monthly to deter algae.
Choosing Materials, Sizes, and Safe Proportions
Not all weight is equal. Dense, non-reactive materials—quartz gravel, basalt pebbles, ceramic beads, even stainless-steel washers in a sealed pouch—concentrate mass low without degrading. Aim to add roughly 15–30% of the pot-and-plant mass at the base. Very tall specimens, or those living outdoors, benefit from the upper end of that range. Check shelves and window sills can bear the increased load, especially after watering when soil is heaviest.
| Pot Diameter (cm) | Pebble Layer Depth (cm) | Approx. Added Mass (kg) | Notes |
|---|---|---|---|
| 12–15 | 2 | 0.5–1 | Indoor herbs, small succulents |
| 18–22 | 3 | 1–2 | Typical houseplants, spider plants |
| 25–30 | 4 | 2–4 | Ficus, rubber plants, dwarf citrus |
| 35–40 | 5 | 4–7 | Palms, patio specimens; use cachepot |
These figures are indicative: adjust for plant height and exposure. Outdoors, pair weight with wider-footprint stands and discreet ties for true storm resistance. Indoors, prioritise compact, dense pebbles to keep layers shallow and avoid stealing root space.
Common Mistakes and Practical Fixes
A frequent misstep is creating a “drainage layer” of large stones beneath compost. Water perches above that layer, saturating roots. Pebbles do not improve drainage; they alter where water sits. If you use stones inside the pot, isolate them with fabric and maintain a continuous, open path to the holes. Another trap is filling saucers with water that touches the pot base—capillary action can wick moisture upward and trigger rot. Keep the pot raised on the stones, not in the puddle.
Clean pebbles before use to remove fines that clog holes. Rinse trays monthly to deter gnats and algae; a dash of horticultural soap helps. When repotting, reassess balance: fast-growing tops can outpace yesterday’s ballast. Consider complementary measures—top dressing for surface stability, pot feet to prevent skidding, or a heavier ceramic cachepot to hide the ballast elegantly. For rented homes, opt for removable weight bags or pebble trays to avoid marks on floors and sills.
Done well, the pebble-base method is discreet, decorative, and grounded in sound physics. A few kilograms of well-placed mass transform wobbly containers into confident, pet-proof planters, all without strangling drainage or cramping roots. By combining a weighted base with good potting practice—free-flowing holes, breathable mix, and a right-sized cachepot—you guard your greenery against accidental knocks and gusty corners. Think of it as a seatbelt for your specimens: unseen, but invaluable when needed. Which of your plants would benefit most from a sturdier footing, and how might you adapt the pebble-base idea to suit your space and style?
Did you like it?4.4/5 (22)