In a nutshell
- 🌧️ Water pooling invites disease: flat or torn cuts trap moisture and aid pathogens like Botrytis, Neonectria, and silver leaf; angled, smooth cuts improve run-off, oxygenation, and preserve the branch collar.
- ✂️ Method that works: on canes/shrubs, cut 5–7 mm above an outward bud at 30–45°; on trees, use the three-cut method and finish just outside the collar—no flush cuts, no stubs.
- 🌳 Match angle to plant and season: roses in late winter/early spring, soft fruit after fruiting, young trees in a dry late-winter spell, and Prunus in midsummer to avoid silver leaf; delay if heavy rain looms.
- 🧼 Hygiene matters: sharp, clean tools make fast-drying wounds; disinfect with 70% isopropyl alcohol or a 1:9 bleach solution (rinse and dry) to stop cross-contamination and prevent crushed tissue.
- 🛠️ Practical payoff: clean, angled cuts that shed water often outperform wound paints in UK conditions, cutting dieback and speeding natural sealing when done in dry, frost-free windows.
British gardens thrive on moisture, yet that same dampness invites trouble at every pruning wound. The pruning-angle method turns a vulnerable cut into a resilient one by encouraging swift water run-off and accelerating the plant’s natural sealing process. When cuts are clean, smooth, and subtly angled, rain cannot pool on the exposed tissue, reducing the chance of fungal or bacterial invasion. A dry wound is a safer wound, and in a climate of frequent showers and cool nights, that rule is a quiet lifesaver for roses, fruit trees, and hedges alike. Here is how strategic angles, correct positioning, and tool hygiene work together to keep your plants healthier for longer.
Why Water Pooling Invites Disease
Water lingering on a pruning wound keeps tissues wet for hours, creating prime conditions for spores to germinate and hyphae to penetrate. Fungi such as Botrytis (grey mould), Neonectria canker, and silver leaf on Prunus, along with bacterial agents like Pseudomonas, rely on prolonged surface moisture to invade. Flat, torn stubs act like basins, holding rain right where defences are thinnest. By contrast, a precise cut that sheds water quickly reduces the “wet window” pathogens need. Oxygenation matters too: callus formation and woundwood development require aerated tissue. When water pools, oxygen diffusion is curtailed and sap accumulates, slowing the plant’s sealing response. Targeting the branch collar on woody plants is critical; it contains cells primed to compartmentalise damage. The right angle, in the right place, keeps this collar intact and helps the wound dry rapidly, while avoiding stubs that decay and become conduits for infection.
The Pruning-Angle Method, Step by Step
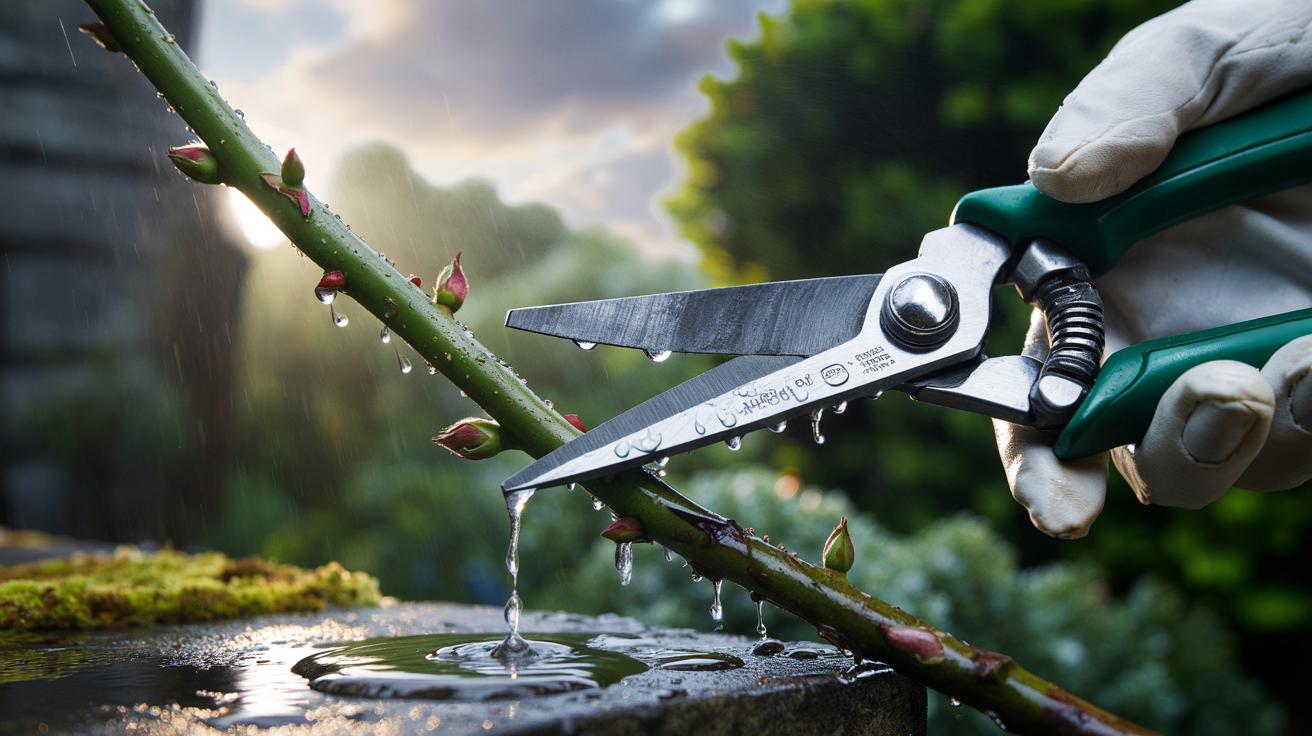
On cane and shrub material (roses, raspberries, many ornamentals), identify an outward-facing bud and make a smooth cut 5–7 mm above it at roughly 30–45°, sloping away from the bud. This angle throws rain off the wound and protects the bud’s tender base. For woody branches on trees, locate the branch bark ridge and branch collar; remove the branch with the three-cut method, then make the final cut just outside the collar, following its natural flare. The resulting surface is slightly angled by anatomy, not by forcing a steep bevel. Never cut flush to the trunk, and never leave a long stub that traps water and decays.
Keep secateurs and saws razor-sharp to avoid crushing. Crushed fibres hold moisture and heal slowly. Cut on a dry day, ideally when rain isn’t imminent. Angle your blade so the lower jaw supports the discard side, preserving tidy tissue on the plant. Where dieback occurs, recut into clean wood at the correct angle. The consistent theme is simple: clean, correctly placed cuts that shed water and respect natural healing zones.
Angles by Plant Type at a Glance
Different plants demand slight variations on the same principle: move water away from vulnerable points, retain natural healing tissues, and prune in a season that minimises infection pressure. For cane fruit and roses, a visible bevel is beneficial; for trees, the collar dictates the “angle.” Timing matters as much as geometry, especially for Prunus species that resent winter wounds. Use the quick guide below to match technique to crop, then adapt to weather: if heavy rain is forecast, delay pruning to keep new wounds dry. Good timing plus the right angle is your cheapest disease control.
| Plant Type | Recommended Cut Angle | Distance Above Bud/Collar | Best UK Timing | Disease Risk Reduced |
|---|---|---|---|---|
| Roses | 30–45° away from outward bud | 5–7 mm above bud | Late winter to early spring | Botrytis dieback, stem canker |
| Soft fruit canes (raspberry, blackberry) | ~30°; remove fruited canes at base | Level with soil or 5 mm above a bud | After fruiting or late winter | Cane blight, Botrytis |
| Flowering shrubs (e.g., bud-bearing types) | Slight slope away from bud | ~5 mm above bud | Late winter or post-flower | Dieback, stem cankers |
| Young trees (lateral removal) | Follow branch collar (no forced bevel) | Just outside collar; no stub | Dry spell in late winter | Apple/pear canker |
| Prunus (cherry, plum) | Follow collar; dry, clean finish | Just outside collar; no stub | Mid-summer | Silver leaf, bacterial canker |
Remember that wound paints are generally unnecessary in UK gardens unless tackling specific issues (e.g., silver leaf). The right angle and placement achieve what sealants cannot: rapid, natural run-off and strong, uniform callus formation. As plants differ in architecture, judge each cut on its own merits, but keep the purpose constant: prevent water from lingering where microorganisms can exploit it.
Clean Cuts, Clean Tools: The Hygiene Link
Sharp tools make smooth wound surfaces that dry fast and seal evenly; blunt ones crush xylem, creating ridges where water clings. Between plants—especially after removing diseased wood—wipe blades with 70% isopropyl alcohol for at least 30 seconds, or use a 1:9 bleach solution followed by a clean-water rinse and thorough drying to prevent corrosion. Clear sap from blades so disinfectants can reach the metal. Never leave a stub; stubs cup water, invite rot, and delay the protective roll of callus tissue.
Choose dry, frost-free windows for pruning to avoid water sitting on fresh wounds. Avoid cutting during or just before rain. Resist the urge to “improve” a collar cut with a steep bevel; the collar’s natural flare sheds water effectively when left intact. In this hygiene-first approach, the angles do the heavy lifting, while cleanliness and timing ensure pathogens never get a foothold.
Well-angled, well-placed cuts turn pruning from risky surgery into targeted prevention. By respecting the branch collar on trees and using modest bevels above buds on canes and shrubs, you minimise wetting time, discourage pathogens, and help plants close wounds efficiently. Combine that geometry with sharp, disinfected tools and thoughtful timing, and you will see fewer diebacks and healthier regrowth across the season. Which plant in your garden will you try the pruning-angle method on first, and how will you adapt your angles to its specific structure and climate?
Did you like it?4.5/5 (25)