In a nutshell
- 🌱 Consistent moisture from a slow-drip watering bottle prevents root shock by easing osmotic shifts, stabilising the soil microclimate, and preserving fine roots and mycorrhizae.
- ⚙️ How it works: gravity plus a tiny orifice or wick deliver a predictable trickle while capillary action spreads water; aim for soil just above field capacity with the emitter placed a few centimetres from the stem.
- 📊 Calibrate drip rates to pot size and mix (roughly 15–100 ml/hour) and adjust via hole size, wick thickness, or bottle height; typical refill intervals range from 2–6 days depending on volume.
- 🧰 DIY and care: pierce a clean bottle cap, test for a steady bead, bury the outlet 3–5 cm, then maintain with vinegar soaks, fresh wicks, light fertiliser dilution, and seasonal flow tweaks.
- 🚫 Avoid pitfalls: chronic overwatering, wall-channeling, hydrophobic media, salt build-up, and algae; observe pot weight and surface dryness to fine-tune the system before travel.
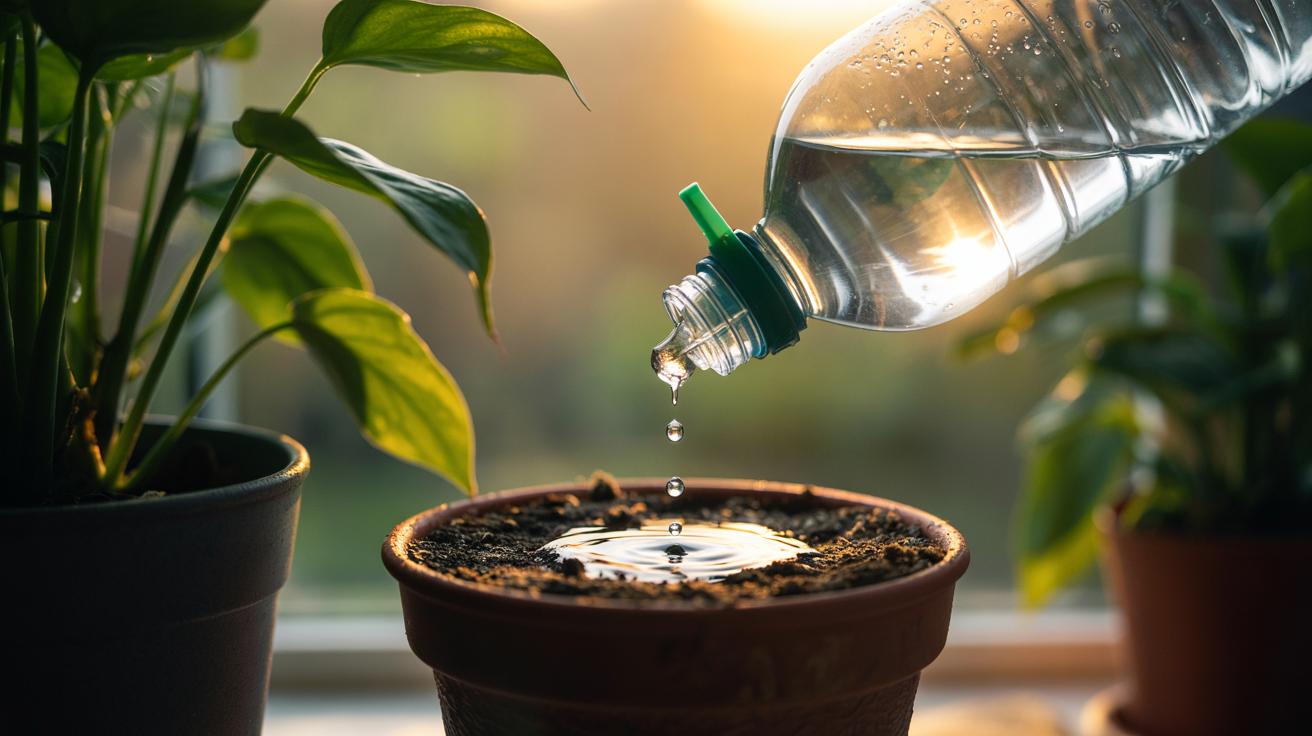
Potted plants don’t die from neglect alone; they falter under swings between parched soil and sudden soakings that traumatise roots. A simple slow-drip watering bottle smooths those swings by delivering consistent moisture at the pace roots can actually absorb. It’s the low-tech ally busy households, office corners, and travel days need, especially during summer heat or air-dry winters by the radiator. Small, steady sips beat occasional gulps: the soil stays evenly damp, oxygen remains available, and the plant’s internal hydraulics avoid the shock of abrupt change. Here’s how a bottle with a pinhole or wick can safeguard the rhizosphere and keep containers thriving week after week.
Why Consistent Moisture Prevents Root Shock
Plants regulate water through osmosis, balancing the water potential inside root cells with the soil solution outside. When soil lurches from dry to saturated, cells face rapid pressure shifts: membranes can collapse inward after drought or become waterlogged when a deluge arrives. Root shock is an injury caused by abrupt moisture change, not just by dryness itself. A slow-drip keeps the gradient gentle, preventing cells from losing turgor or bursting. It also maintains a stable soil microclimate—temperature, oxygen, and microbial activity—so roots aren’t constantly rebuilding fine tips lost to stress.
Consistent moisture lets mycorrhizal networks stay intact, improving nutrient uptake of potassium and calcium that govern stomatal control. It reduces hydrophobic patches in peat-based mixes that otherwise repel water after drying. By avoiding the flood-then-crack cycle, the substrate holds its structure, pore spaces stay open, and CO2 diffuses out while oxygen diffuses in. That quiet stability is what a plant’s plumbing system needs to keep growth continuous. In short, steady inputs prevent the biochemical whiplash that turns an ordinary watering into a setback.
How Slow-Drip Bottles Work
A slow-drip bottle—commercial spike or DIY—relies on gravity and controlled air exchange. A tiny orifice or wick releases water while air slips into the reservoir to replace it, establishing a predictable flow. Soil capillary action pulls moisture laterally and downward, distributing water across the root zone instead of pooling at the rim. Place the emitter a few centimetres from the stem and bury it slightly for better contact. The aim is not wet soil, but a steady state just above field capacity. Typical rates run from 20 to 120 ml per hour depending on pot size, mix, and plant thirst.
| Pot Size (diameter) | Recommended Drip Rate (ml/hour) | Typical Refill Interval | Notes |
|---|---|---|---|
| 10–12 cm | 15–30 | 2–3 days (500 ml) | Ideal for herbs, succulents adjust lower |
| 15–18 cm | 30–60 | 3–4 days (1 L) | Most houseplants, evenly moist mix |
| 20–25 cm | 60–100 | 4–6 days (1.5 L) | Thirsty species or warm rooms |
Adjust flow by varying hole size, adding a cotton wick, or raising/ lowering the bottle to change head pressure. Use rainwater or rested tap water for sensitive species to avoid limescale on the emitter. If the surface stays soggy, your rate is too high; if the pot feels feather-light by evening, open it up. The right setting means the top centimetre dries slightly while the root zone remains subtly damp.
Setting Up and Maintaining a DIY Drip Bottle
Start with a clean 500 ml to 2 L bottle. Pierce the cap with a heated pin or 0.5–1 mm bit, or thread a cotton wick through a tiny hole for finer control. Fill, cap, invert, and test over a sink; you’re aiming for a slow, regular bead, not a stream. Bury the outlet 3–5 cm deep and stabilise the bottle with a stake. For hanging planters, route a wick from the bottle into the root zone. Always trial the setup overnight before relying on it for travel. Different mixes—peat-free, bark-heavy, or gritty cactus blends—need different flow rates.
Maintenance is simple: rinse the bottle weekly and soak the cap in a 1:4 vinegar solution to dissolve mineral deposits. Swap wicks monthly to avoid biofilm. Fertilise lightly by pre-diluting feed in the bottle, but flush the pot with plain water every few weeks to prevent salt build-up. In winter, reduce the rate as growth slows; in heatwaves, increase it and move plants from drying draughts. Consistency matters more than perfection, and small tweaks keep the system dependable.
Common Mistakes and How to Avoid Them
The classic error is turning a slow-drip into a constant soak. When the top layer stays glossy-wet, roots are starved of oxygen. Reduce the rate, bury the emitter deeper, or use a finer wick. Another pitfall is placing the outlet against the pot wall, where water channels down the side and bypasses roots; shift it toward the centre. Always let the top centimetre dry slightly between refills. Using sugary solutions invites mould; stick to clean water. If leaves yellow while edges crisp, check salts—flush and reset your dilution.
Hole size matters. A large puncture floods quickly, then stalls as a vacuum forms; a pinhole with a tiny air vent gives steadier flow. In very dry, hydrophobic mixes, pre-wet the soil once to re-prime capillaries; the drip then maintains them. Algae around the emitter signals light exposure—bury it or cover with mulch. Observation is your safeguard: feel the pot weight, probe soil with a finger, and calibrate before holidays to avoid surprises.
A bottle that releases water at the plant’s pace is more than a convenience; it’s a protective buffer for the delicate interface where roots breathe and feed. By preventing root shock, a slow-drip system steadies growth, preserves structure in peat-free mixes, and supports the microbial allies that make nutrients available. Consistency reduces drama, and drama is what kills pot plants. Whether you’re tending kitchen herbs or a beloved ficus, a controlled trickle turns erratic care into a rhythm your plants can trust. Which plant on your windowsill would benefit most from a measured sip, and how will you tune your drip rate to suit its needs?
Did you like it?4.7/5 (24)