In a nutshell
- 🧊 Freezing sponges overnight at around −18°C pauses microbial growth and ice crystals damage cells; it reduces but does not sterilise the sponge.
- 👩🍳 Chefs use freezing as part of HACCP-style layered defenses, cutting odours and cross-contamination risk during off-hours.
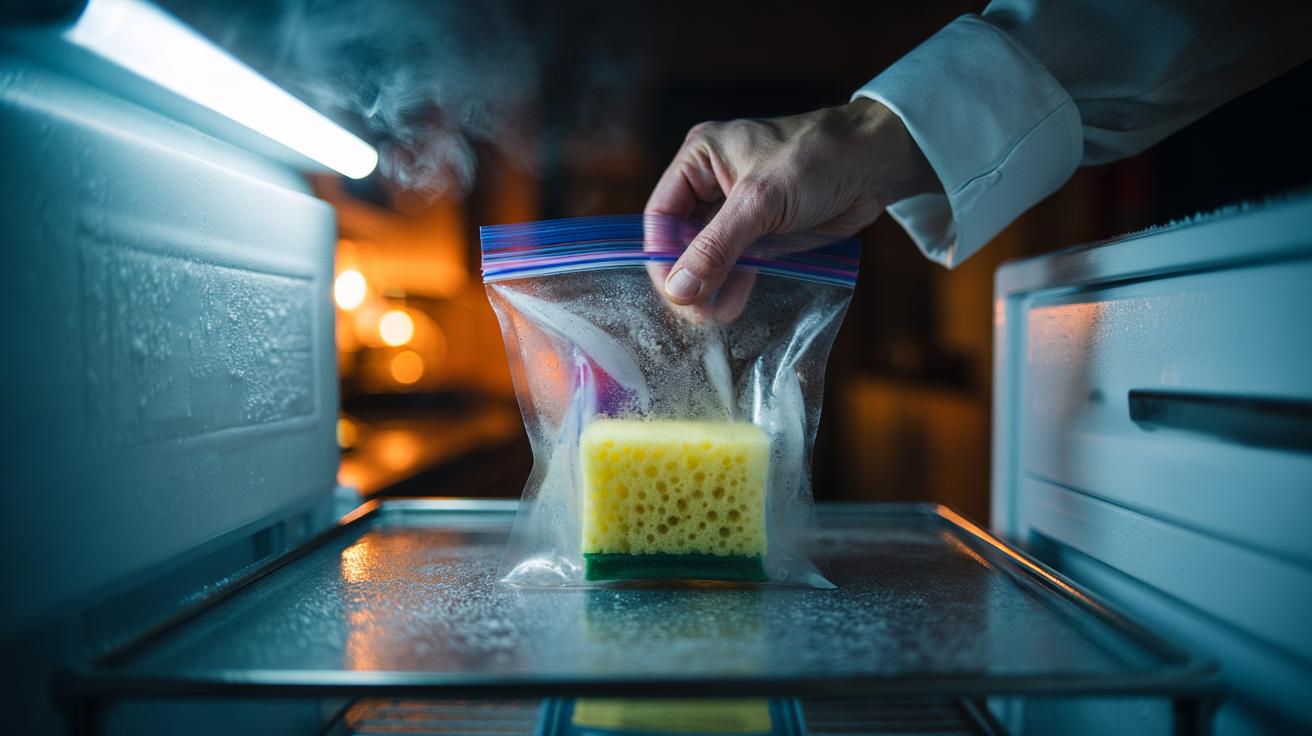
- 🏠 Home routine: rinse with detergent, wring, seal in a freezer bag, freeze overnight, then thaw and rinse; keep a rotation and replace weekly.
- ⚖️ Method comparison: freezing is low-cost; dishwasher hot cycles help if placement is right; microwave (damp) can disinfect but carries fire risk; bleach soaks are effective but harsh.
- 🧪 Key caveat: some hardy spores may survive; pair freezing with regular cleaning, separation of raw and ready-to-eat areas, and timely sponge replacement.
Hidden in the pores of a kitchen sponge is a bustling micro‑city of bacteria, yeasts, and moulds—exactly the kind of community chefs work hard to control. In busy UK kitchens, one simple ritual has become a quiet mainstay: sliding sponges into the freezer before closing. The logic is pragmatic. Cold stops microbes from multiplying and ice crystals can rupture their cells, helping to cut down the invisible threats that travel from sink to chopping board. While no single step can sanitise a sponge completely, freezing overnight is a low‑cost, low‑effort layer of defence that fits neatly into hospitality schedules and home routines alike.
The Science of Freezing: What Happens Inside a Sponge
Sponges are perfect shelters for microbes: warm, damp, and riddled with nooks where biofilms form. When a sponge is cooled to about −18°C in a domestic freezer, liquid water turns to ice, expanding within the pores and around cells. That physical stress can puncture cell membranes and disrupt the machinery bacteria rely on to survive. Freezing doesn’t sterilise, but it can significantly reduce viable counts and halt growth overnight, which is vital between shifts when contamination risks climb.
Not every organism is equally vulnerable. Cold‑tolerant species and hardy spores can survive; some may resume activity once the sponge thaws. That is why chefs treat freezing as one barrier in a chain, not a cure‑all. Combined with proper rinsing, detergent, and regular replacement, the freezer becomes a pragmatic ally against common culprits like E. coli and Salmonella. The result is a smaller microbial load and less chance of cross‑contamination in the morning rush.
Why Professional Kitchens Swear by the Overnight Freeze
Professional kitchens run on routine. Under HACCP principles, controlling hazards is about layering defences rather than relying on a single dramatic fix. Freezing sponges overnight fits that philosophy: it’s immediate, cheap, and easy to verify. When orders stack up, every hour a sponge spends dormant in the freezer is an hour it cannot spread microbes. Teams often rotate cloths and sponges, with one set in use while another cools, ensuring there is always a “fresh” option at the pass.
There’s also a sensory payoff. Many chefs note that freezing helps curb the sour odours that signal bacterial bloom, improving staff compliance because clean tools are more pleasant to handle. Packaging sponges in labelled, sealed bags prevents odour transfer and avoids contact with food in the freezer. The routine dovetails with end‑of‑service cleaning: rinse, wring, bag, freeze. Small behaviours like this—repeated nightly—accumulate into measurable hygiene gains and fewer red flags on inspections.
How to Do It Safely at Home
Start with the obvious: don’t freeze a filthy sponge. Rinse in hot water with detergent, squeeze thoroughly, then place it in a sealed freezer bag to prevent food taint and cross‑contact. Lay it flat so ice forms evenly, and freeze at −18°C or below overnight. Freezing works best as a pause button paired with cleaning, not as a substitute for it. In the morning, let the sponge thaw in a clean sink, then rinse again before use to dislodge damaged microbes and residues.
Build a rotation: one sponge in use, one in the freezer, a spare ready to swap. Replace sponges frequently—weekly is a sensible benchmark for busy households. If you add other methods, choose them carefully. A hot dishwasher cycle can help, but placement matters to ensure thorough exposure. If you consider a microwave, consult manufacturer guidance, keep the sponge very damp, and monitor closely to avoid fire risk. Whatever the method, the golden rule is to keep sponges away from raw meat juices.
Freezing vs Other Sanitising Methods: A Quick Comparison
Freezing is attractive because it’s hands‑off and cost‑free once you have a freezer. Still, different kitchens benefit from different tools. The simplest way to judge options is to weigh effectiveness against practicality and risk. Layering methods—clean, then freeze, and replace regularly—delivers the most reliable outcome. The table below sets out common approaches used by chefs and keen home cooks.
| Method | Typical Time | Temperature/Chemical | Microbe Reduction | Key Caveat |
|---|---|---|---|---|
| Freezing | 8–12 hours | ~ −18°C | Good; halts growth, damages many cells | Not sterilising; spores may survive |
| Dishwasher | Full hot cycle | 60–70°C wash | Good if well exposed | Placement affects results |
| Microwave (damp) | Short, monitored | High heat via steam | High when done correctly | Fire risk if dry or overheated |
| Bleach soak | ~5 minutes | ~1000 ppm chlorine | High on vegetative cells | Corrosive; fumes; rinse thoroughly |
Whichever route you take, consistency is king. Freeze overnight after cleaning, keep a rotation to avoid overuse, and retire sponges before they fray. Pair that with solid habits—separate boards for raw and ready‑to‑eat foods, frequent handwashing—and your risk profile drops dramatically. Hygiene is a system, not a stunt.
Freezing sponges overnight won’t win awards for glamour, but it quietly strengthens the hygiene chain at home and in professional kitchens. By disrupting microbes and pausing their growth, you buy time until a deeper clean or a sensible replacement. It’s inexpensive, easy to remember, and works best alongside regular washing, hot cycles, or safe chemical soaks. In an era when diners and families expect immaculate standards, that makes freezing a habit worth keeping. How will you build your own layered routine to keep the dirtiest tool in the kitchen from becoming the most dangerous?
Did you like it?4.4/5 (25)