In a nutshell
- 🫧 Hydrogen peroxide’s bubbling action breaks down into oxygen and water, creating microbubbles that penetrate grout pores and physically lift embedded grime.
- 🔬 The oxidation process disrupts stain-causing chromophores and biofilms, reducing discoloration and helping loosen organic soils like mould and body oils.
- 🧴 Effective method: use 3% hydrogen peroxide, allow a dwell time of 5–10 minutes, then scrub with a nylon brush and rinse thoroughly for visible brightening.
- 🧪 For stubborn marks, a bicarbonate of soda + peroxide paste prolongs contact and adds gentle abrasion without gouging grout.
- ⚠️ Safety and surfaces: never mix with bleach or vinegar, wear gloves, and patch-test; safe for ceramic/porcelain, take care with natural stone and epoxy grout.
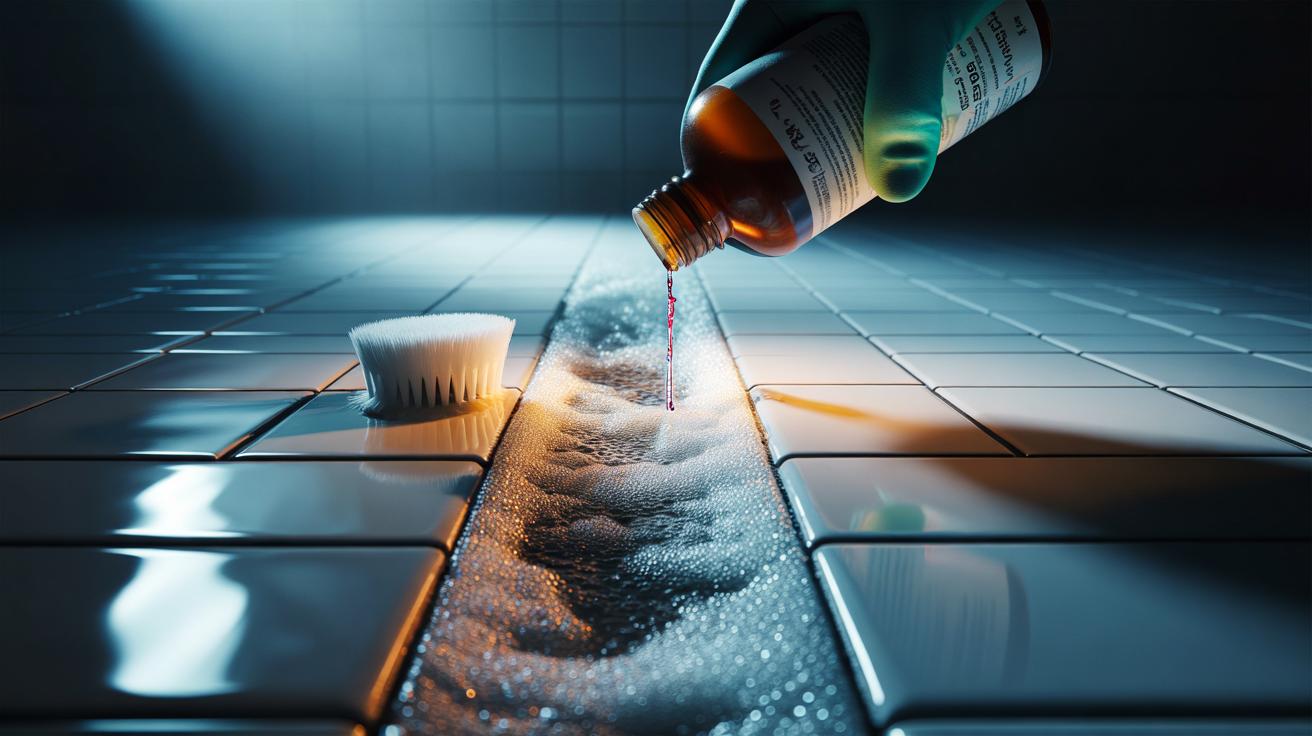
The secret to sparkling grout is sometimes hiding in plain sight under the bathroom sink. Household hydrogen peroxide looks unassuming, yet it delivers a fizzing performance that lifts grey film, yellowish tints, and stubborn mould shadows from between tiles. When it contacts grime, the solution releases oxygen in a fine effervescence that pries at particles clinging to the grout’s pores. That bubbling action doesn’t just entertain; it signals a chemical clean-up in progress. The visible fizz is your cue that oxygen is loosening soils the brush alone can’t reach. Used properly, this mild oxidising agent brightens grout without the harsh odour or irritation of stronger bleaches, making it a go-to for careful, effective maintenance in UK bathrooms and kitchens.
What Makes Hydrogen Peroxide Bubble on Grout
The trademark fizz occurs when hydrogen peroxide (H₂O₂) breaks down into water and oxygen gas. In grout lines, that breakdown accelerates when the liquid meets catalase enzymes from microbes, traces of metal ions, and organic residues. Those triggers speed decomposition, generating countless microbubbles that swarm into crevices. Porous, cement-based grout acts like a sponge, so oxygen forms within its tiny channels as well as on the surface. That internal bubbling is crucial because it agitates soils where they are most deeply lodged. The chemistry is simple, clean, and free of chlorine, yet surprisingly forceful.
Beyond the fizz, peroxide’s oxidation disrupts the molecular structures behind discoloration. Many stains and mould pigments rely on double bonds that absorb light; peroxide oxidises those bonds, diminishing colour. Simultaneously, it loosens biofilms that help dirt adhere to grout. The dual attack—physical lift from microbubbles and chemical brightening from oxidation—explains why even modest 3% solutions perform well. The bubbling ebbs as the reaction completes, a built-in timer that guides when to scrub and rinse for a refreshed, lighter look.
From Microbubbles to Brightness: How Stains Are Lifted
Grout discolouration often blends organic soils (mould, body oils, shampoo residues) with mineral grit. Peroxide targets the organic fraction, undermining the sticky matrix that binds particles to the grout face. As oxygen gas forms, bubbles wedge beneath softened films and create mechanical lift, a micro-scale “jack” that loosens residues. Think of the fizz as thousands of tiny levers prising dirt from pores you can’t reach with bristles alone. Once those films fracture, even a light scrub removes grime that previously resisted detergents.
Oxidation also reduces the visibility of dark mould marks by breaking down chromophores. On light-coloured grout, the effect reads as a clean, uniform brightening rather than a bleached patch. Expect the best results where staining is chiefly organic; soap-scum minerals may still need targeted descalers later. Many homeowners pair peroxide with a gentle abrasive such as bicarbonate of soda paste for extra bite. The paste holds peroxide in place, prolonging contact, while the fine grit helps detach loosened residues without gouging the grout.
Method That Works: Concentration, Contact Time, and Tools
A straightforward routine maximises the bubbling payoff. Start with a 3% pharmacy-grade hydrogen peroxide, the standard household strength in the UK. Dry-sweep the joints to remove loose grit; this prevents scouring. Apply peroxide along grout lines with a squeeze bottle or spray, then allow a dwell time of 5–10 minutes. Let the fizz do its work before you reach for the brush. When bubbling slows, agitate with a nylon grout brush or an old toothbrush, working in short, controlled strokes. Rinse thoroughly and assess. Repeat on persistent spots, extending contact by re-wetting rather than scrubbing harder.
For ingrained staining, make a baking soda paste (two parts bicarbonate to one part peroxide) and spread a thin layer on the lines. The paste keeps oxygen at the surface longer while offering mild abrasion. Avoid wire brushes that can erode grout. On epoxy grout, which is less porous, expect less bubbling but still useful oxidation at the surface. Always patch-test coloured or dyed grout in an inconspicuous area to confirm colourfastness.
| Parameter | Recommendation | Why It Matters |
|---|---|---|
| Strength | 3% H₂O₂ | Effective fizz with low risk to grout and sealers |
| Contact time | 5–10 minutes | Allows oxygen generation and oxidation to proceed |
| Scrubbing tool | Nylon brush | Removes loosened soils without gouging |
| Rinse | Warm water flush | Stops reaction, clears residues and salts |
Safety and Surface Compatibility in UK Bathrooms and Kitchens
Handled sensibly, 3% peroxide is a low-fuss cleaner. Wear gloves to avoid dryness and ensure good ventilation in small shower enclosures. Never mix hydrogen peroxide with bleach or with vinegar; combining household chemicals can create hazardous by-products. Store peroxide in its original opaque bottle, as light and heat degrade it. Check the use-by date; an old bottle may have lost potency, delivering less fizz and weaker cleaning. Keep it out of reach of children and pets, and wipe up any spills promptly.
Surface-wise, ceramic and porcelain tiles pair well with peroxide. On natural stone such as marble, limestone, or travertine, avoid prolonged contact, as grout cleaners can interact with sealers and the stone’s delicate finishes. Test in a discreet corner and use stone-safe products if in doubt. For epoxy grout, expect cosmetic brightening rather than deep penetration; its resin matrix is resistant to staining, so peroxide mainly freshens the surface. If aggressive limescale is present, tackle mineral build-up separately with a stone-safe descaler after the peroxide clean.
Used with a light touch and a bit of patience, hydrogen peroxide turns grout revival into an almost self-working job. The fizz signals that oxygen is loosening grime you cannot reach, leaving brushes to finish the job rather than fight it. It’s economical, low-odour, and kinder to surfaces than many harsher options—ideal for routine upkeep between deeper cleans. Let the bubbles do the heavy lifting, and your grout will show it. With your tiles shining and the lines restored, will you make this bubbling method part of your regular cleaning routine, or will you experiment with a different approach next time?
Did you like it?4.3/5 (29)