In a nutshell
- 🧪 Science-backed cleaning: acetic acid in white vinegar dissolves limescale and soap scum, while a cotton roll keeps continuous contact for superior dwell time on silicone seals.
- 🧵 Practical method: Dry the area, apply a vinegar‑soaked cotton roll snugly along the bead, keep it moist, then gently brush, rinse, and dry for a refreshed, hygienic finish.
- ⏱️ Targeted dwell times: Light film (30–60 min, 1:1 mix), limescale (2–4 h, neat), pink mildew (3–6 h, neat), black mould (8–12 h, neat), re-wetting as needed.
- ⚠️ Safety and fixes: Do not mix vinegar with bleach; test near natural stone; for stubborn stains alternate later with 3% hydrogen peroxide; replace perished seals with mould‑resistant silicone.
- 🛡️ Prevention that lasts: Ventilate after showers, squeegee and dry seals, use weekly diluted vinegar, tackle leaks, manage hard water, inspect beads quarterly, and consider a hydrophobic protective spray.
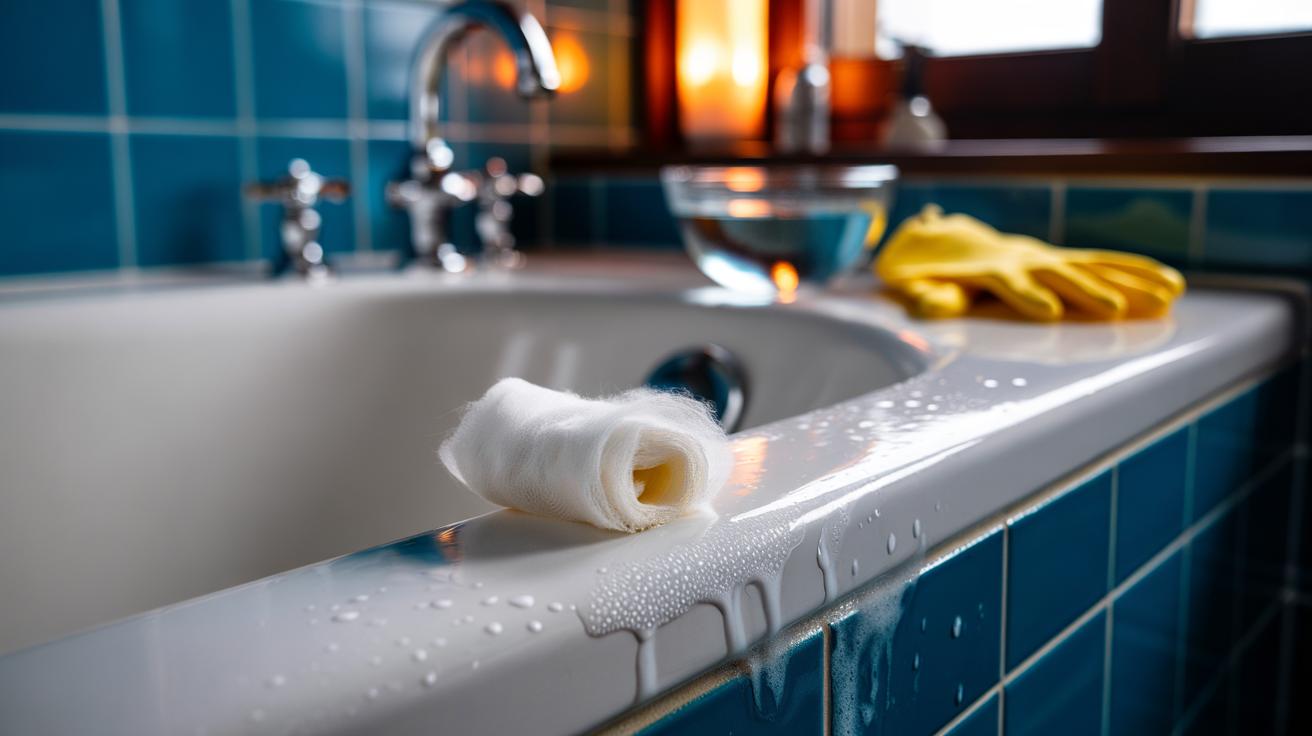
Bathroom silicone can turn from crisp white to a grubby grey almost overnight, especially where water sits and feeds mould and limescale. An old-school trick used by professional cleaners relies on nothing fancier than white vinegar and a cotton roll that clings to the sealant and keeps the acid working where it’s needed. This targeted method reduces waste, avoids splashy run-off, and spares delicate surfaces. Never mix vinegar with bleach or products containing chlorine. With a few household items and patience for proper dwell time, you can revive dingy silicone seals to a refreshed, hygienic finish without resorting to harsh chemicals or scrapers that risk damage.
Why Vinegar and Cotton Work on Seals
The magic lies in vinegar’s acetic acid, which dissolves limescale and breaks down soap scum that trap moisture and nourish mould. The cotton roll—dental rolls, cotton wool strips, or even braided cotton—acts like a wick. It holds liquid in contact with vertical or angled silicone, maintaining a thin, continuous film of cleaner where spray alone would drip away. That sustained contact is crucial: a few quiet hours of soak often outperforms frantic scrubbing. Test a discreet area first, especially if seals meet natural stone, as vinegar can etch limestone and marble.
Because vinegar is mildly acidic, it is generally safe for intact silicone and glazed tiles, yet potent enough to shift mineral crusts. Cotton also helps you stay precise: tuck it along the bead to protect adjacent fixtures or grout lines. Keep a window open or the fan running for ventilation, and wear gloves to protect skin from prolonged exposure and any loosened grime.
Step-by-Step: The Vinegar-Soaked Cotton Roll Method
Gather supplies: distilled white vinegar (5%), cotton rolls or long strips of cotton wool, gloves, a small dish, tweezers or tongs, an old toothbrush, and a plastic scraper. Dry the area thoroughly so vinegar isn’t diluted. Soak the cotton in vinegar until saturated but not dripping. Lay the vinegary strand along the seal, pressing gently so it hugs the silicone without gaps. For corners, twist shorter segments into snug coils. If the cotton begins to dry during treatment, re-wet with a pipette or spray.
Let it sit according to the build-up, then remove, scrub lightly with the toothbrush, and rinse well with warm water. Pat dry with a microfibre cloth to discourage new growth. Repeat for stubborn sections rather than forcing aggressive scraping.
| Build-up Type | Vinegar Strength | Dwell Time |
|---|---|---|
| Light soap film | 1:1 vinegar–water | 30–60 minutes |
| Limescale crust | Neat vinegar | 2–4 hours |
| Pink mildew | Neat vinegar | 3–6 hours |
| Black mould spots | Neat vinegar, re-wet as needed | Overnight (8–12 hours) |
Dealing With Mould, Mildew, and Stubborn Stains
Mould threads can root into tiny micro-cracks in sealant, which is why contact time is your ally. After a long vinegar soak, agitate gently with a soft brush, working from dry areas toward wet to avoid spreading spores. Rinse thoroughly and dry the bead. If stains persist, use a separate cycle on another day with 3% hydrogen peroxide on a cotton roll—never simultaneously with vinegar—and rinse again. Do not combine vinegar with bleach or chlorine-based products at any stage.
If the silicone has turned uniformly grey or the black appears embedded deep within, the seal may be perished. At that point, replacement is the cleaner, safer fix. Cut out the old bead, de-grease the joint, let it dry completely, and lay a fresh line of mould-resistant silicone. For cosmetic brightening after cleaning, a gentle bicarbonate-of-soda paste can help—but only after a full water rinse so you’re not neutralising the acid action you just used.
Preventive Care and Long-Term Maintenance
Once seals are clean, keep them that way with low-effort habits. After showers, squeegee tiles and wipe the silicone dry; moisture control is half the battle. Ventilation matters: run the extractor fan for 20–30 minutes or crack a window to reduce humidity. Weekly, mist seals with diluted white vinegar, leave for ten minutes, then rinse and dry. Address drips and leaks promptly, as persistent damp will defeat any cleaning routine.
Consider your water hardness. In hard-water areas, a simple inline softener or regular descaling of fixtures prevents the limescale that shelters mould. Switch from bar soap to liquid wash to cut soap scum. Inspect beads quarterly for nicks or lifting; re-tool small sections early rather than waiting for widespread failure. A silicone-safe protective spray can add a light hydrophobic barrier, encouraging water to shed and slowing build-up between cleans.
With a vinegar-soaked cotton roll, patient dwell time, and a few sensible precautions, bathroom seals can be renewed without harsh chemicals or costly call-outs. The technique rewards care: precise placement, steady soaking, and thorough drying make all the difference. If a bead resists, it’s a diagnostic clue that the sealant may be failing and due for renewal. Ready to reclaim those edges from grime and mould—what part of your bathroom will you tackle first with this targeted method?
Did you like it?4.5/5 (22)