In a nutshell
- 🦠 Fridge seals harbour moisture and sugars that feed biofilm and mould, causing persistent odours; use a fingertip check and the paper test to identify weak, dirty spots.
- 🧰 Gather gentle kit: a soft toothbrush, cotton buds, microfibre cloth, and a card-wrapped cloth; clean with warm soapy water, white vinegar (1:1), bicarbonate paste, and 3% hydrogen peroxide—avoid neat bleach on rubber.
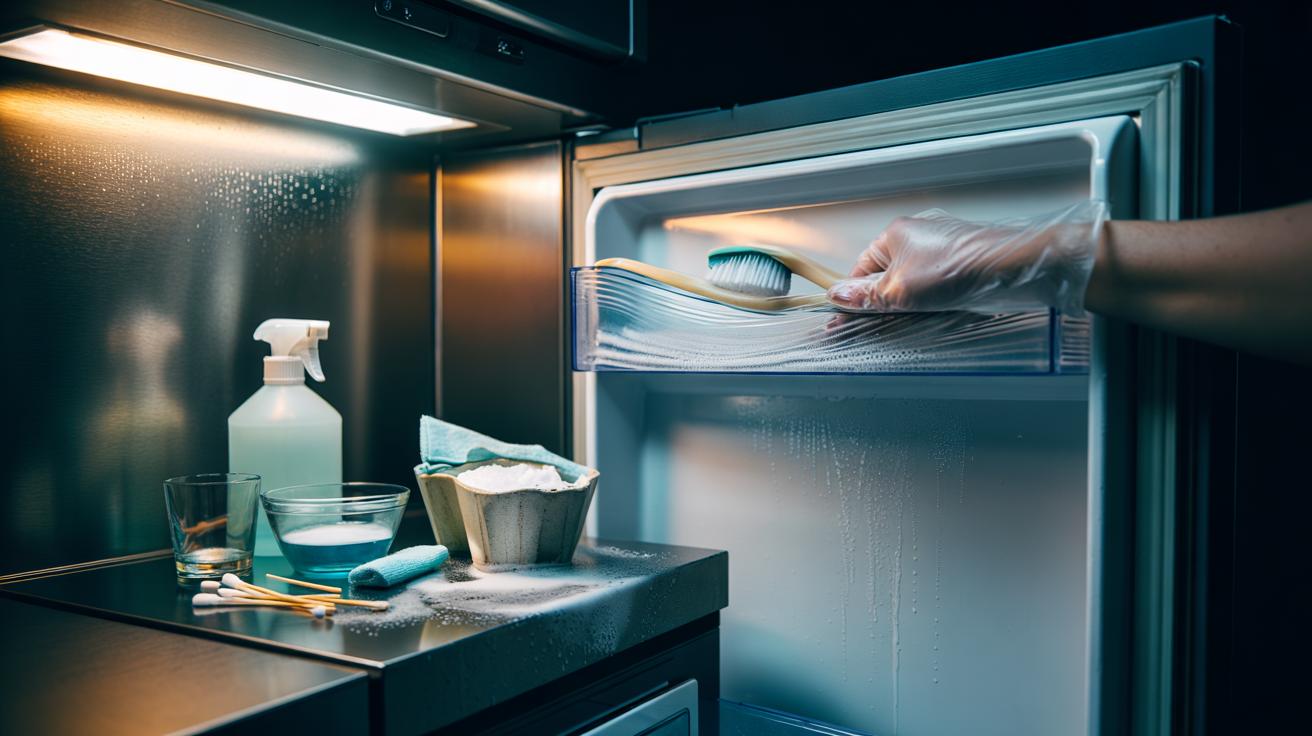
- 🧽 Deep-clean smartly: lift the gasket lip, wipe top-to-bottom, apply bicarbonate for buildup, mist vinegar to deodorise, spot-treat mould with peroxide, dry every fold, and finish with food-safe silicone; don’t stretch the seal.
- 🔁 Prevent return smells: give seals a weekly wipe and monthly deep clean, mop spills immediately, keep the fridge at 3–5°C, avoid overloading the door, store pungent foods airtight, and park an open tub of bicarbonate of soda inside.
- ⚡ Payoff: a fresher-smelling fridge, improved hygiene, and a tighter, energy-efficient seal that keeps cold air in and food fresher for longer.
Your fridge can smell perfectly fine on Monday and mysteriously sour by Friday. The food is labelled, the shelves are spotless, yet a fug lingers every time the door opens. The culprit, in countless homes, is the narrow strip you rarely notice: the fridge seals, also called the door gasket. Their folds trap drips, crumbs, and moisture, then shelter microbes that puff out stubborn odours. Clean those creases properly and the difference is instant. Clean seals, cleaner-smelling fridge. It’s also practical: a supple, debris-free seal keeps cold air in and energy bills down. Here’s how to evict the funk and keep it gone.
Why Fridge Seals Breed Hidden Odours
The gasket is a perfect hideout: dark, damp, and often lightly sugary thanks to escaped fruit juice or milk. That mix feeds biofilm—a slimy matrix that lets bacteria and mould cling to rubber. The folds compress, making snug channels that stay wet long after you’ve shut the door. Once established, the film traps new grime, so smells intensify even when the interior looks immaculate.
There’s a transfer effect too. Odour molecules can migrate into plastics, which is why a sour whiff persists even after a quick wipe. If you can smell it, microbes are already established in the creases. To confirm, run a finger around the inner lip and check for tackiness or grey specks. Do a “paper test”: close the door on a slip of paper and tug—if it slides out easily in places, dirt or distortion is compromising the seal and letting warm, humid air sneak in.
Tools and Materials: What You’ll Need
Gather gentle, non-scratch kit. A soft toothbrush, cotton buds, and a blunt tool—an old store card wrapped in a microfibre cloth—reach into tight channels without nicking rubber. You’ll want warm water, a dash of washing-up liquid, and targeted cleaners: white vinegar for mineral film, bicarbonate of soda for odour neutralising, and 3% hydrogen peroxide for mould stains. Keep dry cloths ready and a small dab of food-safe silicone grease to condition the gasket afterwards. Gloves help, as does a towel underfoot. Avoid neat bleach on rubber unless it’s a last resort—and always rinse thoroughly.
Use the right solution for the right mess. Ratios and roles at a glance:
| Solution | Ratio | Best For | Notes |
|---|---|---|---|
| Warm soapy water | Few drops per bowl | Daily grime | Gentle on rubber; start here |
| White vinegar spray | 1:1 with water | Mineral film, light mould | Deodorises; wipe after 5–10 minutes |
| Bicarbonate paste | 3:1 powder to water | Stuck-on residue, smells | Mild abrasive; rinse completely |
| Hydrogen peroxide | 3% ready to use | Staining, mould spots | Spot-treat; don’t soak the hinge |
| Diluted bleach | 1:10 with water | Severe mould only | Use sparingly; may degrade rubber |
Step-by-Step: Step-by-Step: Deep-Cleaning the Gasket
Shift perishables into a cool bag. Work briskly so the fridge doesn’t warm. Start with warm soapy water: dampen a cloth, lift the outer lip of the gasket gently, and wipe from top to bottom so runoff doesn’t re-soil clean areas. Use a toothbrush in the folds. For stubborn grime, press a bicarbonate of soda paste into the groove, wait five minutes, then agitate and rinse with a clean, wrung-out cloth. Never yank the seal; stretch weakens the magnet and the rubber memory.
Target odour reservoirs next. Mist a 1:1 white vinegar solution along the crease and leave it to dwell for up to ten minutes before wiping dry. Spot-treat visible mould with 3% hydrogen peroxide on a cotton bud; dab, wait, and wipe. Thread a cloth-wrapped card under the lip to drag out hidden crumbs. Finish by thoroughly drying every fold—any leftover moisture invites the problem back. Finally, massage a pinhead of food-safe silicone grease along the hinge side to keep the rubber supple, then buff off any excess.
Prevention: Keep Smells from Coming Back
Routine is everything. Give the seal a 60-second wipe during your weekly shop put-away, and schedule a monthly deep clean. Mop spills immediately; a dribble of milk today becomes a pong tomorrow. Store strong-smelling foods in airtight containers and check lids for stickiness—external residue ends up on the seal. A dry seal is a happy seal, so finish every wipe-down with a dry cloth, especially in the lower corners where condensation lurks.
Performance matters too. Do the paper test quarterly; if it slides out, adjust the door or replace a tired gasket. Keep the fridge at 3–5°C and avoid overloading the door so the seal sits flat. Pop an open tub of bicarbonate of soda on a shelf to absorb stray odours, refreshing it every three months. If you notice recurring mould, improve air circulation by not crowding the interior and inspect for tiny tears—small damage magnifies humidity and smell.
Clean fridge seals pay you back twice: fresher air every time you reach for the milk, and a tighter closure that saves energy day after day. The job is simple, the results immediate, and the habit becomes oddly satisfying once you’ve seen what those folds can hide. Tackle the seals and the fridge starts to smell like nothing at all—exactly as it should. What’s your go-to trick for keeping the gasket pristine and odour-free in a busy household?
Did you like it?4.6/5 (26)