In a nutshell
- 🪞 Fog is condensation; a thin film of shaving cream leaves surfactants that make water sheet, delivering dependable anti-fog clarity.
- ⏱️ Follow the 30-second method: clean and dry the mirror, apply a pea-sized dab of white foam, spread a faint layer, wait 10–15 seconds, then buff completely clear and test with steam.
- ⌛ Results last about 3–7 days; reapply weekly for consistency, choose classic foam, and avoid abrasives or ammonia-heavy cleaners that strip the protective film.
- 🔄 Alternatives at a glance: washing-up liquid (cheap but shorter), anti-fog spray (longer-lasting), vinegar (budget, short-lived), and heated demister pads (premium, permanent).
- 💡 Takeaway: a tiny dab and thorough buff give instant, low-cost, renter-friendly clarity; pick the method that fits your bathroom’s steam levels, budget, and routine.
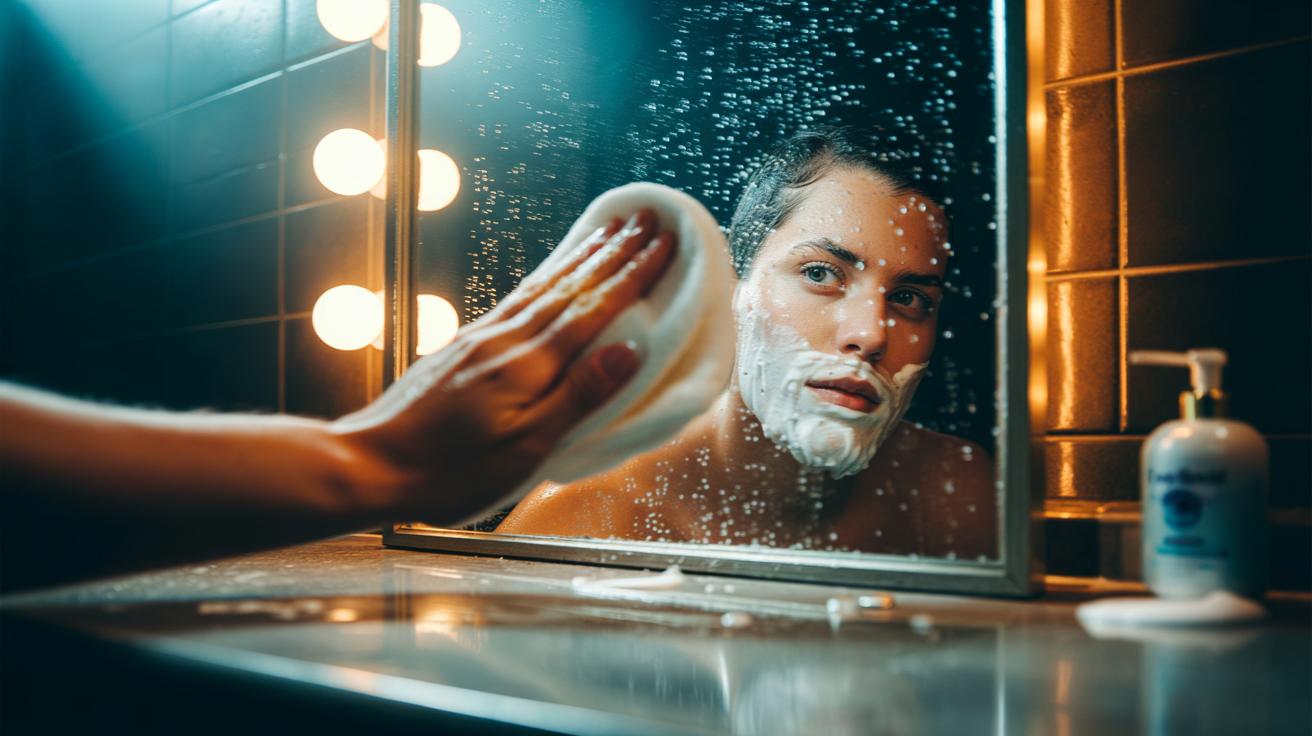
Step out of a steamy shower and the last thing you want is a misted mirror. Here’s the low-cost, high-impact fix bathroom pros swear by: shaving cream. Swipe on a whisper-thin layer, buff to clarity, and your glass resists fog almost instantly. The secret lies in a microscopic film that keeps water from forming vision-blocking droplets. It’s quick, safe for ordinary glass, and costs pennies per use. It works in seconds, every time, when applied correctly. Below, you’ll find the science that makes it tick, a rapid method you can master on your first try, and smart tips to make results last.
Why Mirrors Fog and How Shaving Cream Stops It
Fog is nothing more than condensation: warm, humid air hits a cooler surface, droplets form, and light scatters, obscuring your reflection. Bathroom mirrors are especially vulnerable because the glass cools quickly while the room fills with steam. Shaving cream contains surfactants—soap-like molecules that change how water behaves on a surface. When you spread a micro-thin layer across your mirror, these molecules leave an invisible film that lowers surface tension. Instead of beading into thousands of tiny droplets, water spreads into a transparent sheet that you can see through.
Think of it as turning your mirror into a self-clearing window. The layer is not greasy when applied sparingly; it’s a controlled, clear anti-fog treatment that rivals commercial sprays. Because the film encourages sheeting, light passes through cleanly, keeping your reflection sharp even as the room steams up. That is why this trick earns its reputation for reliability in busy households.
Step-by-Step: The 30-Second Shaving Cream Method
Start with a clean, dry mirror; if needed, wipe with a standard glass cleaner and let it dry fully. Place a pea-sized dab of shaving cream—traditional white foam works best—onto a soft microfiber cloth. Gently sweep it across the mirror in overlapping passes to form a faint, even haze; avoid heavy blobs and don’t flood the edges or backing. Wait 10–15 seconds, then switch to a fresh, dry section of cloth and buff until the glass looks perfectly clear, with no streaks or cloudiness. When the mirror appears bare, that’s exactly right—the protective layer is there, just invisible.
To proof-test, run a hot tap or take a quick shower. The mirror should resist fogging, and any moisture will smooth into a see-through film. If you notice streaks, repeat with less product and a cleaner cloth. Avoid paper towels (they shed) and avoid rubbing the silvered edges. Done well, the whole process takes under half a minute and delivers instant anti-fog performance.
How Long It Lasts, What to Use, and What to Avoid
In a typical British bathroom, a single application lasts three to seven days, depending on ventilation and shower frequency. Households with multiple daily showers or poor extraction may need to reapply midweek; drier rooms may stretch to a fortnight. As a rule of thumb, reapply weekly for consistent, no-fuss clarity. Classic, unscented foam is the most dependable: it spreads thin, buffs clean, and leaves a uniform film. Many gels work too, but some contain conditioners that can smear if overused. Alcohol-light formulas make buffing easier and reduce streak risk.
Avoid abrasive pads, ammonia-heavy cleaners, or razor scraping after treatment; they strip the protective film and can mark the glass. Don’t flood the mirror with water immediately after buffing—give the layer a few minutes to settle. If your mirror has a factory anti-mist or speciality coating, patch-test a corner first to ensure compatibility. When it’s time to refresh, simply clean as normal, dry thoroughly, and repeat the light application.
Shaving Cream vs Other Anti-Fog Fixes
Plenty of folk remedies claim to beat fog, from washing-up liquid to vinegar. The advantage of shaving cream is control: it’s designed to spread evenly and leave a predictable, stable surfactant layer. That makes it forgiving for rushed mornings and shared bathrooms. Commercial sprays can work brilliantly, but they cost more and may require careful storage. Heated demister pads are superb but come with installation and energy use. The comparison below sums up the trade-offs so you can pick what fits your routine, budget, and bathroom set-up.
| Method | Cost | Apply Time | Longevity | Smear Risk | Best For |
|---|---|---|---|---|---|
| Shaving cream | Very low | ~30 seconds | 3–7 days | Low (if buffed) | Daily showers, renters |
| Washing-up liquid | Very low | ~30 seconds | 1–3 days | Moderate | Quick, occasional use |
| Anti-fog spray | Medium | 1–2 minutes | Up to 1–2 weeks | Low | Premium, longer-lasting finish |
| Vinegar solution | Low | ~1 minute | Short | Moderate | Budget, light steam |
| Heated demister pad | High (one-off) | Install once | Years | None | Renovations, permanent fix |
If you want instant results at almost no cost, shaving cream is the standout winner. For households seeking a set-and-forget solution, heated pads are unbeatable but require commitment. Sprays bridge the gap with longer runtimes and cleaner finishes, though they add ongoing expense. Matching method to bathroom habits is the surest way to keep your reflection crisp after every shower.
The beauty of the shaving cream trick is its simplicity: a tiny dab, a neat buff, and your mirror stays usable even in a cloud of steam. It’s affordable, repeatable, and fits into a morning routine without fuss. Apply lightly, buff completely, and enjoy fog-free grooming without installing anything. Whether you’re in a rented flat or renovating a forever home, this small habit pays off every day you turn on the hot tap. Will you stick with shaving cream, step up to a spray, or invest in a heated pad to keep your mirror crystal clear?
Did you like it?4.5/5 (28)