In a nutshell
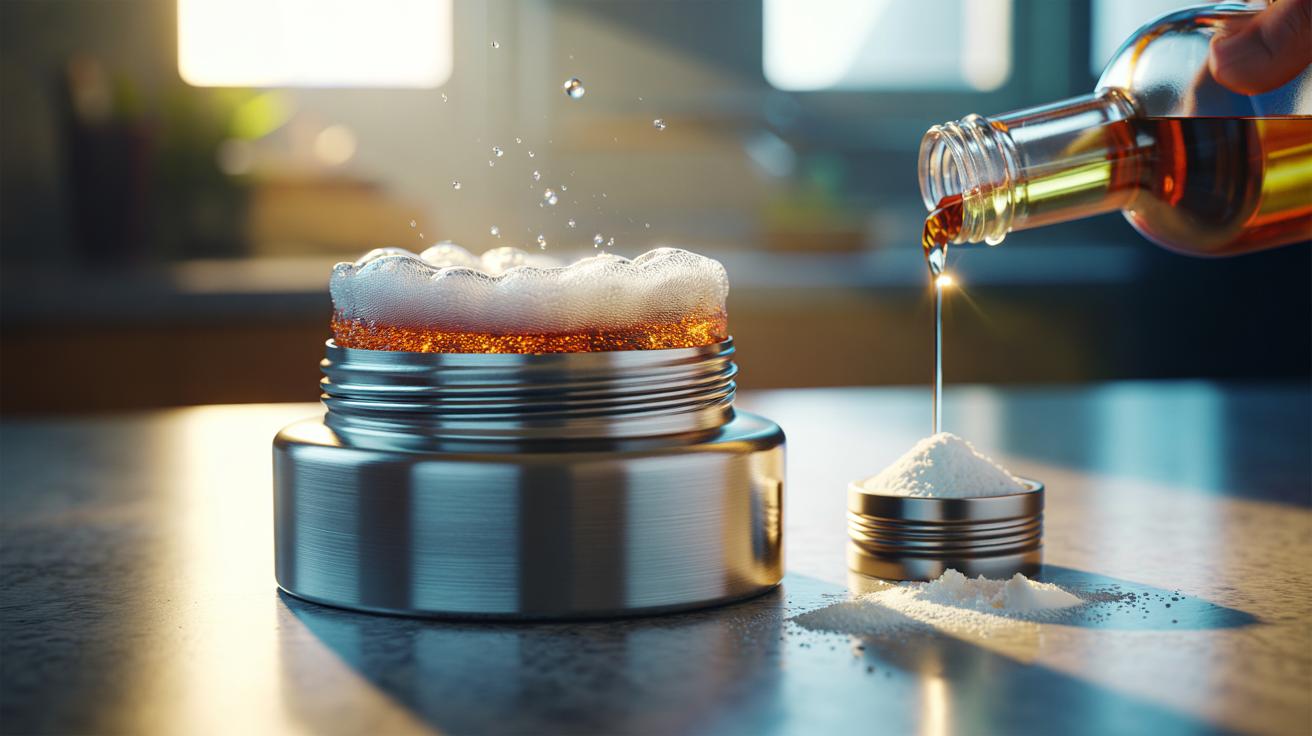
- 🧪 The reaction of baking soda and vinegar releases carbon dioxide bubbles that create micro-currents, scrubbing a thermos’ narrow neck, threads, and crevices where brushes can’t reach.
- ⚙️ Step-by-step: add 1–2 tsp soda, wet with warm water, pour vinegar slowly, swirl, top up, and vent the cap; let fizz for 10–30 minutes, brush if available, then rinse and dry fully.
- 🔐 Safety first: never seal an active reaction, use warm (not boiling) water, avoid bleach/chlorine, and note that stainless steel and silicone gaskets tolerate short contact times.
- 🧼 Deodorising and stains: a post-fizz soda soak lifts tea tannins and coffee oils; finish with a hot-water rinse to clear odours and clean lid inserts and seals separately.
- 🗓️ Maintenance: rinse after use, air-dry with the cap off, run a monthly fizz for daily coffee use, and use brief vinegar-only soaks to tackle hard-water scale.
Every thermos flask eventually picks up a cocktail of coffee oils, tea tannins, and a faint whiff of yesterday’s soup. The quiet hero for this job is the baking soda + vinegar trick, which creates a vigorous fizz that scrubs what brushes can’t reach. In a narrow-neck bottle, bubbles travel into seams, threads, and crevices, unsettling grime and lifting odours without harsh chemicals. Because the reaction produces lively, roaming bubbles, the cleaning action is self-distributing. It’s inexpensive, food-safe, and kind to stainless steel when used sensibly. Here’s how the science works, how to do it, and how to avoid the pitfalls that can turn fizz into fuss.
How the Fizz Works Inside a Narrow Neck
When sodium bicarbonate meets acetic acid (vinegar), they form sodium acetate, water, and a surge of carbon dioxide bubbles. Inside a narrow-neck thermos, those bubbles nucleate on microscopic pits, coffee film, and limescale, detaching them as they rise. Each burst of gas creates micro-currents that refresh the liquid at the wall, a gentle but persistent scouring motion. Because bubbles form everywhere the liquid touches, the reaction sends cleaning power into corners, threads, and under the lip. Warm water lowers viscosity, helping bubbles slip beneath residue.
There’s more than chemistry at play. The fizz generates tiny pressure waves that loosen particles hiding in seams, while baking soda buffers acidity so steel isn’t overexposed. Vinegar softens mineral build-up; soda disrupts fatty deposits and neutralises smells. Compared with shaking alone, effervescence offers multi-directional movement without abrasion. Keep the cap loose to vent gas; that safeguard maintains flow without creating a pressure vessel. The result is a thorough clean that’s gentle on stainless interiors and silicone gaskets.
Step-By-Step Method for a Spotless Thermos
Start with a warm rinse to soften residues. Add 1–2 teaspoons of baking soda to the flask. Pour in a little warm water to wet the powder. Now add vinegar slowly: you want controlled fizz, not a volcano. Swirl gently, then top up with warm water. Do not fully cap while the reaction is active—gas must vent. Let it fizz for 10–15 minutes for daily grime, up to 30 minutes for stubborn stains. For neck threads and lids, dip them separately in the same solution.
After soaking, use a bottle brush if you have one, then rinse thoroughly until the smell of vinegar is gone. For lingering coffee shadows, repeat with warm water and a fresh teaspoon of soda, allowing a longer sit. Dry upside down. Leave the lid off until completely dry to prevent trapped moisture and odours. Avoid scalding-hot water during the fizz phase; it accelerates gas production and can be messy without adding cleaning power.
| Flask Size | Baking Soda | Vinegar | Top-Up Water | Typical Time |
|---|---|---|---|---|
| 350 ml | 1 tsp | 60–80 ml | Warm, to fill | 10–15 min |
| 500 ml | 1.5 tsp | 100 ml | Warm, to fill | 15–20 min |
| 1 litre | 2–3 tsp | 150–180 ml | Warm, to fill | 20–30 min |
Safety, Materials, and What to Avoid
Stainless steel interiors handle this method well, especially with short contact times. Rinse gaskets and lids promptly; silicone tolerates mild acid and alkali, but lingering smells can hide under seals if not dried. Never seal an active reaction: pressure builds quickly, risking leaks or a dramatic pop. Limit heat; warm water is ideal, boiling water isn’t. Skip bleach or chlorine on steel; it can pit the surface and corrode welds over time. If your flask has decorative paint outside, wipe spills immediately to avoid dull patches.
Aluminium interiors are rare in modern thermoses, but if present, keep exposure very brief and rinse quickly, as acid can etch. Don’t combine vinegar with commercial descalers or hydrogen peroxide—unpredictable reactions and fumes can result. If you use flavour infusions or protein shakes, clean the same day; the fizz method tackles biofilms effectively when they haven’t hardened. When in doubt, test on a small accessory piece like the lid insert and check manufacturer guidance. Safe practice preserves performance and appearance.
Deodorising, Stain Removal, and Keeping Flasks Fresh
For stubborn tea tannins and coffee oils, run the fizz cycle first, then sprinkle an extra half-teaspoon of baking soda and fill with warm water for a one-hour soak. Soda’s mild alkalinity lifts brown films without scratching. Add a drop of odourless washing-up liquid if needed, but rinse until water runs scent-free. A final rinse with very hot water helps drive off residual aromas. For lids with hidden channels, soak separately and dry on a rack to expose all edges to air.
To keep smells at bay, rinse your thermos after each use, then air-dry with the cap off. Store it loosely assembled so moisture cannot linger under seals. A monthly maintenance fizz prevents build-up if you’re a daily coffee drinker. Avoid rough abrasives on polished interiors; they create pits that trap oils. If hard water leaves scale, a brief vinegar-only soak works between soda cleans. Consistency beats intensity: small, regular cleans prevent the stains that need heroic measures.
A simple kitchen pairing—baking soda and vinegar—turns into a roaming scrubber that reaches where brushes cannot in a thermos flask. The science of bubbling gas, gentle currents, and balanced pH delivers bright steel and neutral smells without expense or harsh chemicals. With sensible venting, measured quantities, and thorough drying, you’ll keep your bottle tasting like, well, nothing at all. Next time your coffee starts to taste “yesterday”, will you reach for the fizz and time your clean, or experiment with your own tweaks to maximise that corner-reaching sparkle?
Did you like it?4.7/5 (30)