In a nutshell
- 🧪 The chemistry: Tarnish is silver sulphide; hot water, aluminium foil and baking soda create a tiny cell where aluminium acts as a sacrificial anode, reducing Ag2S back to silver without abrasion.
- 📏 Exact steps: Line a bowl with foil, add 1 litre hot water + 2 tbsp baking soda (optional 1 tbsp salt), ensure silver touches the foil for 2–5 minutes, then rinse hot and dry with a soft cloth.
- ⚠️ Safety and caveats: Avoid immersing pieces with porous stones, glued settings, enamel, or deliberate oxidised/niello finishes; take care with very thin silver-plated items, ventilate, and handle near-boiling water cautiously.
- 🧰 Best use vs pastes: This method is non-abrasive and preserves fine detail; reserve abrasive pastes for targeted highlights, stubborn spots, or where you want to keep shadowed patina intact.
- 🛡️ Prevention tips: Store in anti-tarnish bags or with charcoal/silica gel, avoid sulphur sources (rubber, wool, newsprint), wash after egg/onion contact, keep humidity low, and use your silver regularly.
Silver that once gleamed can turn a sullen grey in weeks, yet an old kitchen standby restores sparkle in minutes. The “foil and baking soda” method isn’t magic; it’s a tidy bit of chemistry that reverses tarnish without abrasion. By pairing aluminium foil, hot water and baking soda (bicarbonate of soda), you trigger a reaction that converts silver sulphide back to metallic silver. This process does not polish; it transforms the tarnish itself. For family cutlery, jewellery chains and tea services, it’s quick, cheap and kind to detail. Here’s how the reaction lifts tarnish, the exact steps to follow, and the pitfalls to avoid if you want a brilliant finish without unintended damage.
Why Silver Tarnishes and How the Foil Trick Works
That gloomy film on your heirloom spoon is silver sulphide (Ag2S), formed when silver meets trace sulphur compounds in air, latex, foods like eggs and onions, or polluted atmospheres. It’s a surface layer, not dirt. When you place silver on aluminium in hot water with dissolved bicarbonate, you create a tiny electrochemical cell. Aluminium is more reactive than silver, so it willingly oxidises, donating electrons that reduce silver sulphide back to metallic silver. No rubbing is required, so fine engravings and crisp hallmarks are preserved.
The bicarbonate solution acts as a mild electrolyte, improving ion flow without harsh chemicals. In effect, the aluminium becomes a sacrificial anode, and the tarnish is stripped of sulphur, which bonds with the aluminium instead. You may catch a faint whiff akin to boiled eggs; that’s sulphur being displaced. The result is a restored shine in minutes, achieved by chemistry rather than scouring — ideal for pieces you’d rather not thin with abrasive pastes.
Step-by-Step Method With Measurements
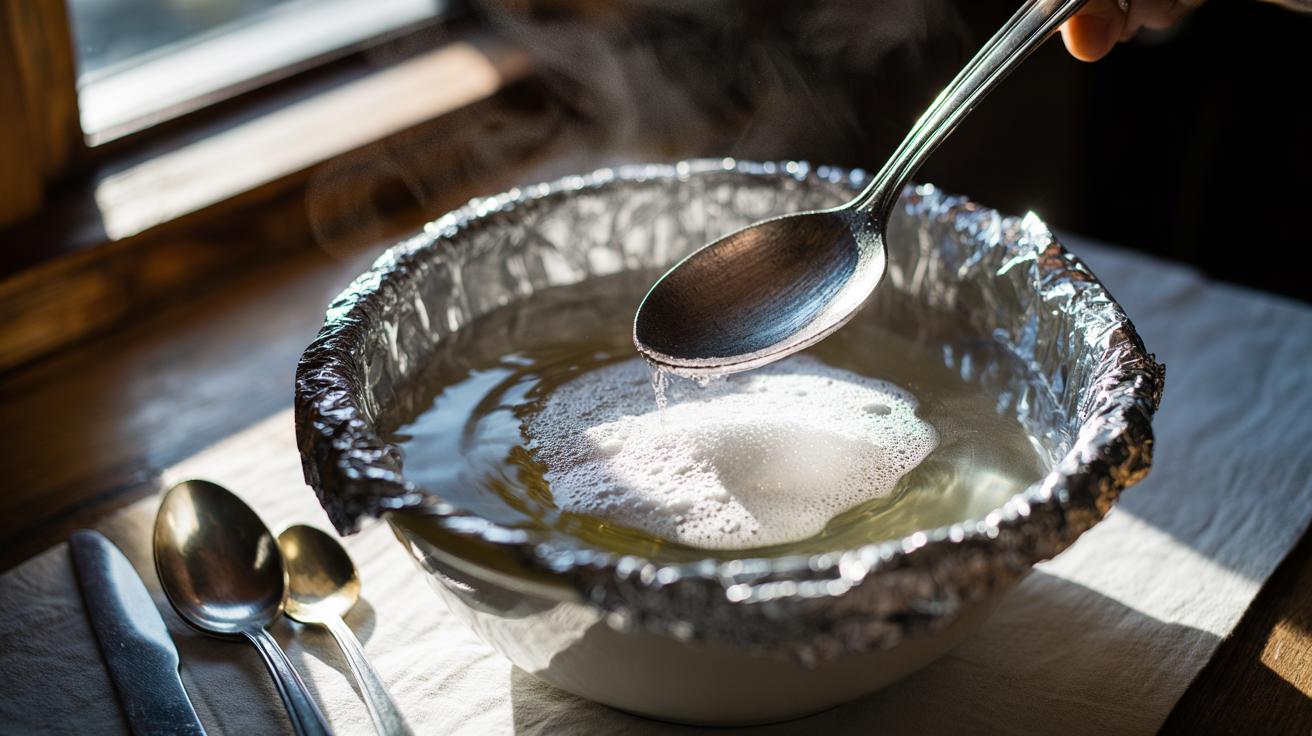
Line a heatproof glass or ceramic bowl with aluminium foil, shiny side up. Add 1 litre of just-off-the-boil water, then dissolve 2 tablespoons baking soda. For heavy tarnish, add up to 1 tablespoon table salt to enhance conductivity. Lay the silver so it touches the foil directly; contact drives the reaction. Leave 2–5 minutes, turning once if needed. Lift out with wooden tongs, rinse under hot running water, and dry immediately with a soft cotton cloth to prevent water spots.
| Component | Measurement | Purpose |
|---|---|---|
| Aluminium foil | 1 sheet, bowl-lined | Sacrificial metal for reaction |
| Hot water | 1 litre, just off boil | Speeds ion exchange |
| Baking soda | 2 tbsp | Mild electrolyte, pH buffer |
| Salt (optional) | 1 tbsp | Boosts conductivity for heavy tarnish |
Ensure the silver maintains contact with the foil and is fully submerged. For chains and cutlery, the change is often immediate; ornate pieces may need a second dip. Finish with a gentle buff using a clean microfibre cloth to even the sheen. Avoid aluminium or stainless-steel bowls, which short-circuit the effect or introduce mixed-metal complications.
Safety, Caveats, and When Not to Use This Method
Hot water and chemistry are involved, so use common sense. Handle near-boiling water carefully, ventilate the area, and wear gloves if your skin is sensitive. Rinse thoroughly to remove residues that can mark the finish as they dry. Do not immerse silver jewellery set with pearls, opals, turquoise, lapis, coral, or other porous stones; heat and alkalinity can damage them. Adhesive-set pieces may loosen in hot water, and items with glued-in mirror backs or enamel infill can be compromised.
Avoid this method on blackened, oxidised or niello finishes where the dark sulphide layer is deliberate — you’ll lift the artistry along with the tarnish. Very thinly silver-plated items are generally safe, but cleaning can reveal existing wear in high-friction spots. For mixed-metal pieces or where you’re unsure of construction, test a hidden area first. If your silver has intentional patina that defines relief and shadows, choose selective hand-polishing instead of a full dip.
Keeping Silver Bright Longer
Once restored, cut down the comeback. Store pieces in anti-tarnish bags or with activated charcoal or silica gel. Keep silver away from rubber bands, felt, newsprint and wool, which off-gas sulphur. After contact with eggs, onions, perfume or household cleaners, wash promptly in warm water with a drop of mild detergent, then dry completely. Use your silver often; regular washing slows sulphide build-up better than long stints in a drawer. For display cabinets, add anti-tarnish strips and aim for low humidity.
Compared with abrasive pastes, the foil method preserves detail because it doesn’t remove metal; it simply converts silver sulphide back to silver. Pastes have their place for spot work, stubborn fingerprints, or sculpted pieces where you want to keep shadowed patina intact. A sensible routine pairs both approaches: chemical conversion for broad, uniform tarnish on flatware and chains; targeted paste for edges and highlights you want to brighten selectively.
Handled with a light touch, the foil and baking soda trick restores silver with minimal fuss and zero abrasion, letting chemistry do the heavy lifting. It’s quick enough for Sunday lunch cutlery and gentle enough for family keepsakes, provided you respect the caveats on stones, glues and deliberate patina. Rinse, dry and store smartly to slow tarnish’s return, and keep a note of what worked for each piece. Which neglected necklace, spoon or teapot will you revive first — and what story will it tell once it shines again?
Did you like it?4.5/5 (22)