In a nutshell
- ❄️ The freezer trick exploits wax’s thermoplastic nature: cold contraction makes it brittle, weakens adhesion, and prevents smearing, protecting finishes.
- 🧰 Practical steps by surface: use a resealable bag and plastic scraper for glass/metal, freeze-and-flex for fabrics, and ice packs plus spoon-and-vacuum for carpets; avoid rubbing to stop pigment spread.
- 🧊 For large or fixed items, apply localized cold with gel packs or frozen veg over a barrier; handle thin glass and porous stone carefully, and use upside-down compressed air for precise spot-freezing.
- 🧽 Clear residue and restore shine: warm water + washing-up liquid for general cleaning, isopropyl alcohol for glass films, sparing mineral spirits on finished wood (patch test), and pH-neutral cleaners on stone, then polish.
- ⚖️ Cold vs heat: cold removal is low-risk with minimal spread; heat and solvents escalate risk—follow the rule: Cold first, gentle clean second, polish last.
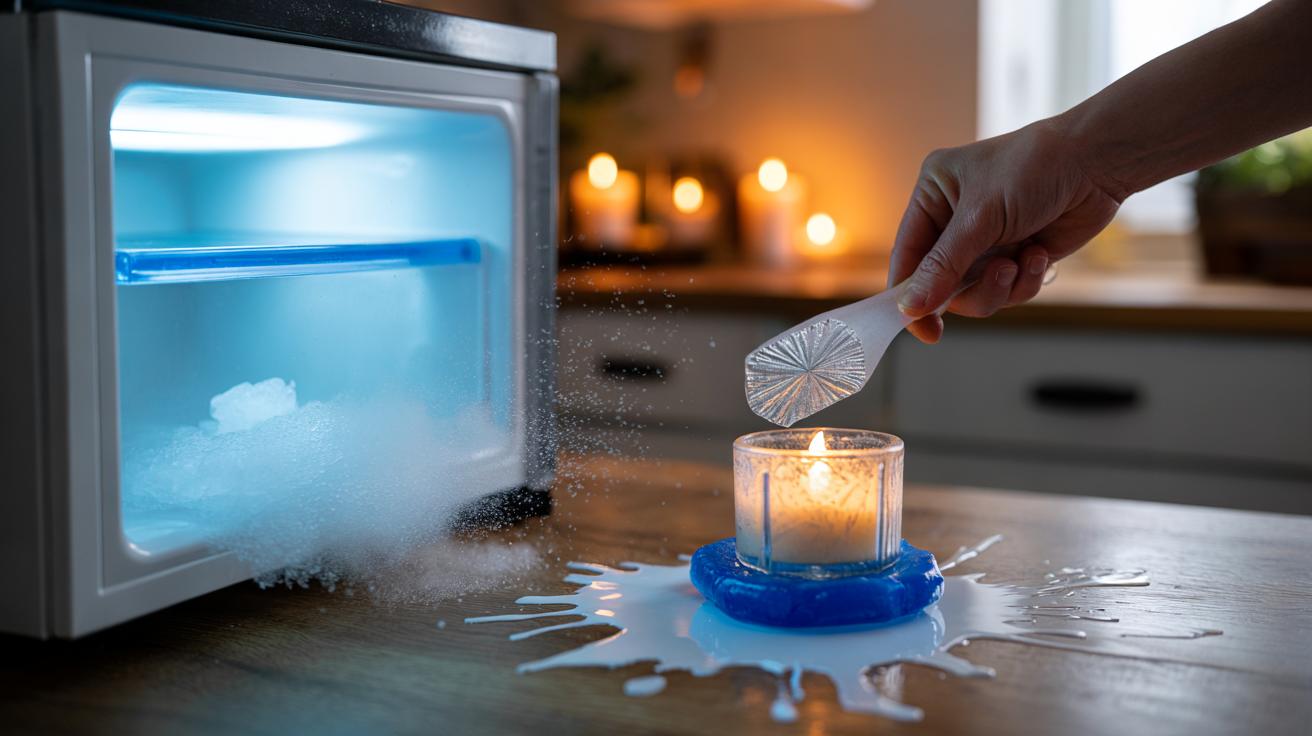
Dripped wax can turn a cosy candlelit evening into a cleaning headache. The simplest fix hides in plain sight: your freezer. Lowering the temperature transforms wax from a smeary film into a brittle solid that detaches cleanly from glass, metal, wood, fabric, and even carpet. This cold-first approach curbs mess, protects finishes, and saves time because you’re not pushing softened wax deeper into fibres or across a polished surface. With a little patience, a sealable bag, and a plastic scraper, the freezer trick makes cleanup almost effortless. Here’s how cold works, how to apply it on different materials, and when to combine it with light cleaning for a flawless finish.
Why Cold Works on Candle Wax
Candle wax is a thermoplastic blend of paraffin, soy, beeswax, or palm oils that changes behaviour with temperature. When it cools, the molecules pack tightly, the wax contracts, and adhesion to the surface weakens. That contraction is your ally: it loosens the bond so the wax pops off instead of smearing. The freezing step also moves wax below its “glass transition” point, turning it from rubbery to brittle. Tiny taps or gentle flexing then fracture the residue into flakes. Because cold also thickens any scented oils, the odour stays put rather than spreading across the room while you work.
The physics translates to practical gains. Brittleness means leverage works in your favour; a fingernail or plastic scraper lifts edges cleanly. Hardening prevents the greasy halo that forms when heat or friction melts wax into a fine film. Importantly, cooling is kinder to finishes than aggressive solvents or hot irons. When in doubt, chill first, then tidy what’s left—you’ll usually avoid damage and end with less to polish.
Step-by-Step: The Freezer Trick for Different Surfaces
Small objects (glass holders, candlesticks, metal trays): Place the item in a resealable freezer bag to keep odours and frost off the surface. Freeze for 30–60 minutes. Remove and nudge the edge of the wax with a credit card or plastic spatula. It should snap away in large, clean sections. For delicate glass, support the surface and avoid prying at weak points.
Fabric and napkins: Fold the waxy area face-up into a bag and freeze for an hour. Flex the fabric to crack the deposit, then snap off chunks with your fingernail. Vacuum crumbs with an upholstery nozzle. If a faint mark remains, dab with a little washing-up liquid in cool water, then rinse. Do not rub, which can drive pigment deeper into fibres.
Carpets and upholstery: Press an ice pack or a bag of ice cubes over the spot for 5–10 minutes. Lift the stiffened wax with a spoon, working from the outside in. Keep moisture contained to avoid soaking pads. Finish by vacuuming granules and fluffing the pile with a soft brush.
What to Do When Items Won’t Fit in the Freezer
For large surfaces, create localised cold. Lay a silicone mat or thin tea towel over the wax, then apply gel ice packs or a bag of frozen veg for 10–15 minutes. The barrier prevents condensation rings on wood and stone. On removable table runners, sandwich the wax between chilled baking sheets to cool both sides quickly. In winter, move items to a sheltered balcony for a controlled cooldown, avoiding rapid swings that might stress thin glass.
Need extra precision? A can of compressed air held upside down expels a supercooled blast, but use with care. Keep the nozzle moving, avoid skin contact, and stop if frost or cracking appears. Skip cold shocks on fine china, hairline-cracked glass, and porous stone with existing damage. When dealing with finished wood, keep packs dry and brief; reapply in short intervals to minimise moisture exposure. The rule is simple: apply cold, test gently, repeat if needed—patience delivers cleaner, safer results than force.
Cleaning Up Residue and Restoring Shine
After the big flakes are gone, you may see a faint sheen. On glass and metal, wipe with a cloth dampened in warm water and a drop of washing-up liquid, then buff dry. For stubborn films on glass, a little isopropyl alcohol clears residue without streaks. Finished wood responds well to a microfibre cloth and a trace of mineral spirits, applied sparingly and followed by polish. Always patch test out of sight first to confirm compatibility with varnish or lacquer.
Textiles benefit from spot treatment: massage a pea-sized amount of liquid laundry detergent into the mark and rinse with cool water. For light-coloured fabrics, an oxygen-based stain remover can lift any dye transfer caused by the wax. On stone, stick to a pH-neutral cleaner to protect the sealant. Finally, restore lustre: buff metal trays with a soft cloth, wipe glass until it squeaks, and recondition wood with a suitable furniture polish. The surface should look untouched—no haze, no greasiness.
Cold vs Heat: A Quick Comparison
Heat can work, but it often spreads the mess before it lifts. Cold contains the problem, keeping pigments and oils from migrating into pores and fibres. Use this quick guide to match the method to the material and risk level. Choose the least invasive tool that gets the job done, then escalate only if necessary.
| Method | Best For | Pros | Cautions |
|---|---|---|---|
| Freezer/Ice | Glass, metal, sealed wood, fabrics, carpet | Low risk, minimal smearing, fast flake-off | Prevent condensation on wood/stone; avoid thermal shock on thin glass |
| Warm Iron + Paper | Sturdy fabrics, flat weaves | Absorbs residual film efficiently | Use low heat; risk of setting dyes or creating a sheen |
| Hairdryer (Low) | Intricate surfaces needing targeted heat | Controlled softening | Can spread wax; keep airflow moving; avoid varnished wood |
| Solvents | Glass, metal; limited use on finished wood | Dissolves faint residue | Patch test; some finishes and dyes are sensitive |
As a rule, start with cold removal, finish with a light clean, then polish. If the candle was highly pigmented, inspect under good light; a second chill-and-scrape round is often quicker than switching to heat. For heirlooms or porous materials, consider professional advice before introducing solvents or aggressive scraping.
The freezer trick turns a fiddly chore into a tidy routine. By letting physics do the heavy lifting—contracting, embrittling, and releasing the wax—you protect finishes and cut cleaning time. A couple of ice packs, a resealable bag, and a plastic scraper are usually all you need. Cold first, gentle clean second, polish last: that sequence saves surfaces and sanity. Next time a candle drips, will you reach for the freezer drawer, or do you have a trusted technique you swear by for awkward materials and colours?
Did you like it?4.5/5 (23)