In a nutshell
- 🔥 Hot water + aluminium foil lifts burnt-on residue via thermal softening and gentle micro-abrasion, with any galvanic effect minor compared to the physical scrub.
- 🛠️ Follow a simple method: soak with near-boiling water and a drop of washing-up liquid for 3–5 minutes, scrub in light circles with scrunched foil, refresh heat, rinse, inspect, and dry.
- ✅ Best for stainless steel and uncoated steel; use care on enameled, bare aluminium, and copper; avoid on non-stick exteriors and seasoned cast iron to protect finishes.
- 🧪 Troubleshoot with a bicarbonate of soda paste for stubborn patches, hot-paper-towel soaks for sugary residues, vinegar for heat tint—never mix acids with bleach.
- ✨ Results are frugal, fast, and low-fume; keep sessions short with minimal abrasion, steady heat, and frequent checks, switching tactics on delicate coatings.
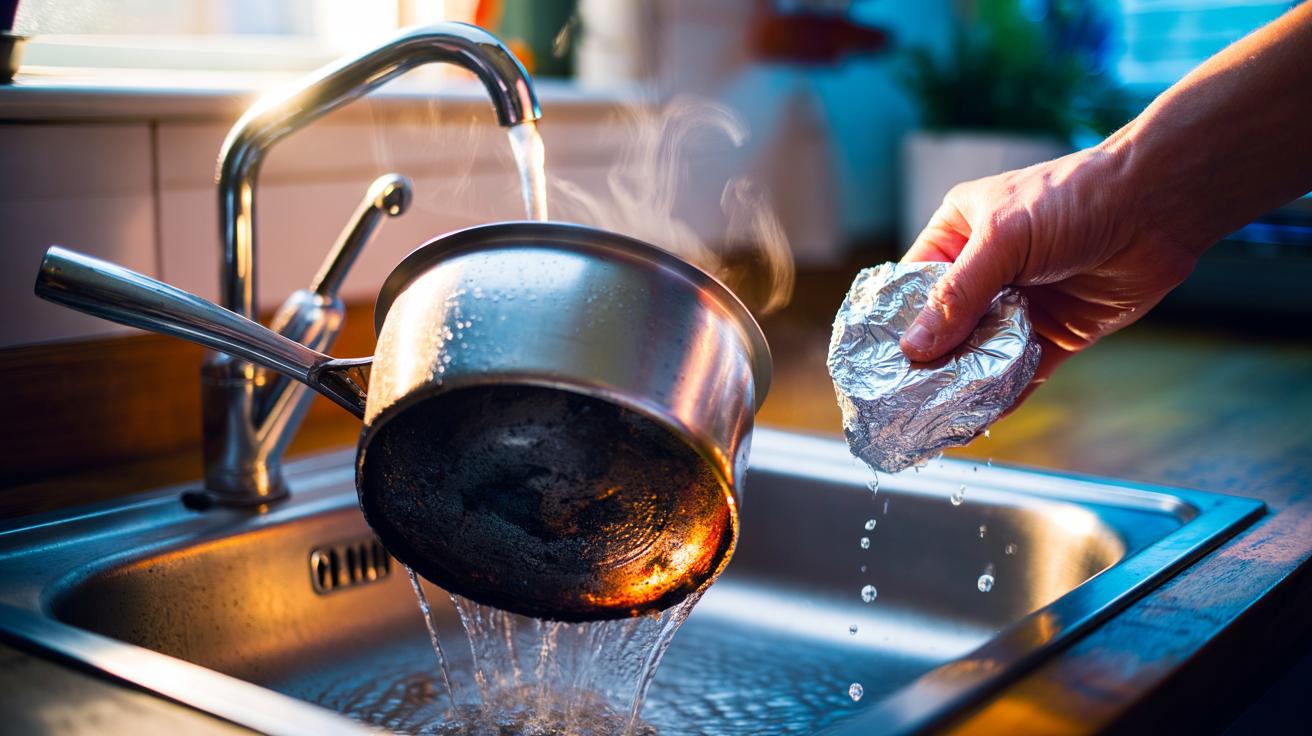
Every cook knows the shame of a pan bottom turned sooty and black after one enthusiastic Sunday roast too many. Before you reach for caustic cleaners, try a humble pairing hiding in plain sight: hot water and a scrunched ball of aluminium foil. It’s cheap, quick, and surprisingly effective. The trick hinges on heat softening the grime and foil delivering controlled micro-abrasion, lifting the carbonised layer without gouging the metal. Handled properly, this method revives stainless steel bases within minutes and spares your lungs from harsh fumes. Here’s how it works, how to do it safely, and when to reach for a different tactic.
Why Hot Water and Foil Work
Cooking leaves behind polymerised oils, caramelised sugars, and soot: a stubborn film that clings to the pan’s exterior. Heat is your ally. Near-boiling water raises the temperature of the metal, loosening the binders in that char so it loses grip. At the same time, hot water thins residual grease, allowing surfactants from a little washing-up liquid to reach the surface. The result is a softer, more pliable layer that’s ready to shear away. The “magic” is not a harsh chemical reaction but a mix of thermal softening and mechanical lift.
The scrunched aluminium foil is the workhorse. Its crinkled edges act like countless tiny planes that shave at the residue—stronger than a sponge, gentler than steel wool. In normal tap water, a very mild galvanic couple can form between foil and the pan surface, encouraging the release of oxidation products, though the main effect remains physical. Hot water plus gentle micro-abrasion provides fast, visible results without risking deep scratches on robust metals like stainless steel.
Step-by-Step: From Blackened Base to Bright
1) Place a folded tea towel in the sink as a cushion. Set the pan upside down so the burned base faces up. 2) Kettle on: pour near-boiling water over the base until it’s fully wet and steaming; add a drip of washing-up liquid. Wait 3–5 minutes. 3) Scrunch a palm-sized ball of aluminium foil; the looser the ball, the gentler the cut. 4) With light, circular strokes, begin at the worst patches. Refresh with hot water as needed to keep the surface warm and slick. Work warm, not scalding, and keep pressure light and consistent.
5) For ridges around stamps or heat rings, fold the foil to create a firm edge and trace along the groove. 6) Rinse, inspect, and repeat in short passes rather than one aggressive scrub. 7) Finish with a regular clean, then dry thoroughly to prevent water spots. Tip: if you encounter sticky caramel rather than dry soot, reheat and hold a damp microfibre cloth against the patch for 60 seconds before resuming. Stop immediately if you see grey metal lifting or a coloured coating dulling—your finish may be delicate.
Which Pans Benefit, Which Don’t
Not every cookware finish welcomes foil. Stainless steel bases and uncoated steel usually respond brilliantly, while porous or coated exteriors need caution. The aim is to lift char without compromising the metal or finish you’ve invested in. When in doubt, conduct a 30-second test on a hidden corner and dry thoroughly before proceeding. Here’s a quick reference for common pan types in UK kitchens.
| Pan Type | Safe With Foil? | Notes |
|---|---|---|
| Stainless steel (bare) | Yes | Ideal candidate; low scratch risk with light pressure. |
| Enameled steel/iron | With care | Use very light strokes; stop if gloss dulls. |
| Bare aluminium | With care | Can mark; keep strokes gentle and brief. |
| Non-stick exterior | No | Foil can damage coatings; use soft sponge only. |
| Cast iron (seasoned) | Avoid | Water + abrasion can strip seasoning; consider dry scrape. |
| Copper (bare or lacquered) | With care | Prefer acid polish for tarnish; foil only for heavy char. |
If a pan is coated, treat it as delicate and default to the mildest method. When the black layer is extreme, combine the hot-water softening step with short, controlled foil passes and frequent rinsing to monitor progress.
Troubleshooting and Smarter Alternatives
If stubborn patches persist, apply a paste of bicarbonate of soda and hot water after the initial heat soak. Let it sit for five minutes, then resume gentle foil strokes; the fine alkaline grit boosts lift without harshness. Sticky sugar glass? Reheat the base, lay a paper towel soaked in hot water over it for two minutes, then peel and wipe. For copper or brass trims, switch to lemon juice or ketchup to dissolve oxide, using a soft cloth, not foil. Never mix acids with bleach under any circumstance.
Mind the clean-up: rinse away loosened soot thoroughly, then dry to a shine with a microfibre towel. Dispose of heavily soiled foil in general waste; clean foil can be balled up to fist size and recycled. If you notice rainbow discoloration on stainless, a quick wipe with diluted vinegar clears heat tint. The goal is restoration with minimal abrasion—short sessions, steady heat, frequent checks, and restraint. A calm, methodical approach beats brute force and protects your cookware for the long haul.
Used with a cool head and a hot kettle, the hot water + aluminium foil method turns a blackened base into something you’re proud to hang on a rack. It’s frugal, quick, and kinder to your kitchen air than strong solvents. The key is heat to soften, foil to finesse, and judgment to know when to swap tactics for sensitive finishes. What stubborn build-up or tricky pan finish has challenged you lately, and which combination of heat, patience, and products finally cracked it?
Did you like it?4.5/5 (24)