In a nutshell
- 🔧 Relies on micro-abrasion: a crumpled foil ball with hard aluminium oxide asperities lightly abrades and burnishes the bevel, aligning the burr and refreshing micro-serrations for a toothy, effective bite.
- ✂️ Clear technique: clean blades, crumple foil to a firm golf-ball size, make 10–20 full cuts from heel to tip while rotating the ball, then wipe and oil the pivot; use small sets for control and keep fingers clear.
- 🚫 Know the limits: ideal for everyday household scissors; avoid serrated or pinking shears, coated edges, and salon-grade tools; won’t fix chips or misalignment—check and adjust the pivot screw or seek pro service.
- 🧪 Science snapshot: aluminium’s oxide layer provides the abrasive action, managing the micro-burr and creating texture that grips fibrous materials; effect is self-limiting and best on softer steels.
- 📊 Smart alternatives: choose between foil ball, ceramic rod, whetstone, or professional sharpening based on control, risk, and task, and pair with routine cleaning and lubrication for longevity.
Blunt scissors sap patience and fray fabric, yet a humble tinfoil ball can coax life back into tired blades. The trick isn’t alchemy; it’s controlled micro-abrasion. Crumpled aluminium foil presents thousands of hard, jagged points that lightly abrade and align a dulled edge as you cut through it. Think of it as an on-the-spot hone that restores bite without dismantling the tool or reaching for oilstones. It works by controlled wear, not magic, and it’s best for maintenance rather than major repairs. Used with care, this quick method helps office, craft, and kitchen scissors recover a clean, confident cut.
How a Foil Ball Becomes a Micro-Abrasive
Standard “tin foil” is actually aluminium with a microscopically thin layer of aluminium oxide on its surface. That oxide is glass-hard. When you crumple the foil into a compact ball, the surface blooms with sharp asperities. Each cut drags those points along the scissor’s bevel, gently wearing high spots and burnishing the edge back into alignment. You’re essentially lapping steel with a disposable abrasive.
This is not wholesale grinding. The process removes trace amounts of metal while nudging the existing burr and micro-serrations into a tidier, keener profile. Most household scissors have relatively soft stainless or carbon steel; they respond well to this kind of subtle honing. By contrast, premium salon shears and hardened tool steels demand more precise abrasives to avoid rounding the bevel angle.
The effect you feel afterwards—the blade suddenly “grips” paper instead of skating—is the product of fresh micro-serration. Those tiny teeth increase initial bite on fibrous materials. Expect a toothy, eager cut rather than a mirror-polished glide. For cardboard, packaging, and craft stock, that’s ideal; for delicate silks, less so.
Step-by-Step: Safe, Effective Technique
Start with clean scissors. Wipe away adhesive residue and dust; contamination blunts the edge and can smear along the bevel. Tear a sheet of aluminium foil roughly A4 size, then crumple it tightly into a firm ball about the size of a golf ball. A denser ball presents more abrasive points, improving consistency. Keep fingers well clear of the cutting path at all times.
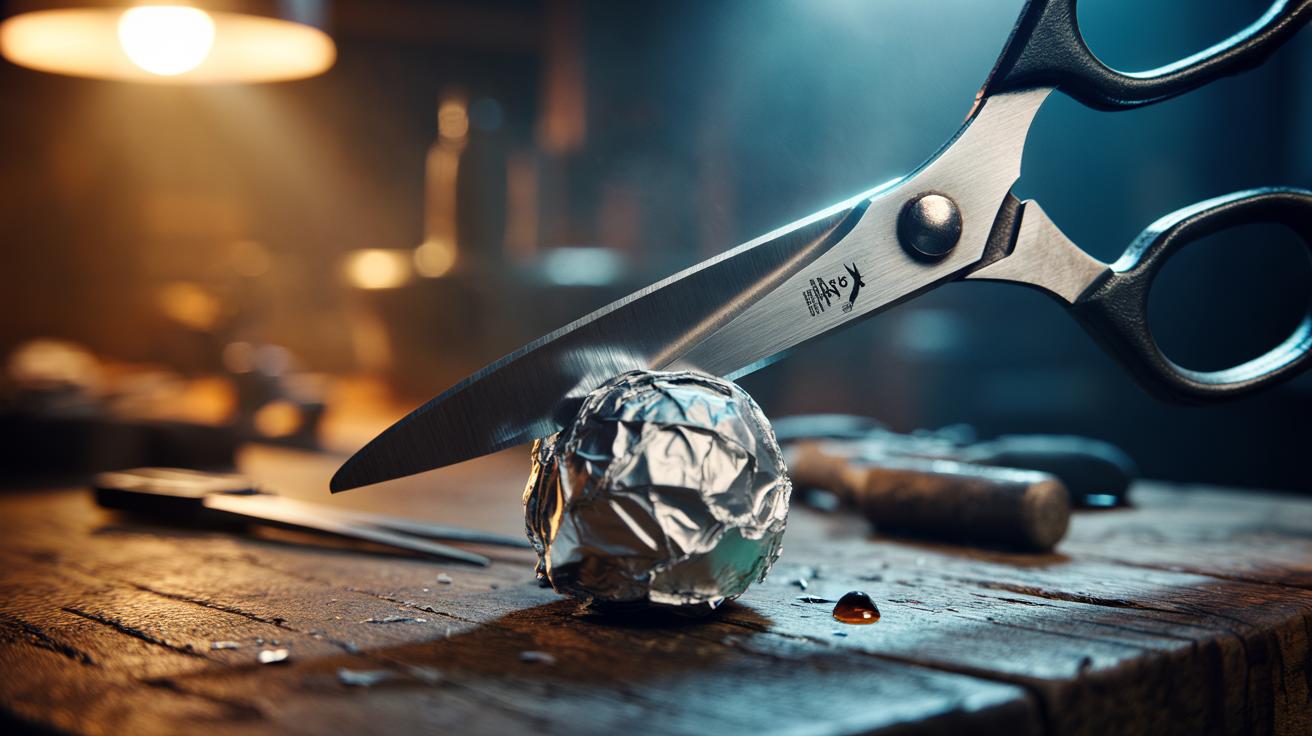
Open the scissors fully and make slow, deliberate cuts through the foil ball, using the entire blade length from heel to tip. Aim for 10–20 full strokes, rotating the ball to expose fresh surfaces. If your scissors have a pronounced bevel, maintain your natural cutting motion—don’t twist the blades or force the angle. Finish by cutting clean scrap paper to shed any clinging foil and to test the restored edge.
Afterwards, wipe the blades with a soft cloth. A drop of light oil at the pivot improves feel and protects against corrosion. If the cut still drags, repeat the routine in small sets rather than one long session; incremental honing avoids overheating or rounding. If nicks are visible or the blades are misaligned, stop—this method won’t repair structural damage.
When It Works—and When It Doesn’t
The foil-ball method shines for everyday kitchen, office, and craft scissors that have dulled through use, adhesive build-up, or minor burrs. It is also a handy field fix for dressmakers between proper tunes. However, it’s not for serrated blades, pinking shears, coated edges (e.g., titanium nitride), or precision hairdressing shears, where geometry and hardness demand controlled stones or professional work. Use foil for maintenance; use stones or a service for reshaping.
Before reaching for foil, check blade alignment and the pivot screw. Play at the hinge can cause poor cutting even on a keen edge. Tighten to remove wobble without creating stiffness. If blades no longer meet across their length or show chips, choose a whetstone, ceramic rod, or a technician instead.
| Method | Abrasive Action | Edge Improvement | Risk | Best For |
|---|---|---|---|---|
| Foil Ball | Light micro-abrasion and burnishing | Restores bite, aligns burr | Low; possible rounding if overdone | Household scissors, quick touch-ups |
| Ceramic Rod | Fine abrasive honing | Smoother edge, controlled removal | Moderate; angle sensitive | General-purpose scissors |
| Whetstone | Precision grinding and polishing | Reforms bevel, highest control | Higher; skill required | Quality shears, damaged edges |
| Professional Service | Machine or hand-stoned | Factory-grade geometry | Cost/time | High-end tools, critical work |
Match the method to the material and the stakes of the job. If you’re cutting tulle for a wedding dress, don’t gamble; if you’re opening parcels, foil earns its keep.
The Science in Brief: Micro-Burrs, Alignment, and Serration
Every sharpened edge ends in a fragile micro-burr. Good sharpening creates and then removes or refines that burr so the apex is keen and supported. Cutting a crumpled foil ball acts like a hybrid of light abrasion and stropping: abrasive points shave peaks while the blade’s passage compresses and aligns steel at the edge. The combined action renews bite without meaningfully altering bevel geometry.
Aluminium’s surface oxide contributes much of the cutting work; it’s extremely hard at a microscopic scale. As the foil fractures, it sheds tiny abrasive fragments that scour the steel’s apex and refresh micro-teeth. This texture increases “grab” on fibrous media such as paper, twine, and cardboard, though it may feel less silky on ultra-smooth textiles.
Because the process is self-limiting—abrasive points blunt as you use them—it’s forgiving. Still, steel hardness matters: softer household steels respond quickly; harder tool steels show subtler gains. A toothy edge can outperform a mirror polish on everyday materials, but it isn’t a cure-all for poor alignment or deep chips.
Used thoughtfully, the tinfoil ball is a clever maintenance hack: fast, inexpensive, and surprisingly effective at restoring everyday scissors to productive life. It won’t replace stones or a professional’s touch when geometry has drifted, but it can delay that appointment and keep projects moving. For best results, combine periodic foil cuts with cleaning, a dab of oil at the pivot, and occasional testing on thin paper. Simple habits keep edges keen and work flowing. How will you test the difference—foil versus stone—on your own scissors, and what materials will you choose as your yardstick for sharpness?
Did you like it?4.6/5 (25)