In a nutshell
- ✨ Baking soda revives dull sinks through a gentle abrasive action and mild alkalinity that lifts film, breaks grease, and deodorises without scratching.
- 🧽 Follow a simple routine: rinse, sprinkle or make a 3:1 baking soda paste, allow 5–10 minutes, scrub with a soft cloth (follow the grain on stainless), then rinse and dry; add a drop of oil for a final polish.
- 🧪 Tackle limescale by misting a 1:1 white vinegar solution over the soda for a brief fizz, then wipe and rinse—avoid vinegar on natural stone surrounds.
- 🛡️ Surface-savvy tips: use microfibre, keep mixtures damp, avoid steel wool, and test discreetly; ceramics/enamel like gentle paste work, composite granite needs soda and water only.
- 📅 Maintain shine with weekly refreshes and daily wipe-downs; key tools and ratios keep it cost-effective, low-tox, and reliably streak-free.
British sinks take a daily battering from tea tannins, cooking oils, and hard-water deposits, leaving even premium steel or enamel looking tired. There is a simple fix hiding in the baking aisle. Sprinkle baking soda into a damp basin and its gentle abrasive action lifts film, scuffs, and odours without harsh chemicals. In hard-water regions across the UK, this pantry staple tackles limescale and soap scum with minimal effort. A spoonful of powder, a soft cloth, and a few minutes of light pressure can revive shine. Cost-effective and low-tox, it is kind to surfaces and drains, keeping households gleaming while trimming the cleaning budget.
Why Baking Soda Works on Dull Sinks
The power of baking soda lies in its crystalline structure and mild alkalinity. Each fine particle acts as a rounded, low-hardness abrasive that loosens grime without carving into finishes. On stainless steel, the grains glide along the brushed grain, buffing micro-scratches and lifting oxidised film. On ceramic or enamel, they dislodge soap scum and mineral haze that damp cloths simply smear around. Because the particles are significantly softer than stainless steel and typical ceramic glazes, they polish rather than gouge. That softness is what makes the powder safe for frequent use.
Chemistry helps. Sodium bicarbonate’s alkaline buffering breaks the bond between greasy residues and the surface, while neutralising acidic stains like tea. It absorbs odours in plugholes, reducing that stale drain whiff after a wash-up. Add a light mist of white vinegar on limescale and you get fizz that loosens calcium deposits, leaving the soda to finish the job. It cleans and brightens in the same pass, offering a reliable, inexpensive route back to sparkle.
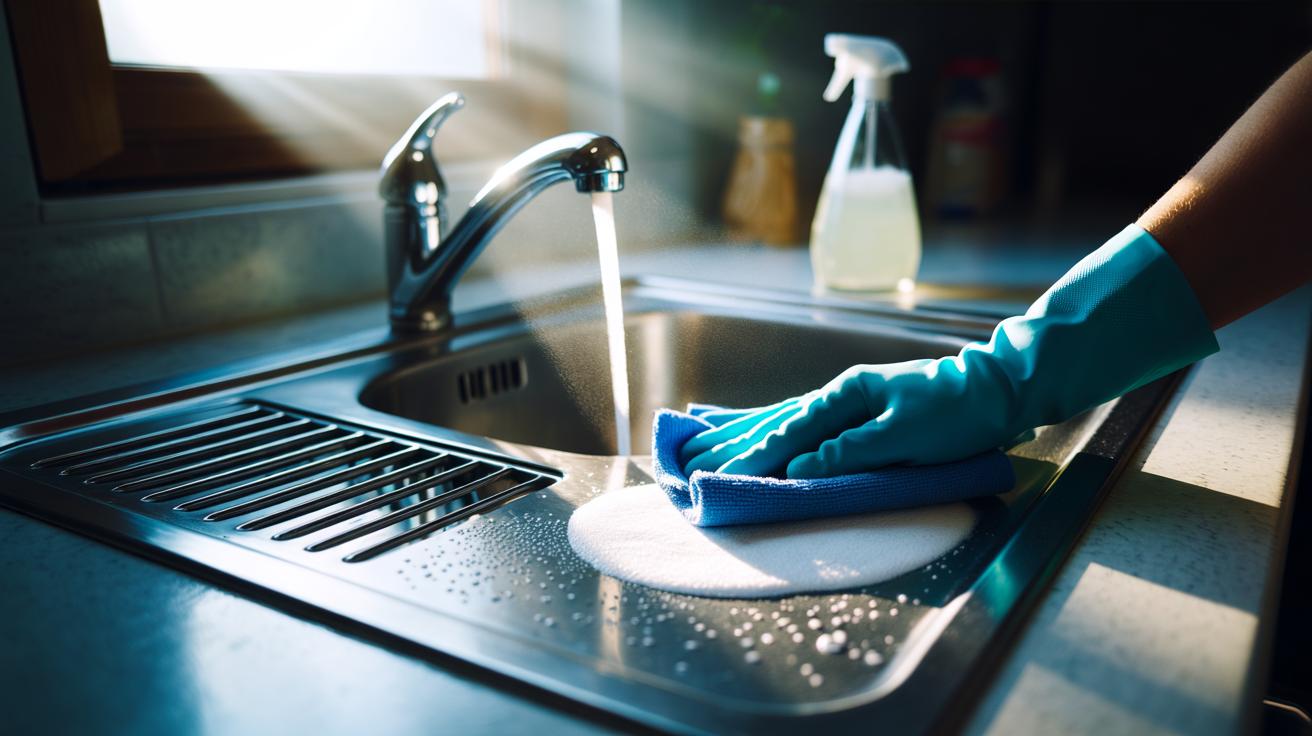
Step-by-Step Method for Restoring Shine
Start by rinsing the sink with warm water and removing food grit that could scratch. Sprinkle a thin, even layer of baking soda across the basin, drain surround, and taps. For stuck-on film, make a paste with three parts soda to one part water. Let it sit for five minutes; this softens residue and gives the alkaline action time to loosen grime. Patience here reduces the need for heavy scrubbing. With a soft sponge or microfibre cloth, work in small circles. On stainless, follow the brushed grain to preserve the factory finish.
Detail creases and around the plug with a soft-bristle toothbrush. If limescale halos cling to the tap or overflow, lightly mist a 1:1 mix of white vinegar and water over the soda and allow a brief fizz before wiping—avoid vinegar on natural stone surrounds. Rinse thoroughly to carry away residues, then dry with a clean microfibre to prevent fresh water spots. A drop of food-safe mineral or olive oil on a cloth can add a final polish. A weekly five-minute refresh keeps shine locked in.
Surface-Specific Guidance and Cautions
Stainless steel loves a light touch. Work with the grain, swap scouring pads for microfibre, and keep the mixture damp so particles glide rather than drag. Ceramic and enamel sinks respond well to a paste; scrub gently to protect the glaze and avoid dramatic pressure at edges. For composite granite, use soda with water only—skip vinegar to protect resins. Porcelain benefits from the same gentle routine, especially around overflow cut-outs where glaze can be thinner. Always test a discreet spot first if you are unsure of the finish.
Mind adjacent materials. If your sink sits in a natural stone worktop, confine any vinegar to the metal and rinse immediately to shield the stone. Avoid steel wool, and never mix multiple cleaners at once; use simple combinations and rinse between steps. Drying matters: leaving rinse water to evaporate invites new limescale rings, undoing good work. Clean, rinse, and dry is the shine-preserving sequence, regardless of surface.
Quick Reference: Tools, Ratios, and Contact Times
The recipe is simple, but tiny tweaks elevate the result. A looser sprinkle suits routine wipe-downs; a thicker baking soda paste excels on dull, hazy basins. Allow five to ten minutes of contact time for the chemistry to soften grime. Keep the mix slightly wet so crystals stay cushioned and mobile. On stainless, minimal pressure and grain-following strokes protect the brushed look. For stubborn mineral crusting, a brief vinegar mist boosts the break-up—just keep it away from natural stone and rinse thoroughly afterwards.
| Item | Recommendation | Notes |
|---|---|---|
| Paste ratio | 3 parts baking soda : 1 part water | Add a drop of washing-up liquid for greasy film |
| Contact time | 5–10 minutes | Keep damp; do not let dry |
| Tools | Microfibre cloth, soft sponge, soft-bristle toothbrush | Follow stainless grain; avoid scouring pads |
| Limescale boost | Light mist of 1:1 white vinegar and water | Avoid on natural stone; rinse thoroughly afterwards |
| Drying/polish | Dry with microfibre; optional drop of mineral/olive oil | Buff to a streak-free shine |
| Frequency | Weekly maintenance | Daily wipe-down prevents build-up |
The best results come from light pressure, clean tools, and consistent drying. If the sink is heavily stained, repeat the cycle rather than pushing harder; the soda’s gentle abrasive quality works cumulatively. Replace cloths when they feel slick—loaded fibres can redeposit residue. For households battling very hard water, fit an inexpensive tap aerator to reduce spotting between cleans. Small habits and this humble powder combine to make a gleam that lasts.
Baking soda brings back a sink’s sheen with science and simplicity, replacing harsh scourers with a safer, surface-friendly polish. Its crystals lift film, its alkalinity breaks grease, and its deodorising knack leaves plugholes fresher. Costs stay low, cupboards stay clearer, and finishes stay intact. Clean, rinse, and dry becomes a quick ritual rather than a weekend chore. When your basin next looks grey and joyless, a shake of this pantry staple is often all it takes. Which surface are you tackling first, and what small tweak will you add to tailor the routine to your kitchen?
Did you like it?4.5/5 (22)