In a nutshell
- 🪥 Tiny bristles flex into grout’s micro-pores, delivering micro-agitation and boosting capillary action so cleaners reach and lift deep stains that larger brushes miss.
- 🎯 Use smart technique: allow dwell time, hold at a 45-degree angle, apply light pressure with short strokes, and wipe slurry promptly; gentle electric modes can aid stubborn spots.
- 🧪 Match brush with the right chemistry: choose pH-neutral for routine, mild alkaline for grease, bicarbonate paste for abrasion, and oxygen bleach for brightening; avoid strong acids on cementitious grout and reseal after deep cleans.
- 🧰 The toothbrush is a precision detailer for corners and edges, using less chemical and water; it’s cost-effective and eco-lean, though larger areas may benefit from a dedicated grout brush.
- 📊 Key comparisons show tool, bristle type, access, risk, and UK cost; the toothbrush excels in tight crevices, while persistent discolouration often signals permanent staining or failed sealant, not poor technique.
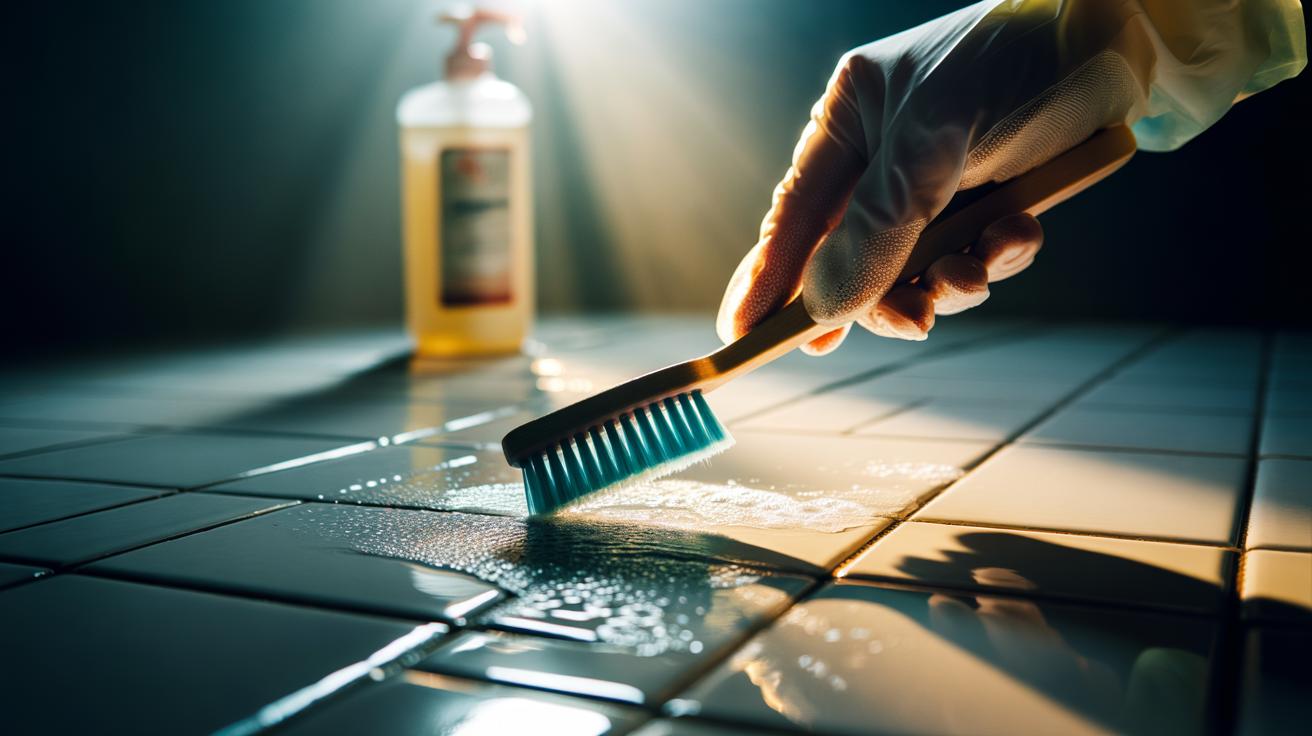
It sounds almost too simple, yet the humble toothbrush remains one of the most effective tools for cleaning tired grout lines in British bathrooms and kitchens. The secret lies in the tiny, flexible bristles that nestle into the grout’s irregular topography, stirring out embedded soap scum, mould tinting, and cooking residue. Because the bristles can bend, flare, and vibrate inside pores and pits, they dislodge grime larger brushes skate over. Partnered with a mild cleaner and a patient hand, this low-cost method delivers outsized results without scratching tiles or stripping sealant. For households seeking a precise, eco-lean routine, the toothbrush method offers control, reach, and surprisingly professional-looking finishes.
How Tiny Bristles Outsmart Grout Grime
Grout is a cement-based matrix riddled with micro-pores and hairline channels where stains lodge beyond the reach of pads and mops. A toothbrush’s fine, tapered bristles flex into those recesses, creating localised shear forces that break the bond between dirt and substrate. This micro-agitation accesses the nooks where film-forming residues accumulate and where mildew shadowing takes hold. The bristles’ splay under light pressure increases contact points without gouging, helping to lift particles from both the joint’s centre and its shoulders along the tile edges.
The science is partly about physics and partly about fluid behaviour. As the bristles sweep, they drag a thin film of cleaner through the pores, enhancing capillary action so surfactants can wet and loosen embedded soils. In effect, the brush delivers chemistry exactly where it’s needed, then supplies the gentle mechanical energy to finish the job. This precision contrasts with broad-headed scrubbers that excel on open tile but stumble on the tight relief of grout.
Technique: Angles, Pressure, and Pacing
Start by letting your chosen cleaner sit for a minute to soften the stain; this dwell time is crucial. Hold the toothbrush at roughly a 45-degree angle to the grout line and work in short, controlled strokes. Light pressure is more effective than force because it allows the bristles to flex and penetrate rather than flatten. Move along the joint in sections of 15–20 cm, wiping away slurry with a microfibre cloth before it dries back into the pores. Rinse lightly and repeat only where shadowing remains.
For vertical joints, brush upward to prevent runoff from diluting the cleaner too quickly. On textured tiles, tilt the brush to skim the tile edge while keeping most bristles in the joint. Consistent rhythm beats brute effort, protecting the grout while steadily lifting soils. If you use an electric toothbrush, choose a gentle mode and a soft head to avoid fraying or eroding weak, unsealed grout.
Choosing the Right Brush and Cleaner
Soft to medium nylon bristles give the best mix of reach and safety; avoid stiff bristles that can scratch glaze or erode sandy grout. Tapered or multi-height bristles improve contact in uneven joints, and a narrow head increases accuracy at corners. Comfort matters: a grippy handle encourages light, controlled strokes instead of heavy scrubbing. Interdental brushes can help with ultra-fine cracks, while an old electric toothbrush head adds micro-vibration for stubborn patches when used gently.
Pair the brush with a pH-neutral cleaner for routine work or a mild alkaline for greasy kitchens. A bicarbonate paste offers gentle abrasion; oxygen bleach can brighten white grout without the harsh fumes of chlorine. Avoid strong acids on cementitious grout, which can etch and roughen the surface, inviting new stains. Always test in a discreet spot, especially on coloured or epoxy grout, and reseal porous grout after deep cleaning to slow future absorption.
Evidence and Cost: Small Tool, Big Results
In comparative testing for household maintenance, the toothbrush shines where precision beats brute coverage: tight corners, around taps, and along tile edges where grime accumulates. Because you deliver force directly into the joint, less chemical and water are needed to achieve a visible lift. It’s also a win for budgets and the planet: repurposing a retired toothbrush for cleaning extends its life, reduces waste, and costs pennies per session. For expansive floors, you may still prefer a dedicated grout brush, but the toothbrush remains the unmatched detailer.
For clarity, here’s a snapshot of tool choices. Match the bristle profile to the job, and you’ll clean faster with less damage.
| Tool | Bristle Type | Access to Crevices | Risk to Grout | Typical Cost (UK) | Best Use |
|---|---|---|---|---|---|
| Toothbrush (soft/medium) | Tapered nylon | Excellent | Low | £1–£4 | Detail cleaning, corners, edges |
| Grout brush | Stiffer nylon | Good | Medium | £6–£12 | Larger areas, routine scrubs |
| Sponge/pad | Foam/microfibre | Poor | Very low | £1–£3 | Tile surfaces, final wipe |
| Steam cleaner | Vapour + brush | Good | Medium | £40–£100+ | Heavy build-up, minimal chemicals |
As a cleaning tactic, the toothbrush method proves that finesse beats force. The tiny bristles funnel cleaner into pores, then agitate with precision, clearing stains that broad tools miss. Used with the right chemistry and light pressure, it lifts grime, protects grout, and trims waste and cost. If a joint stays dingy after several passes, the issue may be permanent discolouration or a failing seal, not poor technique. What stubborn grout problem are you facing at home, and how might a change in bristle type, cleaner, or angle finally crack the case?
Did you like it?4.5/5 (25)