In a nutshell
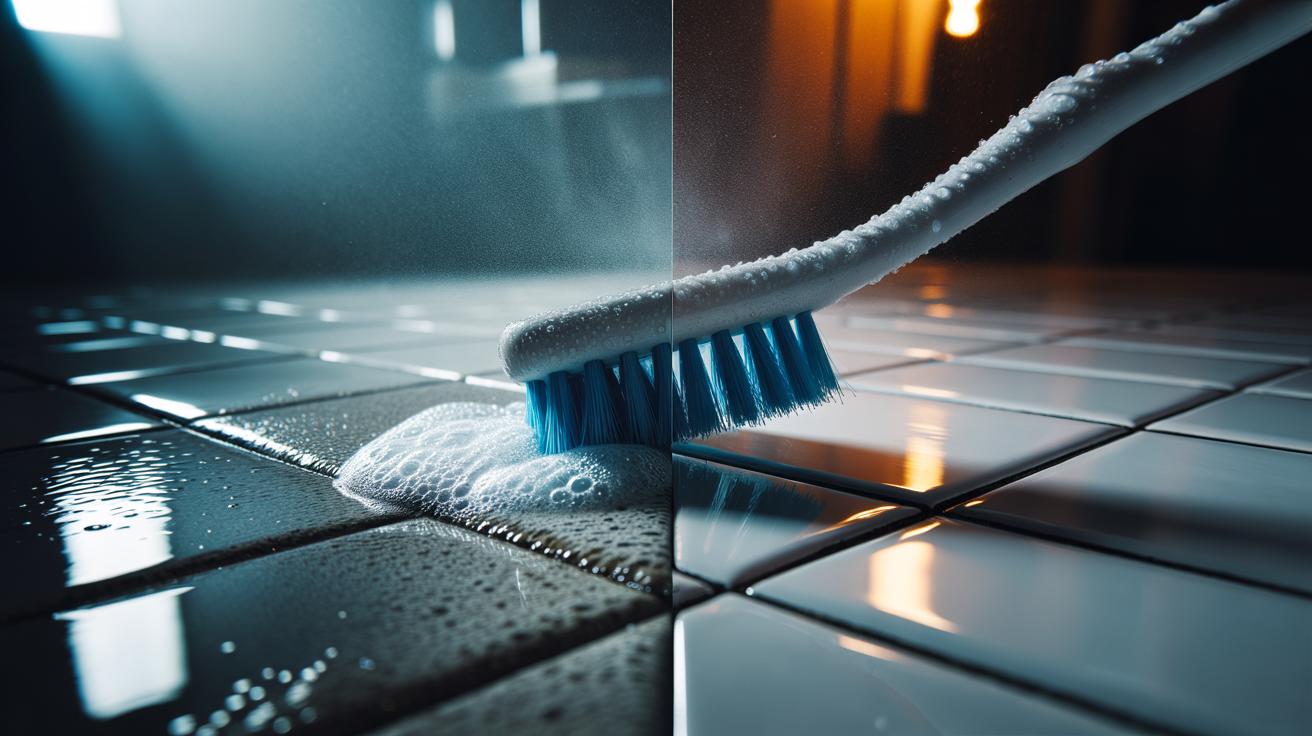
- 🪥 Stiff bristles reach porous grout’s hidden residue by delivering high point pressure and shear; hold the brush at 45 degrees and use cross-hatch strokes to clean sidewalls and edges.
- 🧪 Choose the right kit: a medium/hard end-rounded toothbrush with bicarbonate + hydrogen peroxide for general whitening, citric acid for limescale, and oxygen bleach for mildew—never mix bleach with acids.
- 🧼 Follow a controlled routine: dry-clean first, pre-wet grout, apply paste with short dwell time (2–5 minutes), scrub in tight strokes, then rinse and dry to prevent capillary re-soiling.
- ⚠️ Practice surface-safe cleaning: avoid acids on marble, limestone, and cement tiles, wear gloves, ventilate, and stop scrubbing if grout is crumbling or newly installed.
- 🌿 Finish smart: sanitise or keep a dedicated grout brush, use concentrates for sustainability, and apply a breathable grout sealer to keep lines whiter for longer.
Grout turns grey not just from a bad mop habit but because micro-residue hides in its pores and angles. A humble toothbrush—used with purpose—can lift that grime and return tiles to brightness without harsh chemicals or costly regrouting. The key is stiff bristles, which reach into crevices and dislodge clingy films that cloths and sponges skate over. With the right paste and a few controlled strokes, you can clear biofilm, soap scum, and limescale while protecting the grout lines themselves. Always test a small section first and check for colourfastness on tinted grout. Here’s the science, the kit, and the routine that delivers a whiter finish.
Why Stiff Bristles Reach Hidden Residue
Grout is a cementitious, porous material pitted with micro-voids. These tiny channels harbour biofilm, mineral scale, and oily residues that bind to rough surfaces. Stiff nylon bristles transmit higher point pressure at their tips, creating shear forces that break the bonds inside those pores. As each filament flexes, it “micropolishes” residue edges and squeegees contaminants out. Softer bristles collapse and glide across the top; stiff ones penetrate the texture, especially at the 90-degree shoulder where tile meets grout. That contact at the grout edge is where most staining starts and where targeted scrubbing matters most.
Angle increases effectiveness. Hold the brush at about 45 degrees to the line and work in short, overlapping strokes to cross the joint from both sides. This creates agitation along the vertical and horizontal faces of the channel—exactly where grime lodges. The bristles splay slightly under pressure, multiplying contact points without gouging. Combine this with a mild alkaline or oxygen-based paste and the mechanical action outperforms generic scrubbing pads. Think of the brush as a precision tool that reaches what a sponge can’t.
Choosing the Right Toothbrush and Cleaning Paste
Use a toothbrush labelled medium or hard with end-rounded nylon filaments. Flagged (split-tip) bristles excel on textured tiles but can fray rapidly. Compact heads target tight joints; a slightly longer handle offers leverage for wall tiles. Avoid metal bristles and ultra-hard grill brushes, which can chip glaze and erode grout. For the chemistry, a safe, effective option is bicarbonate of soda with a touch of 3% hydrogen peroxide to form a gentle oxygen-releasing paste. In hard-water areas, a diluted citric acid gel helps with limescale, while a drop of washing-up liquid adds surfactant slip.
Match agent to stain type and always ventilate. Never mix bleach with acids. If you prefer a bottle, choose non-chlorine oxygen bleach labelled safe for coloured grout. Below is a quick reference for common problems.
| Stain/Residue | Agent | Notes |
|---|---|---|
| General greying, soap film | Bicarbonate + peroxide | Effervescent lift, mild whitening |
| Limescale edging | Citric acid (diluted) | Short dwell; rinse well to protect grout |
| Mildew staining | Oxygen bleach gel | Spot-apply; avoid coloured stone |
| Grease-heavy kitchen splashback | Washing-up liquid + bicarb | Breaks oils before scrubbing |
Step-By-Step Toothbrush Technique for Whiter Grout
Preparation saves time. Vacuum or dry-brush the lines to remove loose grit that could scratch. Pre-wet the grout with warm water so it doesn’t wick your paste too quickly. Apply a thin ribbon of your chosen cleaner along one arm’s length of grout. Allow a short dwell time—about 2–5 minutes for bicarb/peroxide, less for acids. Work in small sections to control dwell and rinse thoroughly. Keep a clean microfibre cloth and a bowl of warm water or a spray bottle to clear residue as you go.
Scrub with the brush at a 45-degree angle using tight, rapid strokes, then switch to cross-hatch passes to reach the sidewalls. On stubborn spots, increase pressure briefly, letting the bristle tips—not your arm—do the work. Wipe foam away, inspect, and repeat once if needed. Rinse the area and dry it; moisture left in pores can draw new dirt through capillary action. For large floors, finish by lightly buffing with a dry towel. Stop when the grout looks evenly matte and clean—over-scrubbing can open pores.
Safety, Sustainability, and When to Stop Scrubbing
Grout varies. Sanded joints tolerate more abrasion than fine, unsanded lines on delicate stone. Keep acids off marble, limestone, and cement tiles; stick to alkaline cleaners there. Limit aggressive scrubbing on newly installed grout until it fully cures. If joints are crumbling or missing, pause and repair before cleaning to prevent water ingress. Avoid steel wool and sharp tools, which can scar tiles and shred grout. Wear gloves if using peroxide or oxygen bleach and ventilate bathrooms to disperse odours and moisture.
On sustainability, repurpose an old toothbrush but sanitise it in hot water first; better yet, keep a dedicated grout brush in your kit. Choose concentrates you can dilute, and avoid chlorine bleach unless a spot demands it. After brightening, apply a breathable grout sealer to slow future staining and make the next clean easier. If dark blotches persist despite good technique, you may be dealing with dye migration, deep-set mould, or grout discolouration that needs professional treatment or recolouring.
This technique succeeds because it marries micro-mechanics with smart chemistry: stiff bristles create targeted shear, while the right paste loosens the bond so residue releases without drama. It’s quick, frugal, and friendly to most tiled surfaces when you respect dwell times and rinse well. A toothbrush is a precision cleaner for the places mops miss. Ready to restore your kitchen splashback or bath surround to a brighter, healthier look—starting with one line, one small section, and the right brush? Which grout line in your home will you tackle first, and what paste will you pick for the job?
Did you like it?4.5/5 (28)