In a nutshell
- 🧪 Chemistry that cleans: white vinegar dissolves mineral film; baking soda adds gentle abrasion and fizz to lift grime—aim for a controlled reaction, not a “volcano.”
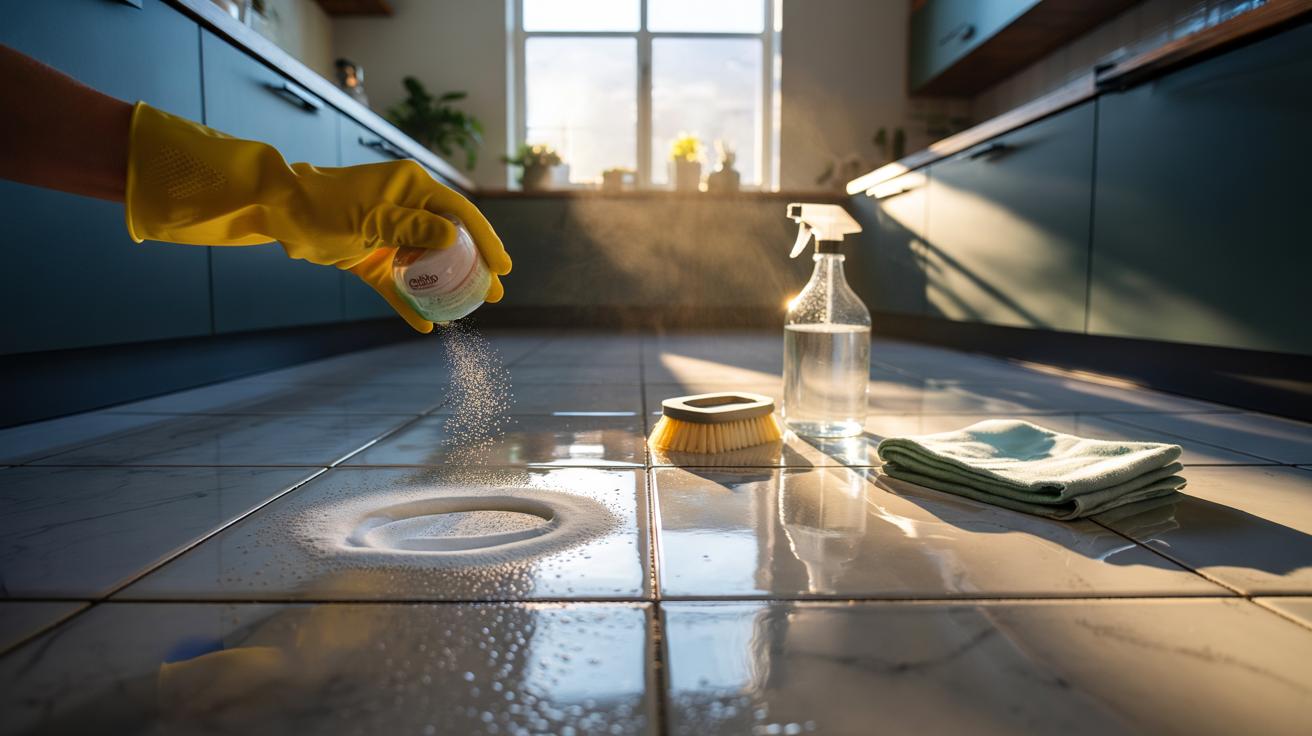
- 📝 Step-by-step: Sweep first, spray a 1:3 vinegar-to-warm-water mix, lightly sprinkle baking soda, wait 3–5 minutes (up to 8 for stubborn areas), agitate with a soft brush, don’t let slurry dry, rinse, then buff dry.
- ⚠️ Surface safety: Ideal for glazed ceramic, porcelain, and sealed grout. Avoid natural stone (marble, limestone, travertine). Always patch test and check for sealers.
- 🧰 Kit and cost: Spray bottle, microfibre pads, soft brush, bucket, gloves; plan by zones and ventilate. Typical outlay: £1–£3 per session.
- ✨ Pro tweaks: Pre-cut grease with mild detergent, treat rust with a baking soda paste, fix haze with a light vinegar spritz, and brighten grout with longer dwell and a grout brush (no metal bristles).
Freshening lifeless floors doesn’t require a boot-load of chemicals. It demands a smart, old-school pairing: vinegar and baking soda. In British homes, this duo is quietly legendary, and for good reason. It cuts through soap scum, film from old cleaners, and kitchen grease while coaxing back the tile’s natural sheen. The trick isn’t brute force. It’s chemistry, timing, and patience. Done right, the fizzing reaction lifts grime instead of merely moving it around. Done badly, you end up with streaks and no shine. Here’s how to nail it, avoid pitfalls, and revive dull tiles without harsh odours or needless expense.
Why Vinegar and Baking Soda Work
White vinegar is a mild acid. It dissolves mineral deposits, dulling residues, and the chalky film left by hard water. Baking soda (also known as bicarbonate of soda) is a gentle alkali and a soft abrasive. When combined, they create carbon dioxide bubbles that agitate dirt. Not magic, but close. The fizz helps pry contaminants from microscopic pores that make tiles look tired, even when you’ve already mopped twice.
Here’s the subtlety: you’re not trying to make a volcano. You’re staging a controlled reaction on the surface so the bubbles do the lifting while the mild abrasive does the polishing. Vinegar also neutralises lingering alkaline cleaner residues that can leave a cloudy veil. Result? A clearer, brighter surface. The fragrance disappears as it dries, leaving a clean, neutral finish rather than a perfumed one. Ideal for homes where low-odour cleaning matters.
Step-by-Step Method for Sparkling Tiles
First, remove loose grit. Sweep or vacuum thoroughly. This protects the glaze from unnecessary scratching. Mix a solution: one part white vinegar to three parts warm water in a spray bottle. Lightly mist a small section of the floor—no puddles. Sprinkle a thin veil of baking soda across the damp area. It should hiss gently, not roar. Leave it for 3–5 minutes so the bubbles can work into the micro-texture.
Now, agitate. Use a soft-bristled brush or a microfibre pad. Small circles. Focus on grout lines where film collects. For stubborn patches, add a touch more baking soda and extend dwell time to 7–8 minutes. Do not let the slurry dry on the surface. Wipe promptly with a clean, damp cloth to lift the residue before it settles back down.
Rinse with warm water. Then buff dry with a microfibre towel to prevent water spots and reveal the true finish. If the tiles still look hazy, repeat on that patch with shorter dwell time and lighter soda. Less is often more. Consistency beats aggression when polishing delicate glazes.
Safe Surfaces, Stubborn Stains, and Smart Tweaks
This method shines on glazed ceramic, porcelain, and many sealed tiles. It refreshes grout remarkably well. But heed the red lines: Never use vinegar on natural stone such as marble, limestone, or travertine; acids etch these surfaces and leave permanent dull spots. If you’re unsure, test a hidden patch first. Check for sealers too—if the floor beads water, you’re fine; if it darkens instantly, it might be unsealed and vulnerable.
Grease-heavy kitchens benefit from a pre-wipe with hot water and a drop of mild washing-up liquid to break surface oil. For rust flecks, dab a paste of baking soda and a little water, leave 10 minutes, then rinse before the vinegar stage. Milky streaks after cleaning? That’s residue—use a damp microfibre and a light vinegar spritz to neutralise. For grout whitening, extend dwell time and use a dedicated grout brush, but avoid metal bristles that can gouge.
Costs, Time, and Small Kit Checklist
One reason this routine wins hearts: it’s thrifty and effective. Most UK cupboards already hold the essentials. The outlay is tiny, the results noticeable, and the waste minimal. Plan by zone—bathroom first, then kitchen—so reaction times stay consistent and you don’t over-wet the floor. Keep windows cracked for faster drying and a crisper finish.
Here’s a quick snapshot you can pin to your cleaning caddy for reference.
| Item | Ratio/Detail | Notes |
|---|---|---|
| White vinegar | 1:3 with warm water | Use clear, distilled vinegar for predictable results |
| Baking soda | Light sprinkle per m² | Also labelled bicarbonate of soda |
| Dwell time | 3–5 minutes | Up to 8 minutes for stubborn film |
| Suitable surfaces | Glazed ceramic, porcelain, sealed grout | Patch test advised |
| Avoid | Marble, limestone, travertine | Acid etches natural stone |
| Estimated cost | £1–£3 per session | Varies with floor size |
Kit checklist: spray bottle, microfibre pads, soft brush, bucket for rinsing, and gloves for comfort. Keep the slurry moving—agitate, wipe, then rinse. Finally, buff dry for that camera-ready gleam that shows off the tile’s glaze instead of mottling it with streaks.
Reviving dull tiles isn’t about force; it’s about using the right chemistry in the right order. The vinegar-and-baking-soda routine is gentle on budgets, kinder to indoor air, and surprisingly powerful against cloudy residues that ordinary mopping leaves behind. Work in small sections, keep dwell times honest, and respect the materials underfoot. Your reward is a clean that looks clean—brighter grout, clearer glaze, fewer smears. Ready to bring your floors back to life and make them quietly gleam again—or do you have a tricky tile type you’d like advice on before you start?
Did you like it?4.5/5 (27)