In a nutshell
- 🧪 The vinegar steam trick works because 5% acetic acid dissolves alkaline soap scum and light limescale; heat softens residues and boosts penetration on ceramic, porcelain, and glass (avoid natural stone).
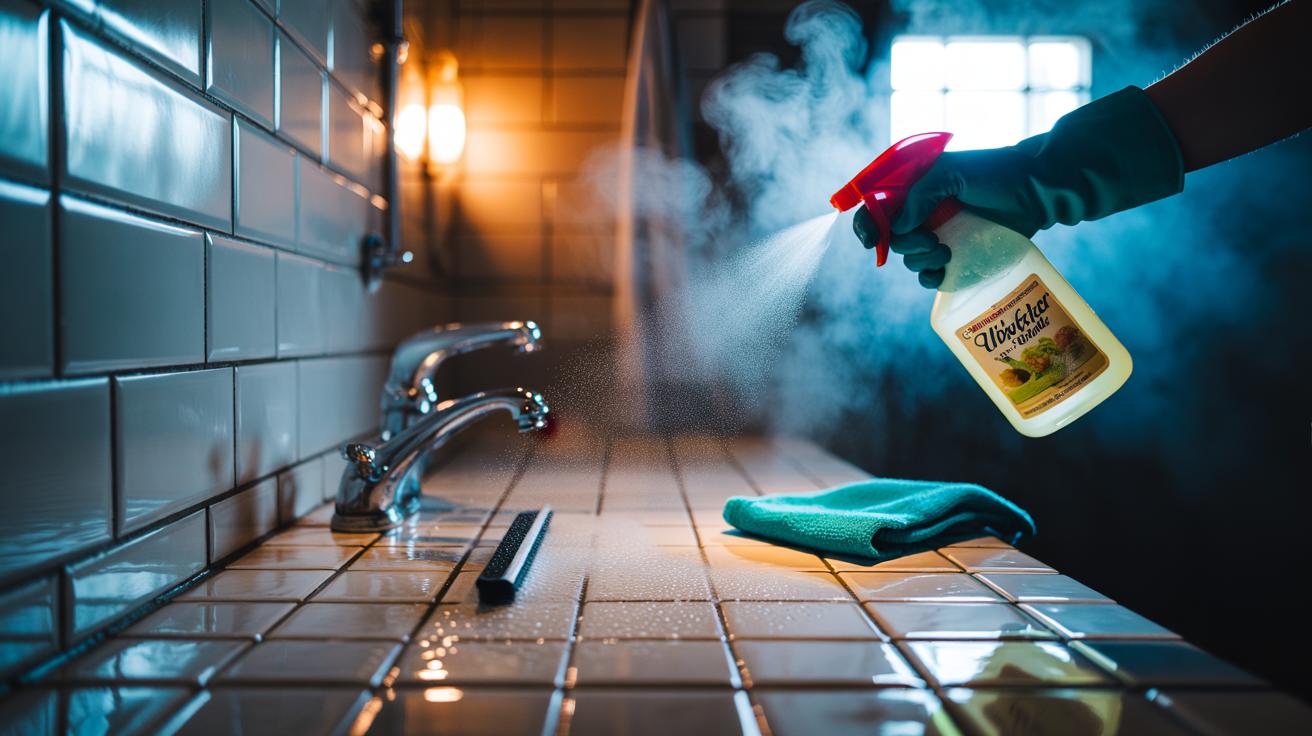
- 🚿 Steps: run a hot shower to steam, spray a 1:1 mix of white vinegar and hot water, keep surfaces damp for 10–15 minutes, agitate with a microfibre cloth/nylon brush, then rinse, squeegee, and buff.
- ⚠️ Safety: Never mix vinegar with bleach; ventilate well, patch-test a tile, limit contact on metal finishes, and avoid adding acids to steam cleaners unless explicitly approved.
- 🧹 Stubborn stains: treat grout mildew with 3% hydrogen peroxide on a separate pass; for persistent film, add bicarbonate of soda as a gentle abrasive, and seal sound grout to slow future buildup.
- 💡 Maintenance: use a milder 2:1 water:vinegar mix for routine cleans, repeat short cycles for tough spots; it’s low-cost, low-odour, and cuts scrubbing time dramatically.
There’s an old-fashioned remedy doing the rounds on social media, and it actually stands up to scrutiny: harnessing vinegar and warm, humid air to soften the film of soap, body oils, and limescale that cements itself to bathroom tiles. The “vinegar steam” trick doesn’t need fancy gadgets. Just patience, a bit of heat, and the right ratio. In small flats or big family homes, it’s the same story. Grime loosens, tiles brighten, grout lines look refreshed. Get the chemistry right, and the scrubbing gets easier, faster, gentler on both surfaces and wrists. Here’s how to make it work, safely and effectively, every time.
Why Vinegar Steam Works
The magic is really science. Household white vinegar contains around 5% acetic acid, which breaks down alkaline deposits — think soap scum and light limescale. When the room is steamy and the tiles are warm, soils soften, the film swells, and micro-gaps open along the glaze and grout. That’s your opportunity. The warmed acid solution spreads thinner, clings longer, and penetrates better, especially on gritty residues that usually demand elbow grease. Heat accelerates the chemistry and reduces the force you need to clean. Add a little dwell time and gentle agitation, and you’re halfway to a hotel-bathroom sheen without hauling out harsh chemicals.
There are caveats. Vinegar is not a friend to natural stone. Marble, limestone, and travertine can etch under acid, leaving dull patches that look like water spots but never wipe away. Keep vinegar to ceramic, porcelain, and sealed glass. For metallic finishes, such as brass or nickel, avoid direct prolonged contact; rinse quickly if overspray lands there. With those limits respected, the method is simple, economical, and impressively green.
Step-by-Step: the Vinegar Steam Method
First, ventilate. Switch on the extractor and open a window a crack. Warm the room by running the shower hot for 3–5 minutes until the mirror fogs. Meanwhile, heat a 1:1 mix of white vinegar and hot water — aim for comfortably hot, not boiling. Pour into a spray bottle. Never mix vinegar with bleach or chlorine-containing products; toxic fumes can form. Pre-wet the tiles with warm water to reduce surface tension, then mist the hot vinegar solution generously from top to bottom.
Let it sit for 10–15 minutes. Re-mist every five minutes if it starts to dry; the combination of warmth and mild acidity is doing the heavy lifting. Now agitate: use a soft microfibre cloth on tiles and a nylon brush on grout lines, working in small sections. Focus on soap-catching zones around shoulder height and just above the bath rim or shower shelf.
Rinse thoroughly with warm water and squeegee dry to prevent fresh deposits. For a final pass, buff with a dry cloth to remove any streaks. Stains that remain will usually respond to a second, shorter cycle. You’ll find the second round easier — most of the bonded film has already been loosened by the first steam-and-soak.
Tools, Ratios, and Safety Tips
Keep it simple and safe. Use standard white distilled vinegar (around 5% acetic acid). Dilute 1:1 with hot water for routine grime; go 2:1 (water:vinegar) for delicate surfaces or light maintenance. Gloves protect skin; safety glasses are smart if you’re scrubbing overhead. Avoid putting vinegar inside steam cleaners unless the manufacturer explicitly allows it — seals and internal components may not tolerate acids. Patch-test an inconspicuous tile, wait 10 minutes, then check for dulling or colour change.
Here are the essentials at a glance:
| Item | Best Practice |
|---|---|
| White vinegar (5%) | Use on ceramic, porcelain, sealed glass; avoid natural stone. |
| Mix ratio | 1:1 vinegar:hot water for deep clean; 2:1 water:vinegar for maintenance. |
| Dwell time | 10–15 minutes; keep surfaces damp with light re-misting. |
| Agitation | Microfibre cloth for tiles; soft nylon brush for grout. |
| Rinse and dry | Warm water rinse, then squeegee and buff to prevent streaks. |
| Ventilation | Extractor on; window cracked; avoid enclosed vapour build-up. |
Dealing with Stubborn Grout and Mildew
Some stains bite back. Old, darkened grout often holds a cocktail of oxidised soap, minerals, and mould pigments. Start with the vinegar steam cycle to soften the lot. Then switch tactics. For purely cosmetic mildew shadows, apply 3% hydrogen peroxide to dry grout and let it sit 10 minutes before rinsing. Use it on a separate day or after a thorough rinse and dry; do not combine hydrogen peroxide and vinegar in the same container — together they can form peracetic acid, an irritant. For textured grout, a tapered detailing brush reaches into pits without shredding the joint.
If soap scum lingers on tile faces, a light sprinkle of bicarbonate of soda on a damp cloth adds gentle abrasion that helps lift films softened by vinegar. Rinse well to avoid haze. Where grout is cracked or crumbling, no cleaner will fix it — you’re due a re-grout or at least a strategic patch. Consider sealing sound grout after it’s fully dry; it keeps future cleans lighter and less frequent.
The beauty of the vinegar steam trick is its balance of simplicity and surprising punch. It’s cheap, low on odour, and kind to most hard bathroom finishes when used thoughtfully. It won’t replace a full refit, but it can rescue a tired-looking shower in under an hour and turn weekly wipe-downs into a breeze. Small changes to temperature, dwell time, and agitation make a big difference. Which corner of your bathroom would benefit most from a deliberate steam-and-soak session this week, and what result are you hoping to see first?
Did you like it?4.5/5 (24)