In a nutshell
- ❄️ Freezing sponges overnight at −18°C can reduce bacteria by up to 99.9% without bleach by forming ice crystals that damage cell membranes and disrupt biofilm—but it is not sterilisation.
- 🧽 Step-by-step: rinse hot, leave damp, seal in a bag, freeze for 8–12 hours, then thaw under hot water; use colour‑coding, store to dry between tasks, and replace every 1–2 weeks.
- 🔥 Alternatives: microwave a fully wet sponge 1–2 minutes, use a dishwasher sanitise cycle, or boil for five minutes—these heat methods can deliver more consistent high kill; beware fire risk if microwaving dry sponges and avoid metallic scourers.
- ⚠️ Safety: don’t rely on freezing after raw meat juices; control cross‑contamination, always bag sponges in the freezer, and remember—if in doubt, throw it out.
- 👪 Special cases: for infants, older adults, or immunocompromised people, favour microfibre cloths laundered at 60°C or quick‑drying silicone scrubbers; keep all tools drying fast to suppress regrowth.
There’s a quiet trick making the rounds among professional housekeepers and savvy homemakers alike: stash your kitchen sponge in the freezer overnight. Advocates say the deep chill knocks back germs and grime, leaving the tool fresher by morning and all without bleach. It sounds almost too simple, yet there’s solid reasoning behind it. Freezing disrupts microbial cells, taming the invisible build‑up that turns a hardworking sponge into a bacterial bus. While no single method is a silver bullet, freezing offers a low‑effort, low‑cost way to reduce contamination between thorough cleans. Here’s how it works, what it can (and can’t) do, and when to pair it with heftier disinfection.
How Freezing Affects Bacteria in Sponges
Sponges are warm, damp, and loaded with microscopic food particles—an inviting habitat for bacteria such as E. coli and Salmonella. When you freeze a sponge, water inside and around microbial cells forms ice crystals. Those crystals puncture membranes, trigger osmotic stress, and disrupt biochemical processes. The result is a substantial reduction in viable microbes after thawing, especially in a sponge that retains a little moisture. Think of freezing as a powerful pause button that also damages many unwelcome residents.
Does it really hit the headline figure? Under optimal conditions—adequate moisture, a household freezer near −18°C, and an overnight freeze—reductions can be dramatic, sometimes approaching the vaunted 99.9%. Yet survival varies by species and structure: hardy spores and some viruses ride out the cold. Freezing is a reduction method, not sterilisation. That distinction matters if anyone in your household is immunocompromised or if the sponge has been used on raw meat juices.
Freezing also interrupts biofilm formation, the slimy matrix that protects microbes and locks in odours. Knock the biofilm back often and the sponge stays fresher longer. Still, if a sponge smells sour, looks grey, or feels perpetually slimy, retire it. A low-cost tool isn’t worth a high-risk gamble in the kitchen.
Step-By-Step: Freezing a Sponge the Right Way
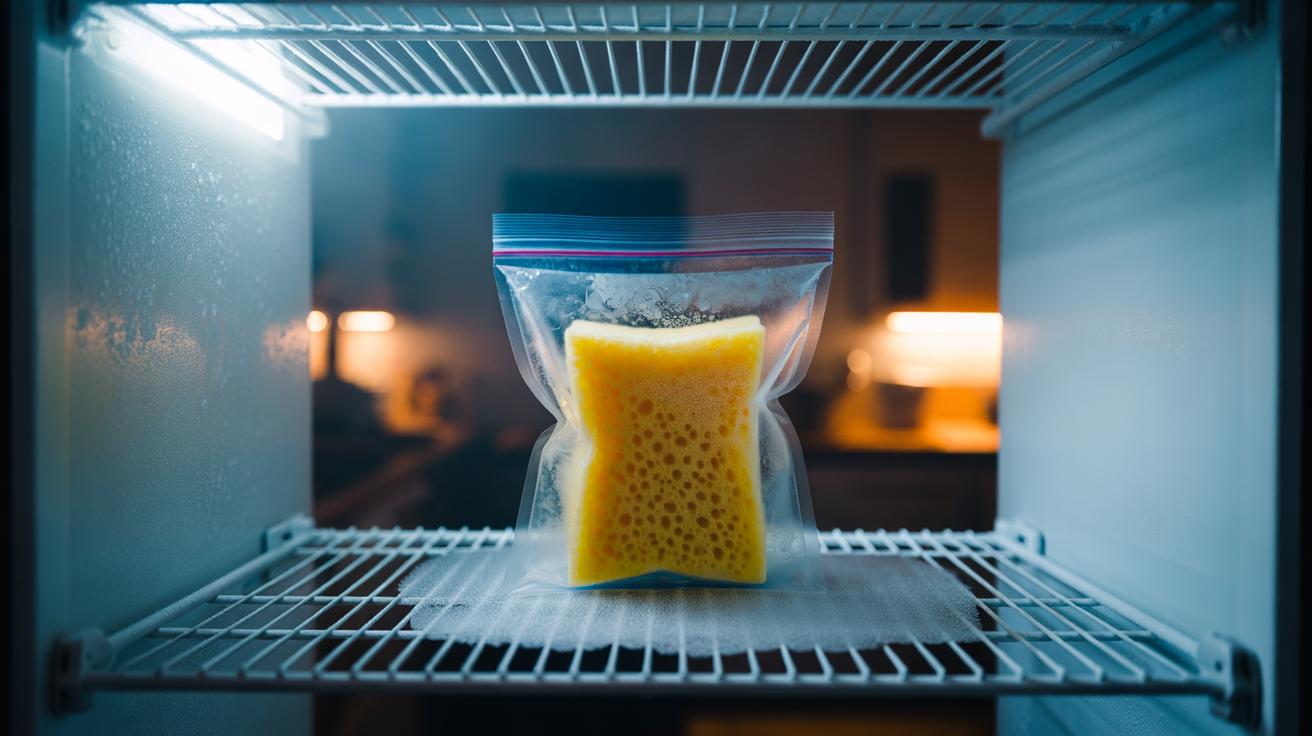
First, rinse the sponge thoroughly under hot water to remove food residues. Squeeze until it’s damp, not dripping; a little water helps ice crystals form and damage cells. Slip it into a sealed bag, press out excess air, and label with the date. Lay the sponge flat in the coldest part of the freezer (ideally −18°C) and leave it overnight—8 to 12 hours is a practical minimum. Always use a sealed bag to prevent cross‑contamination with food and to stop the sponge from absorbing freezer odours.
In the morning, thaw under hot running water and wring well before use. Keep separate sponges for separate zones—one for dishes, another for worktops—and consider colour‑coding to reduce mix‑ups. Replace frequently: every 1–2 weeks for high‑use dish sponges is a realistic schedule. If the sponge was used on raw proteins, discard or disinfect with heat or a sanitising cycle before freezing again. Remember, freezing is best as a routine reducer between deeper cleans and timely replacements.
For busy households, build a rotation: one sponge in use, one in the freezer, one drying. Alternating moisture and cold reduces growth pressure. Store the active sponge dry between tasks—an aerated holder on the sink is better than a damp pile of cloths. A dry spell each day slows microbial rebound and keeps that freezer work worthwhile.
How It Compares to Other Disinfection Methods
Freezing is efficient and chemical‑free, but it isn’t the only route to a safer sponge. Heat, detergent chemistry, and mechanical cleaning all have roles. If you prefer a method with validated high log‑reductions, consider the options below and choose what suits your home, time, and energy use. Some methods can exceed 99.9% reduction more reliably, yet carry safety caveats.
| Method | Typical Time | Reduction Potential | Key Notes |
|---|---|---|---|
| Freezer (−18°C) | 8–12 hours | High, species‑dependent | Chemical‑free; bag to avoid odours; not sterilising |
| Microwave (damp) | 1–2 minutes | Very high | Ensure fully wet; fire risk if dry; avoid metallic scourers |
| Dishwasher sanitise cycle | Full cycle | Very high | Clip sponge in rack; heat plus detergent |
| Boiling water | 5 minutes | High | Simple; may degrade sponge faster |
| Bleach soak (1:10) | 5 minutes | Very high | Effective; not for those avoiding chemicals |
For households avoiding bleach or strong fragrances, the freezer is a practical middle path. Combine it with regular drying and mindful usage, and you’ll keep counts down between deeper interventions. If you need the most consistent kill, choose heat—microwave (safely, sponge fully wet) or a dishwasher sanitise cycle. Whichever route you take, don’t overlook the simplest control of all: replacing tired sponges promptly.
Hygiene Myths, Risks, and When Not to Freeze
One common myth is that a frozen sponge becomes “as good as new.” It doesn’t. Freezing reduces viable microbes but leaves behind soils and some survivors. If the sponge has mopped up raw chicken juices or wastewater, assume heavy contamination and escalate: heat‑treat, sanitise, or bin it. If in doubt, throw it out. People caring for infants, older adults, or anyone immunocompromised should favour microfibre cloths laundered at 60°C or silicone scrubbers that dry quickly and resist biofilm build‑up.
Watch for cross‑contamination. A “multi‑purpose” sponge that jumps from chopping board to cooker hob to sink becomes a shuttle for microbes. Keep dedicated tools and label them. Store sponges so they dry fast, and never leave them submerged. Freezing is helpful, but it won’t rescue a sponge that’s structurally worn, permanently musty, or torn—those nooks are microbe hotels waiting to open for business.
Finally, treat the freezer like a hygiene tool, not a magic wand. Bag sponges tightly, keep them away from open foods, and thaw under hot water before use. The smartest routine blends reduction (freezing), disinfection (heat or sanitiser), and timely replacement. That trio keeps risk low without turning your sink into a chemistry lab.
Freezing sponges overnight is a neat, frugal habit that trims bacterial loads and odours while keeping chemicals off the menu. It’s not a guarantee, and claiming a universal 99.9% result oversimplifies biology, yet the practice earns its place alongside heat and replacement in a thoughtful cleaning rota. Used with clear “one sponge, one job” discipline and regular drying, it helps keep the kitchen safer day after day. Will you adopt the freezer method on its own, pair it with a weekly heat treatment, or switch to faster‑drying tools altogether—and why?
Did you like it?4.5/5 (26)