In a nutshell
- 🌱 Cardboard collars protect seedlings by forming a dry, abrasive ring at soil level that blocks slugs, snails and cutworms, while steadying stems and reducing splash.
- 🛠️ Make & fit: use plain cardboard strips 3–5 cm high, circle 8–12 cm wide; add a slit and tiny centre hole; install at planting, pressing 1–2 cm into soil with 1–3 cm above.
- 🛡️ Why it works: a mechanical barrier interrupts pest crawl lines, creates a mini dry moat, suppresses weedlets, and deters cabbage root fly and carrot fly from laying or landing near stems.
- 🔧 Practical tips: keep foliage off the rim, replace soggy rings after heavy rain, avoid mulch bridges, and back up with integrated pest management—evening hand-picking, beer traps placed away, and morning watering.
- 🌍 Eco and cost wins: collars are biodegradable, plastic-free, made from waste boxes, and return to the soil once plants toughen—delivering low-cost protection with a tiny footprint.
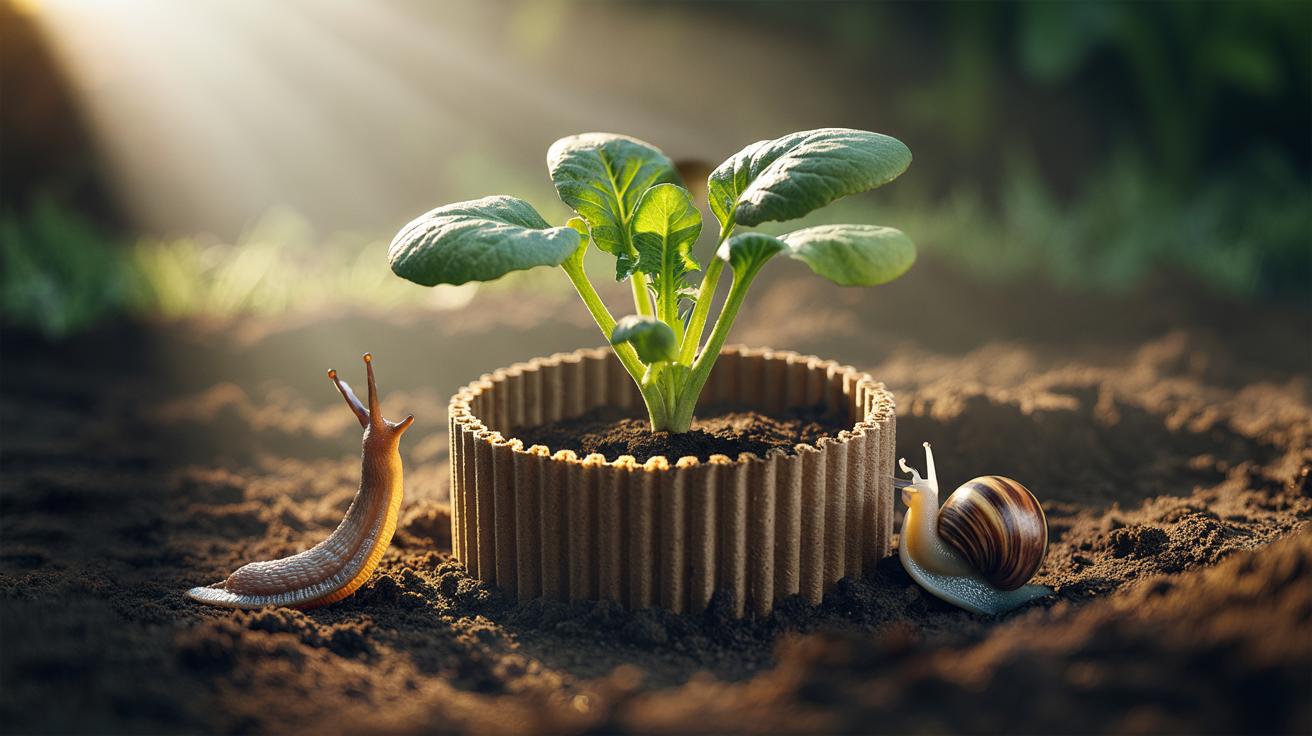
On British plots, the earliest weeks decide whether tender seedlings thrive or vanish. Slugs, snails, and soil-dwelling nibblers love nothing more than a fresh stem to sever. Enter the humble cardboard ring: a quick, low-cost collar that fences off the danger zone at soil level. Cut from packing boxes or cereal cartons, it slips around a plant and bites gently into the compost, creating a dry, abrasive boundary. By blocking access at the precise point pests attack, collars stop stems being nibbled before roots can anchor. They’re plastic-free, biodegradable, and surprisingly effective when fitted well.
Why Cardboard Collars Work
The magic is mechanical, not chemical. A snug barrier interrupts the “crawl line” of slugs and snails, whose soft bodies dislike rough, dry fibre. Pressed 1–2 cm into the soil, the ring also halts cutworms—nocturnal caterpillars that circle a stem at ground level and slice it clean through. By isolating the stem from splashing rain, collars reduce soil-borne grit that abrades tissues, and they steady plants against wind rock, lowering stress during the vulnerable hardening-off phase. A simple ring can slash early losses without pellets, sprays, or plastic cloches, and it does so while quietly suppressing weed seedlings around the crown.
Cardboard’s porosity creates a mini “dry moat” after showers, slowing slug travel and breaking capillary wicking from wet soil to the stem. It also obscures scent trails and visual cues that help ground pests find tender growth. The effect is strongest in the first weeks, when a seedling’s cambium is easily damaged and regrowth is slow. Paired with tidy watering—at the base, in the morning—the collar keeps the topsoil crumbly and less welcoming to night-time grazers. Think of it as low-tech crop insurance: cheap, immediate, and recyclable.
| Pest | Typical Attack | How the Collar Helps |
|---|---|---|
| Slugs/snails | Night-time stem and leaf grazing | Dry, rough edge slows access; reduces splash cues |
| Cutworms | Ring-barking seedlings at soil line | Physical wall 1–2 cm into soil blocks circling |
| Cabbage root fly | Eggs laid near brassica stems | Collar obstructs egg laying right at the base |
| Carrot fly | Low-hovering adults target rows | Disrupts landing spots around individual plants |
How to Make and Fit a Collar
Use plain, non-glossy cardboard from delivery boxes or cereal packets. Cut a strip 3–5 cm high; form a circle 8–12 cm across for most veg, larger for courgettes or squash. Overlap the ends and secure with a wooden toothpick, natural twine, or a fold—avoid plastic tapes that linger in soil. Snip a slit and a pea-sized central hole so the ring can slip around the stem without bruising. Always fit collars when planting out or as soon as cotyledons spread, before pests establish their routes.
Plant the seedling, water in, then press the collar so 1–2 cm sits below the soil surface, leaving 1–3 cm above. This buried “skirt” stops cutworms and stabilises the ring in wind. Keep leaves from draping over the edge, which can bridge the barrier for slugs. For brassicas, seat the ring firmly to deter root-fly egg laying; for carrots, combine with careful thinning on still evenings. Collars must sit tight to the soil—no gaps—so pests can’t tunnel underneath.
Practical Tips, Fail-Safes, and Eco Cred
Check after heavy rain: soggy card can slump. If it softens, replace the outer strip or double up. In very wet spells, add a thin sprinkle of horticultural grit around the outside rim to keep the edge dry and abrasive. Don’t pile mulch against collars; that creates a slug ladder. Collars help a lot but aren’t invincible—on lush nights, slugs will climb if foliage touches the ring. Evening hand-picking, beer traps placed away from beds, and tidy watering strengthen your integrated pest management without chemicals. Think of collars as the front line, not the entire defence.
On sustainability, the case is strong. You’re reusing waste fibre, avoiding plastic guards, and letting the material break down into the bed after a few weeks—by which time plants have toughened stems. Cardboard also shades a small disc of soil, conserving moisture and curbing weedlets around the crown. For cost, it’s hard to beat: a single shipping box yields dozens of collars. Keep a flat bundle in the shed and refresh as needed. Biodegradable barriers deliver real protection with almost no footprint.
Cardboard collars prove that the best garden tools can be improvised from the recycling pile. They shield stems, slow slugs, frustrate cutworms, and nudge seedlings through the perilous fortnight when losses sting most. As plants bulk up, the ring quietly returns to the soil, leaving no plastic trace and little expense. If you’ve hesitated to plant out early, a pocket of collars brings confidence and cleaner results. Which crops on your plot would benefit most—and how might you tweak ring size or placement to suit your local pests and weather?
Did you like it?4.5/5 (24)