In a nutshell
- 🪟 Ventilate and declutter first: open windows/extractor, remove textiles for a 60°C wash, and pre-spray taps/screens with a descaler to let it dwell.
- 🧼 Work dry to wet, top to bottom: dust high areas before damp cleaning sinks, then showers/baths, then toilets; use colour-coded cloths to prevent cross-contamination.
- 🧪 Descale before disinfecting: clean off soil and limescale, then apply EN-rated disinfectant and respect contact time; never mix chemicals like bleach and acids.
- 🚽 Toilet protocol: gel under the rim, brush thoroughly, close the lid while it works, and disinfect high-touch points (flush handle, taps, switches) last with separate tools.
- 🧹 Floors last: vacuum, then mop with the two-bucket method; ensure thorough drying and finish with tool care—rinse, launder, and store kit clean.
The quickest way to make a clean bathroom feel grubby again is to clean it in the wrong order. Experts insist sequence matters. Dirt migrates. Germs hitch a ride. By following a deliberate path, you cut time and dramatically improve results. This guide assembles expert tips into a single, reliable routine that prioritises maximum hygiene and visible shine. You’ll see why ventilation comes first, why “dry work” precedes wet scrubbing, and how contact time transforms disinfectants from nice idea to measurable effect. The right order prevents cross-contamination, saves effort, and protects the finishes you paid for. Armed with a caddy, colour-coded cloths, and a few smart habits, you can turn a dreaded chore into a swift, satisfying system.
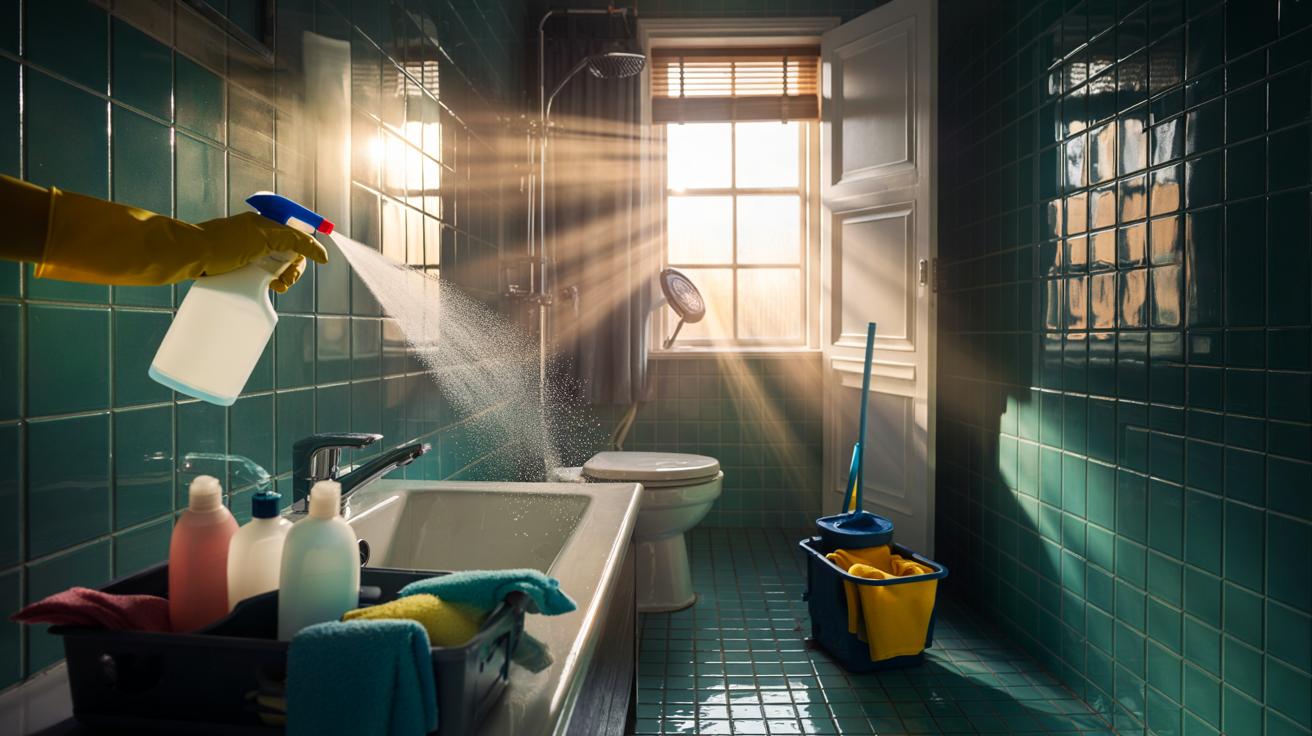
Clear and Ventilate Before You Touch Anything
Begin by opening a window and switching on the extractor. Fresh air reduces humidity and fumes, making products safer and more effective. Strip the room: remove towels, bathmats, toys, cosmetics, and bins. Bag laundry for a 60°C wash, which experts agree is hot enough to reduce microbial load on fabrics. Good airflow limits aerosolised germs and accelerates drying, a simple step with big hygienic gains. Put on gloves, then set out a caddy with microfibre cloths, a soft brush, a limescale remover, a neutral cleaner, and a proven disinfectant.
Pre-spray the shower screen and taps with a descaler to start dissolving limescale while you work elsewhere. That early soak is free time. Empty the bin and pull the bag so the receptacle can be cleaned later. Remove the toilet brush and holder; they will need attention too. Decluttering first exposes surfaces, speeds the job, and stops you cleaning around clutter—a common shortcut that leaves hidden grime.
Work From Dry to Wet, Top to Bottom
Dust rises when disturbed. So tackle “dry” tasks before introducing liquids. Start high: light fittings, extractor grilles, and the top edges of cabinets. A dry microfibre cloth or vacuum with a brush nozzle traps fine dust rather than smearing it. Wipe mirrors and shelves next. Only then move to damp cleaning. Gravity is your ally; use it to prevent rework. The sequence matters: sink and vanity first, bath or shower next, then the toilet exterior and finally the toilet bowl. This keeps the cleanest areas clean.
Switch cloths as you step down that order. Use colour-coded cloths—one colour for general surfaces, another for the toilet—to stop cross-use. Apply a mild, non-abrasive cleaner to vanities and tiles, agitate grime, and rinse or wipe with a damp cloth. Leave taps and screens with product dwelling; you’ll finish them after descaling. Shortcuts spread microbes, so avoid them. Never move from toilet tasks back to sinks without changing gloves and cloths. It’s a tiny change with outsized hygiene benefits.
Descale, Then Disinfect the Big Fixtures
Limescale shields germs and makes surfaces look tired. Attack it first on taps, showerheads, and glass. Use an acid-based limescale remover suited to your finishes; check labels, as natural stone and some metals are sensitive. Allow the recommended dwell time. Agitate with a non-scratch pad, rinse thoroughly, and pat dry to prevent fresh spots. On glass, blade squeegees deliver a streak-free finish and remove mineral-laden water quickly.
Only when visible soil and scale are gone should you disinfect. Disinfection fails on dirty, scaled surfaces—clean first, then sanitise. Apply an EN-standard disinfectant (bleach or quats) to high-touch areas: flush handle, tap levers, door handles, light switches. Respect contact time; keep surfaces wet for the minutes stated. For the toilet, apply gel under the rim and into the bowl, brush thoroughly, then close the lid while it works. Never mix chemicals. Combining bleach and acid descalers produces dangerous fumes. Rinse tools well between stages.
The Expert Order at a Glance
If you prefer a checklist, use this clear sequence. It consolidates the method into eight steps you can follow every week. Consistency beats intensity; doing the right things in the right order reduces deep-clean marathons. Keep the table on a cupboard door and tick as you go. Choose products proven to kill common bathroom pathogens and match them to your surfaces. Remember: dwell time is not decorative; it’s the science behind results.
| Step | Area/Task | Product/Tool | Suggested Contact Time |
|---|---|---|---|
| 1 | Ventilate, declutter, bag laundry | Extractor, caddy, gloves | — |
| 2 | Dry dust high surfaces | Microfibre, vacuum brush | — |
| 3 | Pre-spray scale on glass/taps | Descaler | 5–10 mins |
| 4 | Clean sink and vanity | Neutral cleaner, cloth | As labelled |
| 5 | Clean bath/shower enclosure | Non-scratch pad, squeegee | As labelled |
| 6 | Rinse and dry descaled areas | Water, towel | — |
| 7 | Disinfect touchpoints and toilet | EN-rated disinfectant | 5–10 mins wet |
| 8 | Floor last (two-bucket method) | Microfibre mop, floor cleaner | Drying: 10–15 mins |
Schedule monthly extras: showerhead descale, grout refresh, extractor filter wash. For households with vulnerable people, increase frequency of disinfecting touchpoints. Method beats muscle; the right order makes a visible difference.
Finish With Floors and Final Touches
Leave the floor until everything else is clean. Vacuum to remove grit. Then mop using a two-bucket system: one for solution, one for rinse. This stops you redepositing dirt. Work from the far corner to the door in straight passes. Pay attention to skirting boards and the base of the toilet, classic splash zones. Clean water equals clean floors; change it as soon as it clouds. Microfibre mops lift fine residue, while low-foam cleaners reduce streaks on tiles and vinyl.
Drying matters. Prop the door open and keep the extractor on until surfaces are fully dry; lingering moisture invites mildew. Replace laundered towels and mats, wipe the toilet brush holder with disinfectant, and line the bin with a fresh bag. Quick polish on chrome makes the room look hotel-fresh. Finally, wash hands and clean your kit: rinse cloths, then launder on hot. Hygiene ends with tool care, a frequently missed final step.
Follow this order and your bathroom will stay cleaner between sessions, smell fresher, and look brighter. The routine is calm, predictable, and rooted in simple science: ventilation first, dry work high up, heavy soil removed before disinfecting, floors last. Small disciplines, big pay-off. If you share a home, post the sequence so everyone can pitch in without guesswork. Now the question: which step in this expert order will most transform the way you clean, and what tweak would make it fit your household best?
Did you like it?4.5/5 (25)