In a nutshell
- ❄️ The science: cold induces brittleness and thermal contraction in wax, weakening adhesion to fibres so it snaps off cleanly at around −18°C.
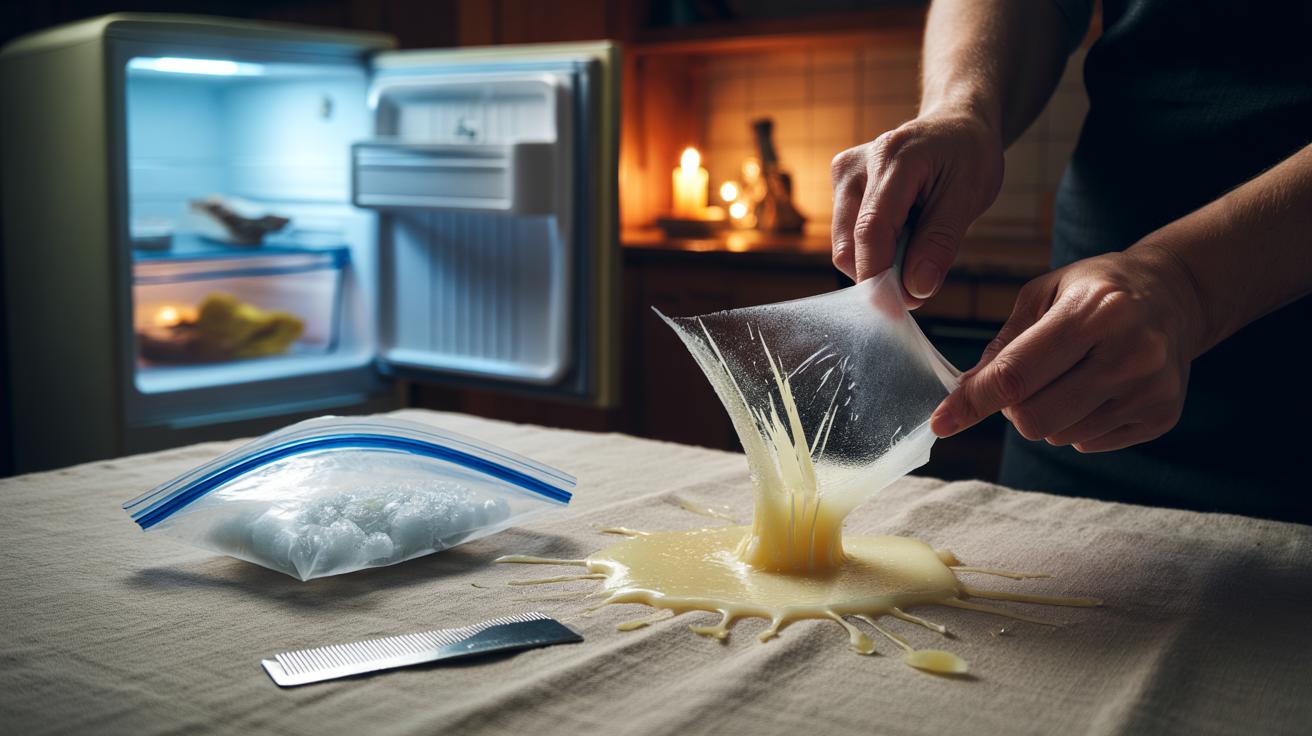
- 🧊 Method: bag the cloth, freeze 30–90 minutes, flex fabric to crack deposits, lift shards with a plastic scraper, then spot-treat residue and launder—never iron first.
- 🧵 Fabrics: cotton, linen and blends handle the freeze–snap well; spot-test solvents on synthetics, take care with PVC-backed cloths, and use colour-safe oxygen bleach for dye halos.
- 🕯️ Wax types: paraffin, dyed/fragranced, beeswax and soy have different cues and timings; repeat the freeze–snap cycle for thin films to avoid fibre damage.
- 🛠️ Troubleshooting: if wax smears, refreeze; remove bulk before gentle heat with paper towel, and use ice packs or compressed air when a freezer isn’t available—avoid boiling water and aggressive scraping.
Candlelit suppers are charming until a stray drip brands your best table linen. The simplest rescue is also the least messy: use the cold. The freezer method exploits the way wax becomes brittle at low temperatures, so it snaps off in tidy shards instead of smearing deeper into fibres. It is fast, low risk and chemical-light, preserving the texture of cotton, linen and blends. By making the wax harder than the cloth that holds it, you change a sticky problem into a clean break. Here’s the science behind it, the precise steps to follow, and the pitfalls to avoid when you want a spotless tablecloth without drama.
Why Cold Makes Wax Let Go
Wax is a soft, semi-crystalline material. Cool it far below room temperature and the mobile polymer chains stiffen; the wax transitions from pliable to brittle. At freezer temperatures, it contracts more than the surrounding textile, creating microscopic gaps at the wax–fibre interface. Those gaps weaken adhesion, so a gentle flex or tap fractures the deposit, letting pieces shear away cleanly. Think of it as turning a smudge into a crisp sugar shard. The colder the wax, the more pronounced this brittleness becomes, which is why −18°C—your typical domestic freezer—works so reliably.
There is another benefit. Thermal contraction pulls the wax inward, reducing its grip on weave irregularities and embroidery threads. Rather than dragging colour or oil across the cloth, you lift off discrete fragments. Some scented or dyed candles contain oils and pigments that can leave faint halos. Treat those after removal, not before. Never attack warm wax—it smears and bonds more tightly to fibres.
Step-By-Step Freezer Method
1) Let the spill cool until solid. Flake off raised blobs with a plastic card, but don’t rub. 2) Slip the tablecloth into a large, clean freezer bag to protect against odours and frost. Fold so the wax sits flat and accessible. 3) Freeze at −18°C for 30–90 minutes. You’re aiming for wax that feels glassy-hard. 4) Remove and work quickly: flex the fabric beneath the spot to crack the deposit, then lift shards with a plastic scraper or teaspoon. 5) Tap or vacuum crumbs. 6) For any faint residue, dab with neat washing-up liquid, wait ten minutes, then launder as usual. Do not iron before checking for dye transfer from coloured wax.
If you can’t move the cloth, chill in situ. Sandwich the area with zip-top bags of ice or a freezer block above and below for 15–30 minutes, then proceed as above. For heavy spills, repeat the freeze–snap cycle rather than forcing the last film; patience prevents fibre damage and spreading.
| Wax Type | Ready Cue | Typical Time (−18°C) | Removal Tip |
|---|---|---|---|
| Paraffin (white) | Opaque, rock-hard | 30–45 min | Bend fabric to snap; lift with card |
| Dyed/fragranced | Very hard, glossy | 45–60 min | Test for dye; spot-treat after |
| Beeswax | Crumbly edges | 60–90 min | Repeat freeze for thin films |
| Soy | Chalky, rigid | 45–60 min | Lifts in larger sheets |
Fabric Types, Stains, and Safety
The cold method is kind to cotton and linen, which tolerate flexing without harm. Polyester and blends fare well too, though some synthetics hold onto oily residues from scented candles; that’s where a little washing-up liquid or a dab of isopropyl alcohol (spot-tested on a hidden seam) helps. Always test any solvent on an inconspicuous area first. For lace, embroidery, or open weaves, freeze thoroughly and use minimal scraping—support the fabric from below with a smooth board to avoid snagging.
Coated cloths and PVC-backed protectors can stiffen sharply in the freezer; fold gently and avoid sharp creases. Keep items in sealed bags to prevent freezer cross-contamination with food. Swap metal knives for plastic cards or a butter spreader to avoid fibre cuts. If coloured wax leaves a faint pink or blue tint, follow removal with an oxygen-based bleach soak suitable for the fabric. Skip chlorine bleach on natural fibres unless the care label explicitly allows it.
Troubleshooting and Alternatives
If the wax smears instead of snapping, it isn’t cold enough. Return it to the freezer for another 20 minutes and try again. When a ghostly film remains, don’t grind at it: refreeze, then press a few layers of plain paper towel over the spot and touch briefly with a warm (not hot) iron to lift trace oils. Heat only after you’ve removed the brittle bulk—doing it first spreads wax deeper into fibres. Persistent dye halos respond to enzymatic detergent or a colour-safe oxygen bleach soak.
No freezer? Use ice packs on both sides, rotating as they warm, or a can of compressed air held upside down to deliver a cold jet—short bursts only, outdoors for ventilation. Avoid boiling water and aggressive scraping, which distort weaves. Washing before removal bakes wax into the cloth, so always freeze first. With patience and the right sequence—chill, snap, treat residue—you’ll reclaim even heirloom table linens without scuffs or shine.
Handled patiently, the freezer method turns messy candle mishaps into a quick clean-up, saving time, solvent and fabric. By exploiting the physics of brittleness and contraction, you remove wax in neat pieces, then tidy the faint remnants with targeted spot care. For most households, that means fewer risky chemicals and less elbow grease. The trick is simple: get the wax colder than the cloth can match, then let it break free. What fabric challenges or unusual candle types have you faced at the table, and which tweaks to this cold-technique would you try first?
Did you like it?4.6/5 (30)