In a nutshell
- 🔥 Gentle heat from a warm spoon softens pressure-sensitive adhesives above the glass transition temperature (Tg), enabling controlled conduction and a residue-free peel.
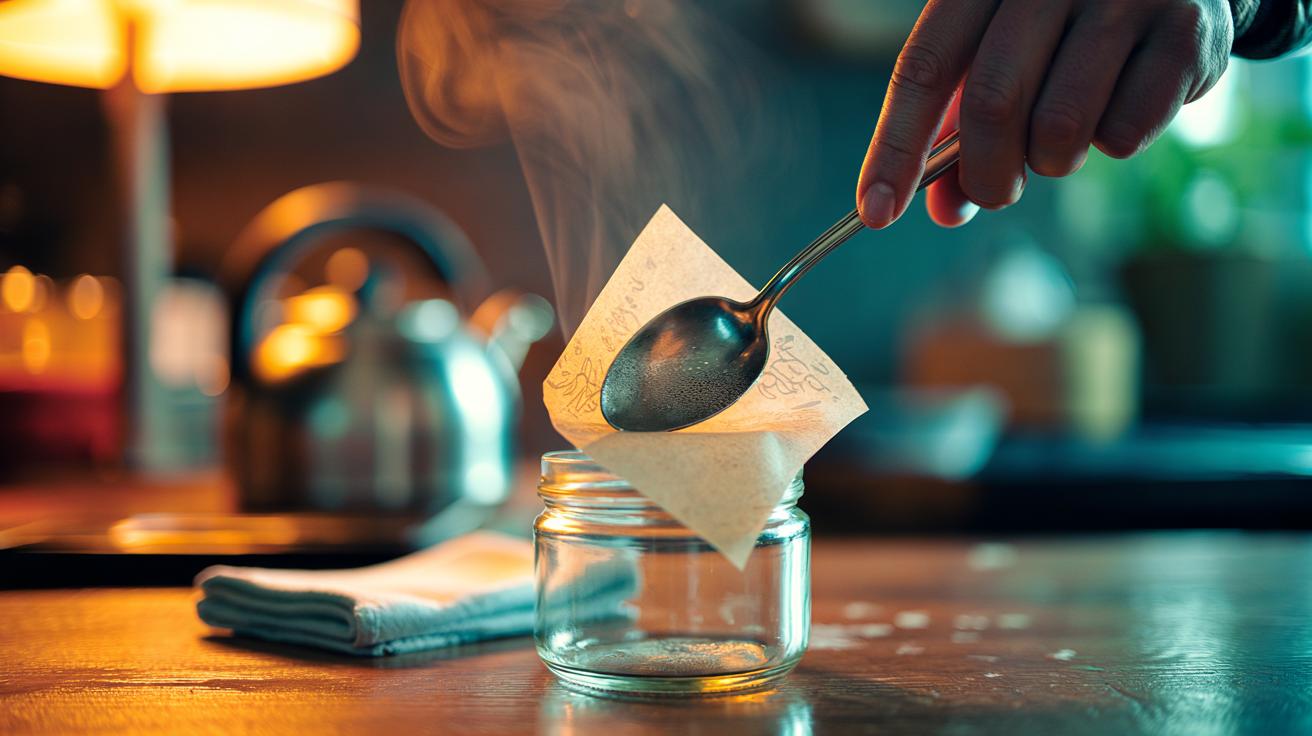
- 🥄 Heat a stainless steel spoon in hot water/steam for 10–15 seconds, dry, press 5–10 seconds, then lift a corner at a low angle while “chasing” with the spoon; rewarm as needed for smooth release.
- 🧴 Works best on glass, glazed ceramic, stainless steel, and enamel; often fine on PET/PP plastics—spot-test. Remove faint film with a microfibre cloth, washing-up liquid, or isopropyl alcohol.
- ⚠️ Safety: avoid open flames and delicate finishes; keep tools warm, not scalding; use baking paper for even heat, or a low hairdryer to preheat while the spoon provides precision.
- ✅ Benefits: no scratches, fumes, or solvent halos; a thrifty, quiet method that restores containers and devices while melting glue without residue.
Every kitchen drawer hides a fix for maddening price stickers: the humble spoon. The hot spoon trick uses gentle heat to loosen pressure-sensitive adhesives, so labels glide off glass jars, ceramic mugs, and metal tins without smears or scraping. Shielded by the spoon’s curve, heat reaches the glue evenly, softening it just enough to release. This home-friendly method avoids solvents that can stain or smell, and it helps you reclaim containers for stylish storage. No scratches, no fumes, no mess—just clean, residue-free surfaces and a perfectly peeled label. With a kettle, a cloth, and patience, you can turn sticky frustration into an oddly satisfying moment of thrift and order.
Why Gentle Heat Works on Adhesives
Most sticker backings rely on pressure-sensitive adhesives that behave like soft solids. Warm them slightly and their polymer chains relax; cool them and they firm up. The magic point is the glass transition temperature (Tg): lift the glue above this, and it loses bite. A warmed spoon transfers heat precisely where it’s needed, letting you separate label from surface before the adhesive flows or smears. Heat softens glue; it does not dissolve it, which is why the spoon method avoids the oily halos that degreasers sometimes leave on porous materials or brushed metal.
| Adhesive Type | Typical Softening Range | Notes |
|---|---|---|
| Acrylic | 50–70°C | Common on retail labels; clean release with steady heat. |
| Rubber-Based | 40–60°C | Very tacky; peels best with gradual warming and tension. |
| Hot-Melt EVA | 55–75°C | Softens quickly; avoid overheating to prevent smearing. |
| Starch/Water-Based | 30–45°C | Often used on paper labels; steam or mild heat works fast. |
The spoon’s curved bowl spreads thermal conduction across a small area, preventing hotspots that can warp plastics or blanch varnish. Unlike a hairdryer’s blast, conduction is quiet, controlled, and targeted. The result is clean separation: the label lifts as the glue softens at the interface, rather than tearing into papery confetti. Apply just enough warmth to relax the adhesive and lift slowly while the bond is weak—that’s the secret to residue-free results.
How to Perform the Hot Spoon Trick, Step by Step
Heat a clean, dry metal spoon by dipping it into freshly boiled—but off-the-boil—water for 10–15 seconds, or hold it in kettle steam. Wipe off droplets. Press the warm bowl of the spoon flat against the label for 5–10 seconds, working from a corner toward the centre. This delivers gentle heat straight through the paper or film to the glue. Now tease up an edge with a fingernail or plastic card and pull slowly at a low angle while you chase the lifting edge with the spoon. Re-warm the spoon as needed to keep the adhesive relaxed.
If the label starts to tear, stop and reapply heat for a few seconds. For stubborn patches, place a piece of baking paper between spoon and label to spread warmth more evenly. Once the label is off, buff the area with a microfibre cloth. A faint film can be removed with a drop of washing-up liquid or a dab of isopropyl alcohol on glass and metal. Never heat the spoon over an open flame, and never press on delicate plastics until you’ve spot-tested.
Materials, Safety, and Variations
You need a stainless steel spoon, hot water or steam, a soft cloth, and optional baking paper. This method excels on glass, glazed ceramic, stainless steel, enamel, and factory-finished wood. It also works on many PET and PP plastics, but temperature tolerance varies. Always spot-test a hidden area for heat sensitivity. Avoid unsealed wood, waxed finishes, and lacquer prone to blushing. If a jar is cold from the fridge, let it come to room temperature first; a big temperature jump can shock thin glass.
For larger labels, warm a silicone spatula with hot water and use it like a broad, gentle iron. A hairdryer on low can preheat, but the spoon still provides controlled contact where the glue grips most. If you must use a solvent, clean after with soapy water to remove any oily trace. Children should not handle hot spoons, and the tool should be warm, not scalding. The watchword is moderation: steady heat, slow peel, spotless finish.
There’s a small thrill in turning a stubborn sticker into a clean peel with nothing more than a warmed spoon. It’s thrifty, quiet, and kinder to surfaces than brute-force scraping or heavy-handed chemicals. By targeting the adhesive’s sweet spot—soft enough to release, not hot enough to smear—you rescue jars for pantry chic and restore gadgets without ghostly glue rings. Once you’ve tried it, adhesives stop feeling mysterious and start feeling manageable. What labels or surfaces are you itching to liberate next, and how might you adapt this technique to your own collection of containers and curious finds?
Did you like it?4.4/5 (21)