In a nutshell
- 🥔 The method hinges on chemistry: potatoes supply oxalic acid/oxalates that chelate iron oxide, while salt adds mild abrasion and ionic activity for targeted, gentle rust removal.
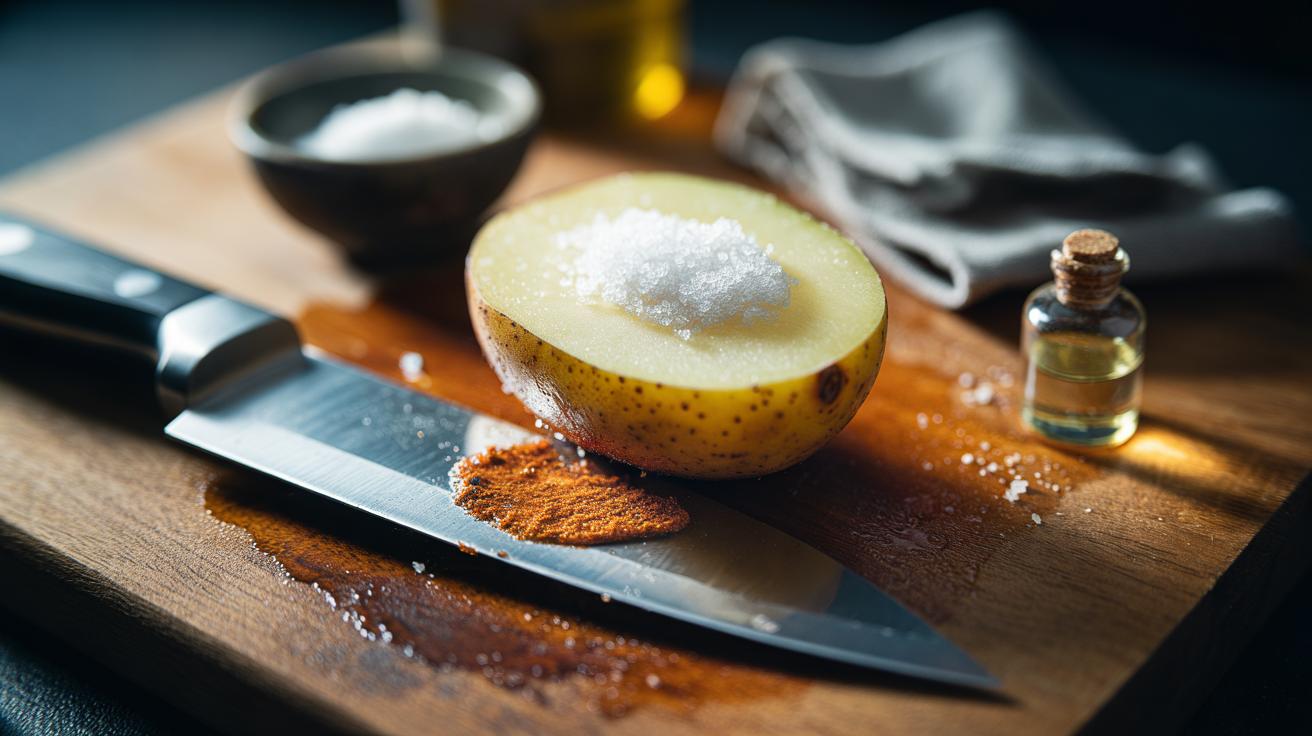
- 🧽 Practical steps: halve a potato, sprinkle fine salt on the cut face, rub along the blade, rest 5–10 minutes for oxalates to work, then wipe, rinse, optionally neutralise with bicarbonate, dry thoroughly, and finish with a light oil.
- 🔒 Safety and suitability: effective on stainless and carbon steel; avoid coated/non-stick and ceramic blades; use a delicate touch with Damascus; test a small area and protect fingers by rubbing away from the edge.
- 🧪 Material sensitivity: the approach preserves the stainless passivation layer but can lighten a carbon steel patina, so monitor contact time and let chemistry, not force, do the work.
- 🛡️ Aftercare and prevention: rinse, dry completely, apply food-safe mineral or camellia oil, store in ventilated spaces, add silica gel in drawers, and maintain edges with a ceramic rod to deter future rust.
Reach for a potato and a pot of table salt before you spring for harsh rust removers. The humble spud contains natural oxalates that bond with iron oxide, while salt provides a gentle scrub and a touch of electrolytic oomph. Used together, they can lift orange-brown stains from kitchen knives without stripping away character or damaging the temper. This is a low-cost, low-tox method that rewards patience over force. Below, we unpack the chemistry, outline a careful technique, and flag the steels and finishes that respond best—so your favourite blade returns to service gleaming, sharp, and unscathed.
Why Potatoes and Salt Dissolve Rust
Rust is iron oxide, a flaky compound that forms when moisture and oxygen attack steel. Potatoes contain small amounts of oxalic acid, which produces oxalate ions that latch onto iron and form soluble complexes. This chelation loosens the grip of rust at the metal’s surface, allowing it to be wiped away rather than scraped off. Salt’s role is twofold: its crystals act as a mild abrasive to disrupt oxide layers, and in the presence of moisture, sodium chloride increases ionic activity at the surface, nudging the reaction along. The result is targeted rust removal without deep scratching or aggressive etching.
Because the acid level is light, the underlying steel, including many stainless alloys, tolerates this method well. Stainless blades rely on a thin chromium-rich passivation layer; the potato-salt combo nibbles at corrosion products more than sound metal. On carbon steel, oxalate action can lighten a dark patina, so control and timing matter. Aim to dissolve oxidation, not polish away the knife’s protective character.
Step-by-Step: The Salt + Potato Scrub
Begin with a clean, dry blade. Halve a raw potato to expose a fresh face, then sprinkle a teaspoon of fine salt onto the cut surface. Press the potato against the rusty area and rub in short, even strokes, following the blade’s length to avoid cross-scratching. Add a few drops of water if the surface feels too dry; you want a thin, slightly gritty paste. After 60–90 seconds of rubbing, let the potato rest on stubborn spots for 5–10 minutes to let oxalates do their work. Resist the urge to press hard—the chemistry does the heavy lifting.
Wipe away the slurry with a soft cloth and inspect. For persistent specks, repeat with a fresh sprinkle of salt. Once satisfied, rinse under warm water and, optionally, wipe with a mild bicarbonate solution to neutralise residual acidity. Rinse again, then dry thoroughly with a towel, paying attention to the spine, choil, and handle junction. Finish with a whisper of food-safe mineral oil or camellia oil to block moisture. Never store the knife until it is completely dry.
Safety, Steel Types, and When to Avoid the Method
Gentle as it is, the potato-and-salt technique isn’t universal. It suits most kitchen stainless and carbon steel knives with light to moderate rust. Avoid using it on coated, painted, or non-stick blades where abrasion scuffs finishes, and skip it on ceramic knives that don’t rust and can chip under grit. Pattern-welded or etched Damascus requires a delicate touch; prolonged acid contact can blur contrast. When in doubt, test on a tiny, inconspicuous area first.
| Steel/Finish | Typical Examples | Response to Oxalates | Notes |
|---|---|---|---|
| Stainless steel | Chef’s knives, santokus | Good | Preserves passivation if exposure is brief. |
| Carbon steel | Sabatier, Japanese white/blue steels | Excellent | May lighten patina; monitor closely. |
| Damascus | Pattern-welded blades | Variable | Short contact only to protect etch contrast. |
| Coated/non-stick | Colour-coated utility knives | Poor | Do not abrade; risk of finish damage. |
| Ceramic | Zirconia blades | Not applicable | Does not rust; avoid gritty rubbing. |
Always protect fingers by rubbing away from the edge or sheathing the cutting edge with cardboard. Keep the process brief, and never leave acidic residues sitting on a blade. If orange bloom reappears during drying, repeat briefly and oil immediately.
Care and Prevention After De-Rusting
Post-cleaning, think prevention. Drying is the first defence: wipe immediately after washing and again a few minutes later when hidden moisture wicks out. Store knives on a magnetic strip or ventilated block rather than a damp drawer. A few microlitres of light oil protect carbon steel; for stainless, a periodic wash and dry often suffice. In coastal or humid kitchens, consider a silica gel sachet in drawers to curb moisture. Rust thrives on lingering water and chloride residues.
During prep, acidic foods like tomatoes or citrus can etch lightly; rinse and dry between tasks. For cutting boards, avoid bleach-heavy cleaners around blades, which can attack steel. Instead, use warm soapy water and prompt drying. Maintain sharpness with a ceramic rod rather than aggressive grinding, which exposes fresh metal and invites oxidation. Every month or so, wipe carbon steel with a thin coat of camellia or mineral oil and let a stable, dark patina develop. A well-kept patina is protective, not a flaw.
The salt-and-potato scrub proves that chemistry and common sense can outpace chemical strippers, restoring knives with care rather than brute force. By harnessing natural oxalates and a measured abrasive, you dissolve rust while preserving edge integrity and finish. Keep sessions short, rinse and dry thoroughly, and finish with a light protective oil to ward off the next flare-up. With practice, you’ll know when to repeat, when to stop, and when to escalate to specialised methods. How will you adapt this gentle routine to your own knife drawer, steel mix, and kitchen conditions?
Did you like it?4.4/5 (25)