In a nutshell
- 🧼 Bleach-free matters: Chlorine lightens surfaces but leaves spores in porous grout and releases irritant fumes; natural methods clean deeper and safer.
- 🧪 Natural chemistry that works: Vinegar and citric acid dissolve scale and biofilm, hydrogen peroxide oxidises stains, and tea tree oil offers residual antifungal action.
- ⚗️ Smart mixing and safety: Use separate bottles for vinegar solution and 3% hydrogen peroxide; never mix acids with bleach or combine vinegar and peroxide.
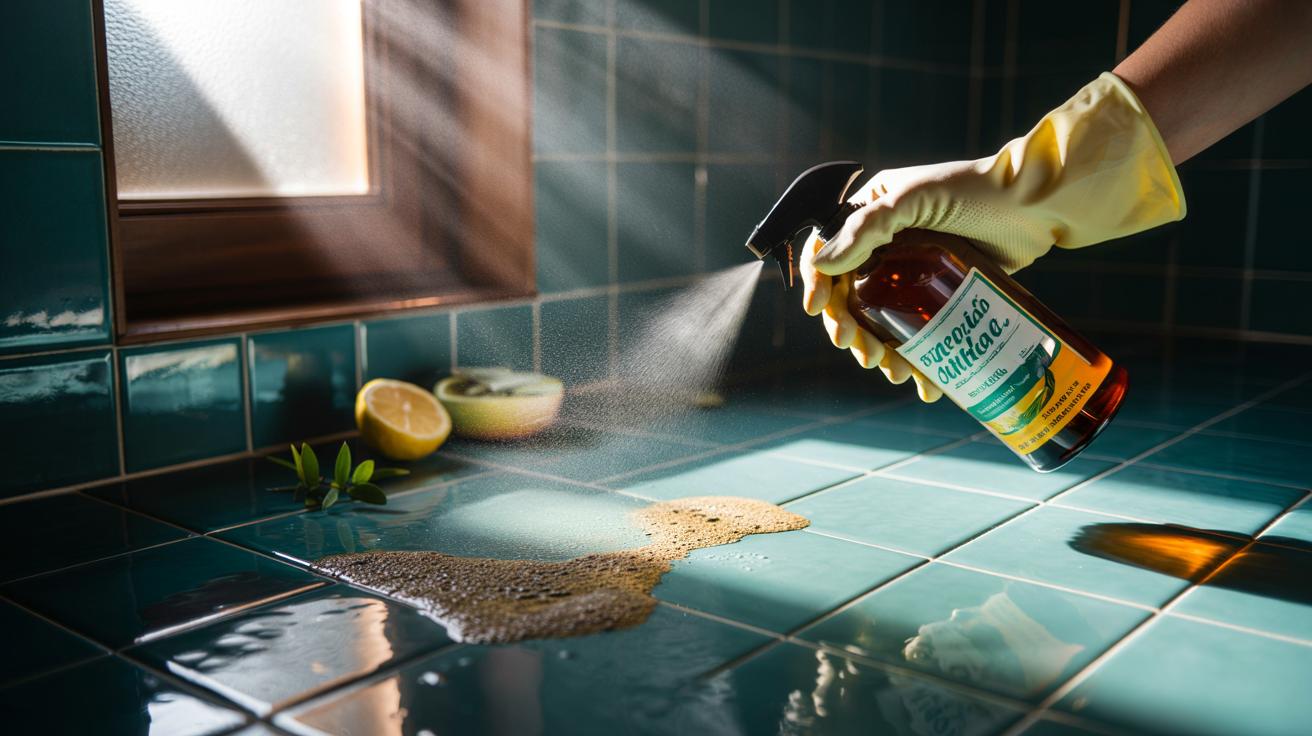
- 🧴 Practical routine: Spray vinegar blend, allow dwell time, scrub with a grout brush, spot-treat with peroxide, rinse, and dry thoroughly for lasting results.
- 🌬️ Stop regrowth: Control humidity (45–55%), run extraction after showers, squeegee surfaces, and seal grout every 12–18 months to keep pores dry and unwelcoming to mould.
Bleach can make a grimy bathroom look “clean” in minutes, yet it often leaves behind the very conditions that let mould creep back into the grout. A carefully designed bleach-free mould spray does more than brighten lines between tiles—it tackles the biofilm, minerals, and moisture that feed regrowth. By leaning on natural acids, plant-derived antimicrobials, and smart drying habits, you can clean more safely and keep the problem at bay. Stopping mould is as much about prevention as it is about removal. Here’s how natural solutions work on contact, why they deter future colonies, and the simple steps to make an effective spray at home.
Why Bleach-Free Matters for Grout and Health
Bleach is a powerful oxidiser, but it is also harsh on porous materials. Cementitious grout is micro-porous; chlorine solutions can lighten the surface without penetrating the pores where hyphae hide. That is why stains often “return” after a few steamy showers. Bleach also reacts with organic soils to form irritating by-products, and it can corrode metals nearby. In small UK bathrooms with limited ventilation, those fumes linger. A bleach-free approach reduces respiratory irritants while addressing the causes of regrowth: humidity, soap scum, and mineral scale.
Natural acids and oxygen-based agents loosen the biofilm that shields mould colonies, allowing scrubbing to be genuinely effective. Plant oils add a residual antifungal effect on the surface. Because prevention depends on keeping pores clean and dry, the safest “clean” is one that conditions grout rather than burns it. A routine built around low-toxicity ingredients and good airflow delivers longer-lasting results and a healthier bathroom microclimate.
The Science Behind Natural Mould Killers
White vinegar (about 5% acetic acid) lowers surface pH, disrupting mould enzymes and dissolving the mineral films that help spores anchor. Citric acid adds chelating power, lifting limescale so spores lose their grip. A drop of plant-based surfactant breaks surface tension and slips the solution into pores. Tea tree oil and clove oil contain terpene compounds (such as terpinen-4-ol and eugenol) with broad antifungal activity, offering mild ongoing protection after wiping. Dwell time matters: let solutions sit long enough to soften the biofilm before you scrub.
Hydrogen peroxide (3%) releases oxygen that oxidises microbial cell walls and lightens stains without chlorine. Bicarbonate of soda provides gentle abrasion to remove stained grout top-layers when used as a paste. Together, these tools don’t just bleach the colour; they dislodge spores, lift grime, and open pores so they can dry quickly. Never mix acids with bleach, and never combine vinegar and hydrogen peroxide in the same bottle, as this can create irritating peracetic acid.
| Ingredient | Typical Dilution | How It Works | Best For | Caution |
|---|---|---|---|---|
| White vinegar | Neat (5%) or 1:1 with water | Lowers pH, dissolves scale and soap film | Routine sprays, light staining | Avoid stone (marble, limestone) |
| Citric acid | 1–2 tbsp per 500 ml water | Chelates minerals; aids descaling | Hard-water deposits on tiles | Rinse metals; may dull soft stone |
| Hydrogen peroxide 3% | Use as sold | Oxidises mould and lightens stains | Stubborn spots in grout lines | Store away from light; don’t mix |
| Bicarbonate of soda | Paste with water or vinegar | Mild abrasion; odour control | Scrubbing grout without scratching | Patch test coloured grout |
| Tea tree oil | 10–20 drops per 500 ml | Antifungal residual effect | Preventing quick regrowth | Keep from children and pets |
Step-by-Step: Make and Use a Bleach-Free Mould Spray
For a versatile spray, fill a 500 ml bottle with neat white vinegar, add 1 tsp mild eco washing-up liquid, and 10–15 drops tea tree oil. Shake gently. Keep a second bottle with 3% hydrogen peroxide for occasional spot treatment—do not combine the two. For heavy staining, mix a bicarbonate paste (3 tbsp bicarbonate of soda with enough water) to work into grout before spraying. Never use acids on natural stone, and always patch test coloured grout.
Application is simple: ventilate the room, then mist the vinegar blend onto the grout until damp, not dripping. Allow 10–20 minutes of dwell time to soften deposits. Agitate with a grout brush, apply peroxide to persistent spots, and scrub again. Wipe residues with a microfibre cloth, rinse with warm water, and dry the lines thoroughly. Run the extractor fan for at least 20 minutes or crack a window. Drier grout equals fewer spores, and that’s the foundation of real prevention.
Long-Term Prevention: Keeping Grout Dry, Sealed, and Safe
Mould is a moisture problem first. Aim for indoor relative humidity around 45–55%. Use the bathroom extractor during showers and for 20 minutes after, or set a dehumidifier to 50% in winter. Squeegee tiles and glass after each use to strip away the film that feeds growth. Keep doors ajar to reduce stagnant air. A daily minute of drying beats an hour of deep cleaning. Switch to low-residue soaps and shampoos; they leave less scum for spores to colonise and make weekly maintenance quicker.
Protect porous surfaces. Seal cement-based grout with a penetrating, water-repellent sealer every 12–18 months, and replace perished silicone with mould-resistant formulations. Add a weekly routine: spritz vinegar solution, dwell for five minutes, then wipe dry; do a monthly peroxide spot-check on corners and along the bath edge. Steam-clean occasionally to flush pores without chemicals. The combination of sealing, speedy drying, and gentle, regular cleaning is what stops the cycle of regrowth—not occasional blasts of harsh bleach.
A bleach-free strategy restores grout colour while changing the conditions that let mould return. Natural acids, oxygen-based spot treatments, and plant oils disrupt biofilm, lift stains, and deter spores without filling a small bathroom with fumes. Pair that with diligent drying, a decent extractor, and periodic sealing, and you extend the time between deep cleans dramatically. Your bathroom looks better, smells fresher, and stays healthier. Which part of this routine—recipe, technique, or prevention—will you try first, and what tweaks would make it work in your home’s unique layout and climate?
Did you like it?4.5/5 (27)