In a nutshell
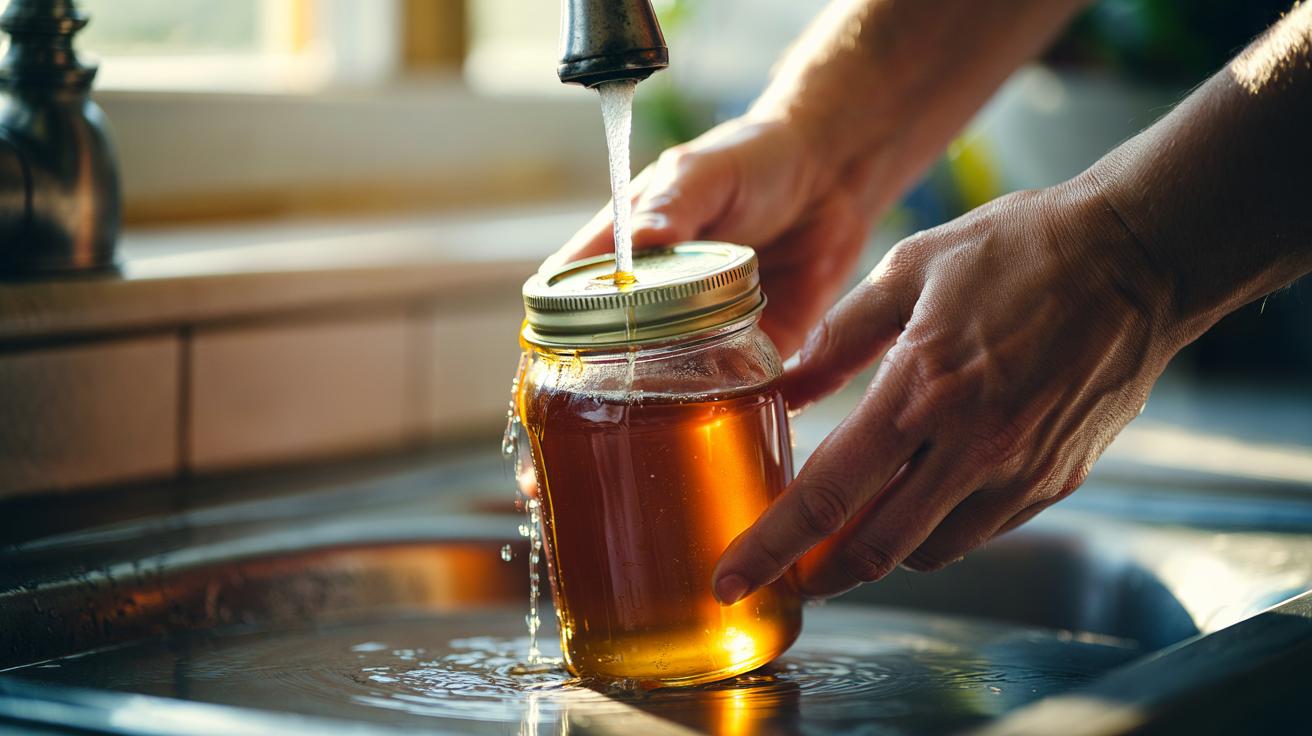
- 🍯 A quick warm water rinse of the lid and threads lowers honey’s viscosity, lifts residue, and prevents sticky gaskets that glue caps shut.
- 💧 After pouring, rinse the cap and threads for 2–4 seconds, keep water out of the jar, shake off droplets, and dry before re-capping for a smooth, clean seal.
- 🌡️ Use hand-warm water (about 35–45°C) for glass and slightly cooler for plastics; avoid thermal shock and skip soaking—short, targeted rinses work best.
- 🧼 Cleaner rims boost hygiene, reduce dust and crumbs, protect labels, and prevent cap corrosion—clean threads mean fewer leaks and no sticky cupboard rings.
- ♻️ This hack beats paper towel wiping, saving time and waste; as a simple habit, it offers maximum payoff with minimal effort every breakfast time.
Ask any breakfast lover and they’ll likely confess to a sticky cupboard courtesy of a dribbly honey jar. The fix is disarmingly simple: a warm water rinse of the lid and jar threads right after you pour. Heat loosens clinging sugars, lifts residue, and prevents that gluey ring that cements a cap shut. Two seconds of rinsing beats ten minutes of scrubbing, and it keeps your honey clean by moving mess away from the rim instead of back into the jar. Here’s the science behind the hack, how to do it properly without diluting flavour, and the small tweaks that make a big, non-sticky difference.
How the Warm Water Rinse Works
Honey clings because it’s viscous and rich in dissolved sugars that crystallise on contact with air and cooler surfaces. Run the lid and threads under warm water and you change the physics: temperature rises, viscosity drops, and surface tension relaxes. The thin honey film turns mobile, then slides off instead of hardening into an amber gasket. Heat is the helper; water is the carrier. The trick is directing both onto the cap and neck, not the honey itself. That way you remove residue without washing sweetness down the sink or trapping moisture inside the jar.
There’s a hygiene and longevity angle, too. Sticky rims pick up dust, tea splashes, and pantry grit, which can taint aroma every time you twist the lid. A quick rinse cuts cross-contamination from toast crumbs or buttered knives, preserving the jar’s clean seal. Done right, you also avoid the squeak-and-stick twist that stresses caps and splits cardboard seals. This quick rinse keeps threads clean and lids turning smoothly, maintaining both convenience and the honey’s natural character.
Step-by-Step: Rinsing Lids and Threads Without Watering Down Honey
Immediately after pouring, hold the jar upright. Unscrew the lid and keep the mouth facing down. Rinse the cap under warm, not hot, water; let the stream hit the inner rim to float off residue. With your free hand, tilt the jar so the threads—not the opening—meet the warm flow for two to four seconds. Rotate once to clear all grooves. Keep water away from the jar’s interior and resist the urge to “polish” the lip with a wet finger, which risks drips inside.
Shake excess water from the cap, then give both lid and threads a brief air shake over the sink. Wipe the external neck with a clean, dry cloth or a single sheet of kitchen towel. For flip-top squeezy bottles, snap the cap open and run warm water around the hinge and nozzle, then flick dry. Re-cap only when surfaces feel dry to the touch. This routine avoids dilution, maintains flavour integrity, and stops residue from re-bonding as the jar cools.
Choosing the Right Temperature and Materials
Warmth is essential, but extremes are not. Aim for water that’s comfortable on the skin—hotter will soften some plastics and warp liners, colder won’t shift sticky sugars. Think “steamy mug” rather than “rolling boil”. Glass jars tolerate a wide temperature range, yet sudden shocks can crack thinner vessels, so move from ambient to warm gradually. Plastic squeezy bottles prefer gentler heat; a short rinse beats a prolonged soak. For drying, a lint-free cloth avoids fibres that invite new stickiness. Choosing a cap with a silicone or EVA liner helps maintain a clean seal once you’ve rinsed.
Use this quick guide for easy reference:
| Jar/Cap Material | Safe Water Temp | Rinse Time | Notes |
|---|---|---|---|
| Glass jar + metal cap | 35–45°C (hand-warm) | 2–4 seconds | Avoid thermal shock; dry threads fully. |
| Plastic squeeze bottle | 30–40°C | 2–3 seconds | Open flip-top; gentle stream around nozzle. |
| Wide-mouth jar | 35–45°C | 3–5 seconds | Rotate to clear deeper grooves. |
Why This Hack Beats Wiping and Spills in the Long Run
Paper towels smear sugar around the rim, leaving a thin film that dries tacky, then traps more grains next time you pour. Rinsing removes the film outright. It’s quicker, cheaper, and kinder to the environment because you use seconds of water instead of a wad of disposables. Clean threads mean consistent seals and fewer drips down the label, keeping cupboards presentable and preventing those dark syrupy rings that attract ants. You also extend the life of metal caps, which corrode when sugar and humidity sit on their edges, and protect paper labels from lifting.
There’s a flavour payoff, too. A clean closure preserves aroma by limiting air exchange and stopping stray flecks of toast or tea from building up. If your honey has started to crystallise, a tidy rim makes gentle warming—standing the sealed jar in warm water—more effective because the lid releases easily without force. For families, this becomes a simple habit: pour, rinse the lid and threads, dry, re-cap. Minimum fuss, maximum payoff every breakfast time.
Once you try it, the warm water rinse becomes second nature: a two-second step that keeps threads clean, lids smooth, and cupboards free of sticky halos. It respects the honey, saves on wipes, and makes jars easier for little hands and older wrists alike. Small routines create tidy kitchens, and this one costs nothing. If you’ve wrestled with sugary caps, give it a week and watch the difference. What other tiny, smart tweaks could transform your breakfast setup without adding time or clutter?
Did you like it?4.7/5 (22)