In a nutshell
- 🧪 Chemistry: olive oil nourishes and disguises micro-scratches while vinegar (acetic acid) lifts grime; together they form a mild emulsion that restores clarity and a breathable gloss without harsh solvents.
- 🧰 Method: Dust, mix 2:1 olive oil to white vinegar, test first, apply to a cloth (not the wood), work with the grain, then buff dry vigorously; warm water rings with a hairdryer on low before re-polishing.
- 🪵 Suitable surfaces: Great for varnished/lacquered pieces and sealed veneers; use sparingly on oil-finished or waxed furniture; trial only on bare oak and French polish due to sensitivity.
- ⚠️ Safety and care: Use a microfibre cloth, apply a thin film to avoid residue or rancidity, and expect multiple passes if there’s silicone build-up; always finish with a dry, energetic buff.
- ✨ Benefits: Inexpensive, quick, and eco-friendly, this pantry polish revives grain, softens haze, and delivers a warm, hand-rubbed sheen suitable for regular, seasonal maintenance.
Britons love a clever, thrifty fix, and few are as quietly transformative as the humble pairing of olive oil and vinegar to revive tired wood. This pantry polish cuts through fingerprints and haze, then nourishes the surface, leaving a warm sheen that feels almost hand-rubbed. It’s quick. It’s inexpensive. It’s gentle on most finishes when applied correctly. Always test in a hidden spot first to be sure. With a soft cloth, a measured mix, and a little patience, sideboards, frames and tabletops can look freshly dressed without calling in a pro.
Why Olive Oil and Vinegar Work on Wood
At the heart of this method is chemistry. Olive oil supplies slip and subtle enrichment, gliding over micro-scratches and accentuating the wood grain without sealing it under a gummy film. Vinegar—ideally distilled white vinegar—brings mild acetic acid to lift skin oils, dust-bonded grime, and the cloudy residues that mute a finish. Mixed, they form a simple emulsion. The oil stays to buff; the acid flashes off with contaminants. The result is clarity and gloss without harsh solvents.
There’s a practical elegance in this balance. Vinegar alone can leave wood looking parched; oil alone can smear and attract dust. Together, they create a controlled clean-and-sheen cycle that’s easy to repeat seasonally. The trick is restraint. Apply sparingly, then work the surface until the cloth slides clean. When you see a gentle glow rather than a wet shine, you’ve nailed it. That glow is the signature of a well-buffed, breathable finish.
Step-by-Step Method for a Safe, Gleaming Finish
First, dust thoroughly with a dry microfibre cloth. Mix 2:1 olive oil to white vinegar in a small jar—about two tablespoons oil to one tablespoon vinegar is enough for a side table. Shake well. Test on the back or underside before committing. If your olive oil is strongly scented, use a light or refined type, or add two drops of lemon or lavender oil to neutralise odour.
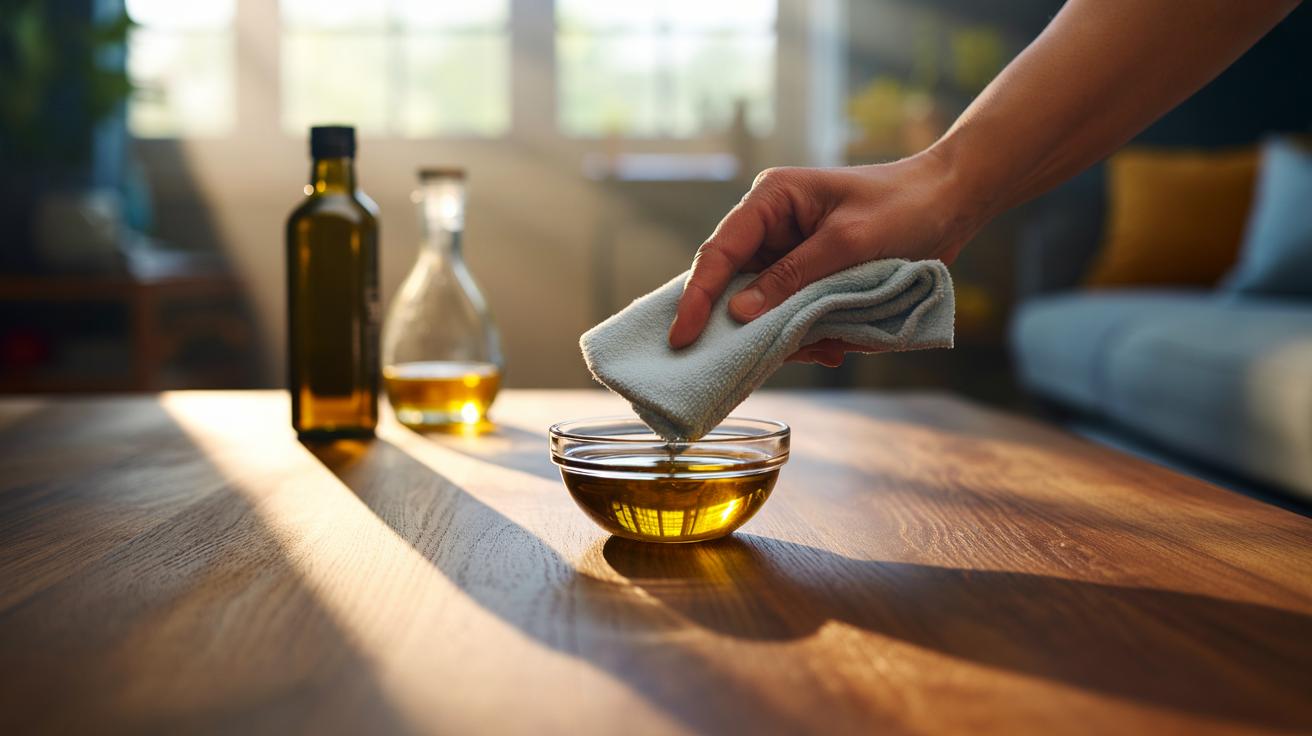
Apply a teaspoon of the mix to a clean cloth, not directly to the furniture. Work with the grain in slow, overlapping strokes. Pause. Let the emulsion loosen residues for 30–60 seconds. Now buff vigorously with a second dry cloth until the surface feels dry and glides under your fingers. For nooks and mouldings, use a cotton bud. Stubborn water rings? Warm the area with a hairdryer on low, then repeat the polish. Stop if you see clouding or colour transfer, and reassess your finish type.
What Woods and Finishes Benefit Most
This polish flatters sealed timbers and modern varnishes, also many oil-finished pieces. It is not universal. Acids can react with tannins, so be cautious on oak, especially bare or fumed. French-polished antiques (shellac) are sensitive; test gently and keep applications dry and swift. If a piece is heavily waxed, vinegar may cut the wax; you might prefer to clean lightly, then re-wax instead of using this blend.
| Surface/Finish | Use? | Notes |
|---|---|---|
| Varnished or Lacquered | Yes | Light application; buff well to avoid smears. |
| Factory-Sealed Veneer | Yes | Great for prints and fingerprints on cabinets. |
| Oil-Finished (e.g., Danish oil) | With care | Very thin coat; over-application can look dull. |
| Waxed Surfaces | With care | Vinegar may thin wax; re-wax after polishing. |
| Bare Oak or Open-Grain | No/Trial only | Tannin reaction possible; the grain may raise. |
| French Polish (Shellac) | Trial only | Keep dry; consider dry buffing instead. |
Remember, less is more. A thin film avoids dust-catching residue and minimises any risk of rancidity. If you’ve used silicone-based sprays previously, you may need two or three rounds to lift the build-up before the wood looks crisp again. Always finish with a dry, vigorous buff. That final pass is where the magic happens, converting a faint shine into a deep, tactile lustre that makes handles, rails and tabletops look freshly dressed.
Used judiciously, an olive oil and vinegar polish delivers beauty, thrift and a touch of ceremony to weekly care. It’s a five-minute ritual that helps you slow down, read the wood, and restore clarity without aerosols or mystery ingredients. Keep a small bottle mixed, shake before use, and work with the grain. If in doubt, test, wait, then buff. What piece in your home—perhaps a scuffed hall table or a favourite chair arm—would you most like to see gleam again, and what story does its grain tell you?
Did you like it?4.4/5 (27)