In a nutshell
- 🔍 Toothpaste works via mild abrasives (hydrated silica, calcium carbonate) that round micro-edges of scratches to restore clarity fast; it helps with shallow scratches rather than deep gouges.
- 🪥 Method: clean and dry glass, mask edges, apply white, non-gel toothpaste in small circles with light pressure for 20–30 seconds, wipe, inspect, and repeat up to three times; avoid coated optics and excessive force.
- ⚖️ Paste choice and limits: pick formulas with hydrated silica/calcium carbonate; avoid gels, charcoal, or harsh “whitening” pastes; if a nail catches, step up to cerium oxide or seek professional help.
- 📊 Quick reference: Plain white: Yes (best for hairline scuffs); Gel/Charcoal: No (risk of haze or too weak); “Whitening”: test first due to additives and dyes.
- 🛠️ Aftercare: finish with glass cleaner, add a tempered glass protector, and choose material-specific polishes (acrylic vs sapphire); chips and cracks require professional repair or replacement.
Light scuffs on glass can make a pristine screen, watch crystal, or picture frame look tired. A lesser-known fix sits by the bathroom sink: the toothpaste scrub. Thanks to mild abrasives such as hydrated silica and calcium carbonate, toothpaste can burnish away the edges of superficial scratches, allowing light to pass through more cleanly and restore clarity fast. It works only on the shallowest marks, not cracks or gouges that catch the nail. Used with care, this thrifty trick can save a trip to the repair shop, especially on soda-lime glass and older, uncoated panes common in homes and cars.
Why Toothpaste Works on Glass
To understand the trick, think of polishing rather than filling. Glass sits around 5.5–7 on the Mohs scale, while toothpaste abrasives range from calcium carbonate (about 3) to amorphous silica (about 6–7). Suspended in water and glycerine, those fine particles form a gentle slurry that subtly rounds the scratch’s sharp shoulders. By softening those micro-edges, you reduce light scatter, so the scratch becomes less visible. The effect is optical: you are not erasing damage outright, but improving the way the surface refracts light.
Particle size matters. Many pastes use silica in the low micrometre range, fine enough to avoid haze when used briefly with light pressure. That makes them ideal for hairline scuffs on window glass or phone protectors, yet too mild for deep tracks. Avoid coated optics and sapphire crystals: anti-reflective layers and ultra-hard surfaces resist toothpaste and can end up marked. When in doubt, spot-test in a corner before committing to a full polish.
Step-By-Step Method for a Safe Toothpaste Polish
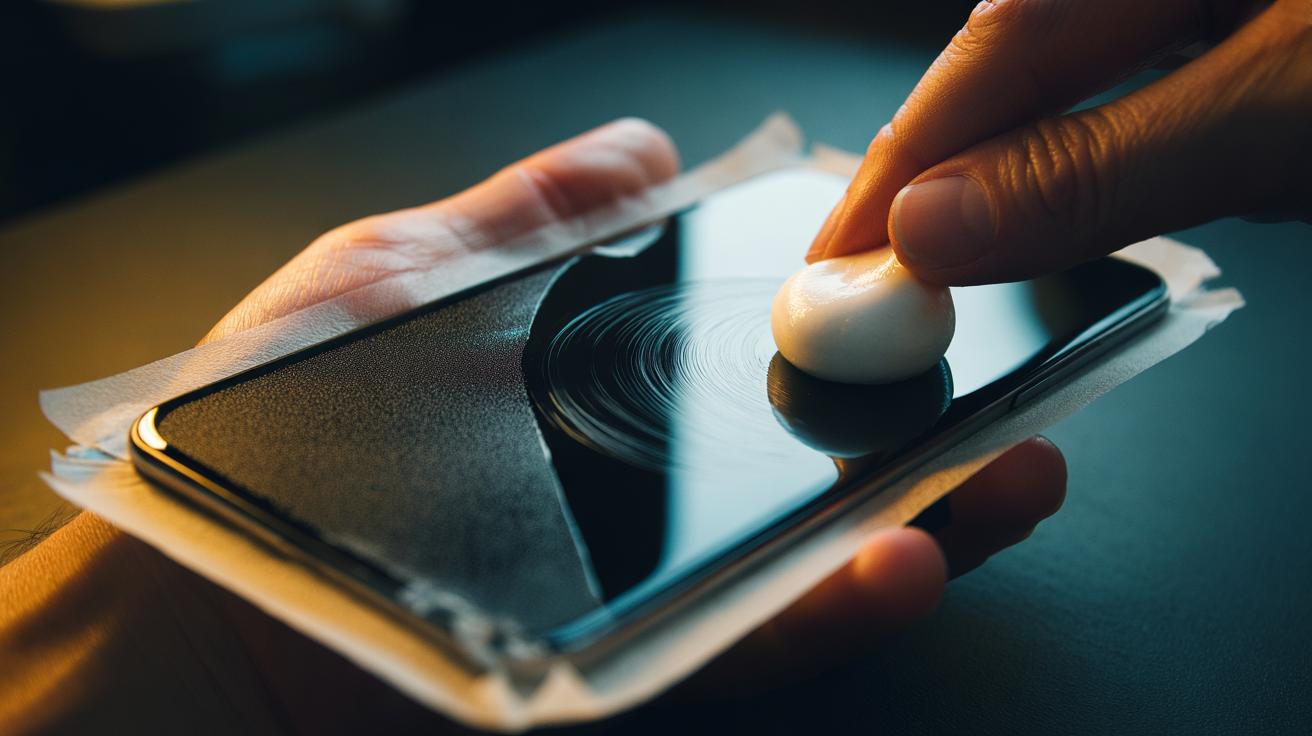
First, clean the glass. Any grit becomes rogue abrasive, so wipe with a lint-free cloth and a touch of glass cleaner, then dry. Mask bezels with tape. Dab a pea-sized amount of plain, white, non-gel toothpaste onto a soft microfibre cloth; add a drop of water to create a thin slurry. Using light, even pressure, work in small circles over the scratch for 20–30 seconds. Less pressure, more patience—let the slurry do the work. Wipe clean, inspect under bright light, and repeat up to three cycles if improvement is gradual.
If clarity improves, finish with a clean, damp cloth and a final dry buff. If no change after several passes, step away: you may be dealing with a deeper groove or a hard-coated surface. Never attack the area with abrasive kitchen powders or sandpaper—over-polishing can create a dull halo that is harder to hide than the original line. For sensitive devices, remove power and protect ports from moisture before you begin.
Choosing the Right Paste and Knowing the Limits
Not all pastes are created equal. Look for hydrated silica or calcium carbonate on the ingredients list. Avoid gels (often low-abrasive), charcoal formulas (coarse particles), and aggressive “smokers’” pastes with very high RDA values. “Whitening” varieties can contain peroxides or blue tints that add nothing to polishing and may stain cloths. As a rule, choose a simple, white paste with moderate abrasivity and no granules you can feel between fingers. Also consider the substrate: soda-lime and borosilicate glasses respond best; sapphire (common in premium watches) hardly budges under toothpaste.
Understanding limits saves time. If a scratch disappears when wet, it is shallow enough for mild polishing. If your fingernail catches, you likely need cerium oxide and a felt pad, or professional help. Laminated windscreens and camera lenses with anti-reflective coatings are poor candidates; you risk rainbow haze. Toothpaste is a quick cosmetic polish, not structural repair. Use it to tidy hairline scuffs, then protect with a screen cover or careful handling.
| Paste Type | Main Abrasive | Use on Glass? | Notes |
|---|---|---|---|
| Plain white, non-gel | Hydrated silica / CaCO3 | Yes | Balanced action; best for hairline scuffs |
| Gel toothpaste | Low or none | No | Too little abrasive to polish |
| Charcoal/“extra abrasive” | Coarse particles | No | Risk of haze and micro-scratching |
| Whitening formulas | Silica + additives | Maybe | Peroxides/dyes add no benefit; test first |
Aftercare and Alternatives for Perfect Clarity
Once you have improved the mark, clean away residue and finish with a quality glass cleaner. Fit a tempered glass protector on phones or tablets to mask remaining micro-marks and prevent fresh ones. For ornaments or frames, consider a light glass polish to even the sheen. You cannot replace lost material—polishing only makes damage less visible by smoothing its edges. If a blemish still nags, stepping up to a cerium oxide slurry with a felt pad can refine the finish, but requires care to avoid heat build-up and distortion.
Match the fix to the material. Acrylic watch crystals respond better to dedicated acrylic polishes, while sapphire prefers professional diamond pastes. Chips and cracks are beyond toothpaste; seek resin repair or replacement. Work clean, keep sessions short, and check progress under strong, angled light. With the right expectations, a humble tube of paste provides a fast, inexpensive rescue for cosmetic scuffs—ideal when time and budget are tight.
Used thoughtfully, toothpaste polishing is a clever way to reclaim clarity from everyday scuffs, cutting waste and cost while you wait for a kettle to boil. You will not heal deep damage, but you can tame the tiny lines that dull a surface and snag the eye. Small, careful passes beat heavy-handed scrubbing every time. Next time a fine scratch spoils your view, will you reach for a specialist kit—or test this simple, controlled scrub to see how much clarity you can restore?
Did you like it?4.5/5 (23)